


About
Make and keep your craft feathers soft and fluffy!
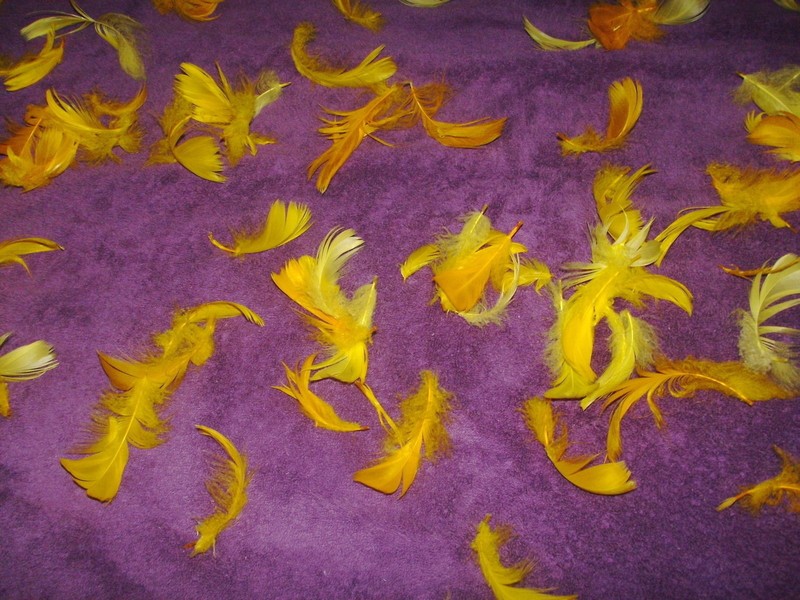
Don't you hate it when you go to the store to buy feathers, and you open up the bag and the feathers are all flat and stiff and not at all feathery? This tutorial will show you how to prepare your store-bought feathers so they stay nice and fluffy in whatever you decide to use feathers for. Also, it will remove extra dye off of the feathers, so they don't stain your clothes when you wash them, if that's what you're putting feathers on. Look at the second picture to see a comparison of out-of-the-bag feathers next to fluffy, prepared feathers.
-
 Alissa B. favorited Feathers: Preparation And Tips
13 Feb 22:29
Alissa B. favorited Feathers: Preparation And Tips
13 Feb 22:29
-
 Kendell V. favorited Feathers: Preparation And Tips
25 Jul 02:24
Kendell V. favorited Feathers: Preparation And Tips
25 Jul 02:24
-
 allpowerfulmaster commented on Feathers: Preparation And Tips
09 Jun 12:15
allpowerfulmaster commented on Feathers: Preparation And Tips
09 Jun 12:15
-
 retrogab08 favorited Feathers: Preparation And Tips
02 Feb 00:24
retrogab08 favorited Feathers: Preparation And Tips
02 Feb 00:24
-
 Hanna P. favorited Feathers: Preparation And Tips
02 Nov 02:10
Hanna P. favorited Feathers: Preparation And Tips
02 Nov 02:10
You Will Need
-
 Step 1
Gather all of your materials:
-Feathers: Whatever feathers you want to use! Make sure you do only one color at a time! *note* I haven't tried this with fancy ostrich/peacock/quail/ect. feathers; try them at your own risk!
-Container: You want somewhere to put all of those feathers once they're all nice and fluffy. You want one big enough so that all of the feathers can move freely, or else they would be crushed again! Make sure it's clean too. I used a jug of animal crackers.
-Towel: You put your feathers on this to lay them to dry.
-Sink: You need one to soak your feathers in. If you have two sinks, good for you! It'll make your life a lot easier!
-Room: You need to put your feathers in a place where they will not be disturbed while they dry. A room away from the door or any kinds of gusts will work.
-
 Step 2
Make sure your sink is really, really clean! Fill it with warm water and add in the feathers.
-
 Step 3
Mush the feathers down with your hand until they are completely wet. Let them soak for 10-20 minutes.
-
 Step 4
Remove your feathers from the water. See all of that extra dye in the water? That would have ended up all over your project! Dump this.
-
 Step 5
Repeat step 3 until the water left behind is clear. it usually takes 3-4 times for the extra dye to soak out of the feathers.
-
 Step 6
Spread your towel out in your room where they won't be disturbed. Take your wet feathers and spread them out as much as you can for them to dry.
-
 Step 7
Wait for them to dry. This takes a looonnnngggggggg time. A couple of hours. I say leave it over-night to play it safe.
-
 Step 8
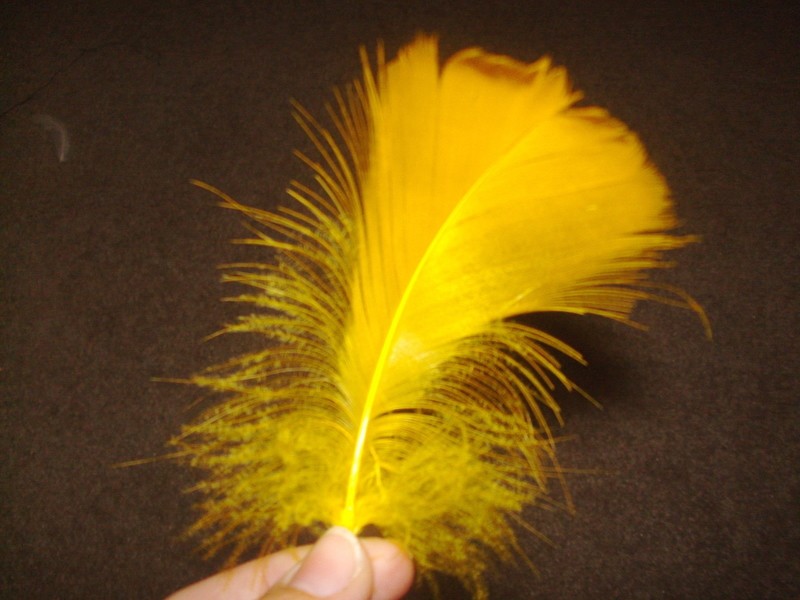
Close up of dry feathers.
-
 Step 9
Now comes the really time-consuming part. Pick up a feather. Hold it by the tip of the quill. Gently put the feather in between your fingers on one side of the feather, and brush them up to the tip of the feather, in the direction of the arrow. You are copying what real birds do in nature, by "preening" your feathers with oil from your hands. This will protect your feather, and just keep your feathers in better shape.
-
 Step 10
Keep brushing until all of the barbs stick together, and the downy part of your feather is really fluffy. Put your feather in your container and move to next one. stop and take a break if your hands start to feel dry. The oils in your hands is what is making your feathers pretty!
-
 Step 11
Tips:
Separate your feathers by left-and-right side feathers. You do this by looking at the curve of the feather. Wing feathers will have a more dramatic curve than contour feathers near the center of the bird's body. The further away from the center of the body, the more curves the feather will have.
Every so often, Stroke your feathers like you did in step 9, even after you’re done with your project. This will keep your feathers in good shape.
If you really want to, go to your local pet store, and buy a dust bath for birds, and brush it gently onto your feathers.


Comments


