


About
Fascinators for all Burlesque ladies!
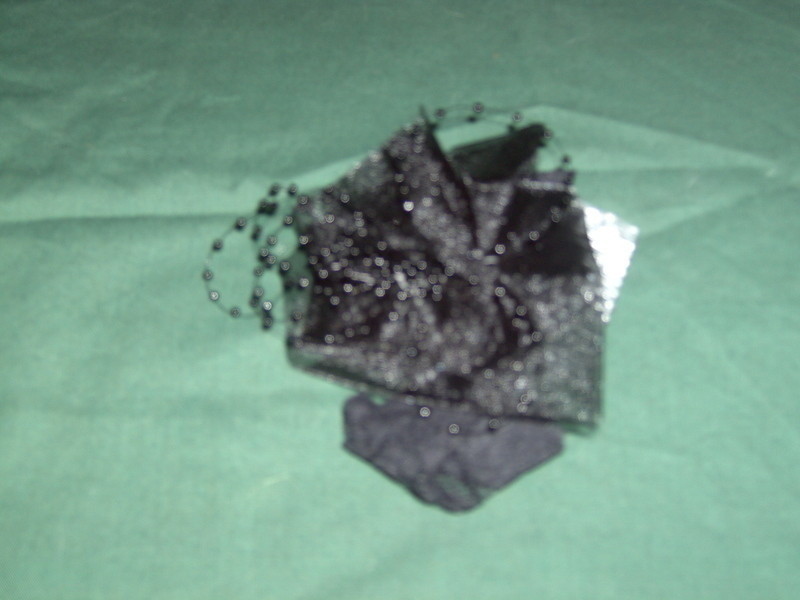
Fascinators can be expensive so i decided to give making my own a go. The best thing about this is you can create it to go with any outfit.
Tags
-
 Key West Witch favorited Fascinators
06 May 08:22
Key West Witch favorited Fascinators
06 May 08:22
-
 Kay T. favorited Fascinators
12 Nov 04:11
Kay T. favorited Fascinators
12 Nov 04:11
-
 jen s. favorited Fascinators
06 Oct 16:06
jen s. favorited Fascinators
06 Oct 16:06
-
ali c. favorited Fascinators
09 Oct 15:31
-
 GrizzlyB3AR favorited Fascinators
27 Jun 10:57
GrizzlyB3AR favorited Fascinators
27 Jun 10:57
-
 Crafter Monkey entered their project Fascinators to Mix Tape Zine
25 Jul 14:29
Crafter Monkey entered their project Fascinators to Mix Tape Zine
25 Jul 14:29
-
 Step 1
For this fascintor this is what I needed.
1 haircomb
1 metre black ribbon
1 10x10cm net square
30cm Purple ribbom
30cm organza purple ribbon
Needle and Thread -
 Step 2
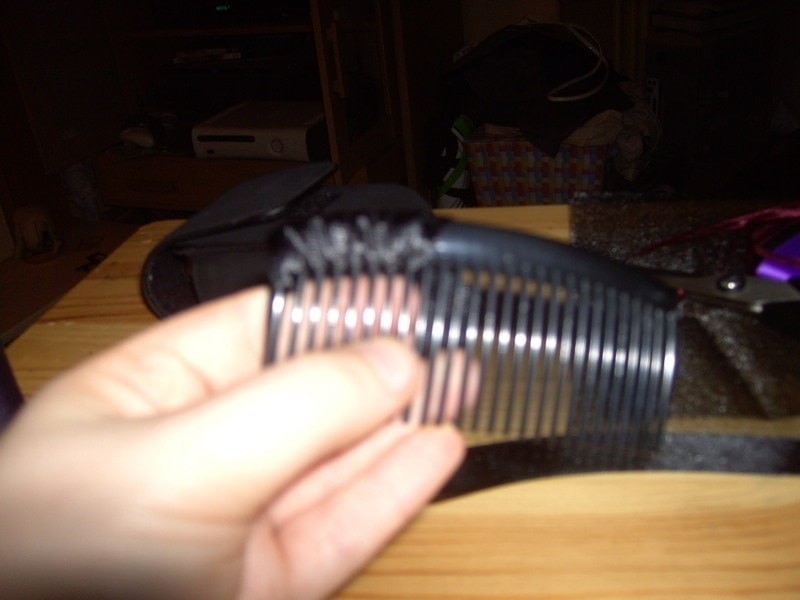
Firstly take you black ribbon and wrap the ribbon around the the top of the comb. Use the combs teeth to keep the ribbon in place.
Double over the ribbon so the comb top has been wrapped twice for extra security. Add a couple of stitches through the ribbon at the end to tidy up lose bits.
This will be the base to stitch additional accessories on.
-
 Step 3
When you've finished wrapping the ribbon around it should look something like this. place a couple of stitches in the end and trim off the remaining ribbon.
-
 Step 4
Take you square net, and cut in half.
-
 Step 5
Then cut small snips around the outside of the net into the centre about 2/3cms deep. Leaving the centre fully intactere. You can do this either in straight lines or waves whatever takes your fancy. Here I've gone for wavey lines.
-
 Step 6
Take the needle and thread and make a stitch through the ribbon on the hair comb and then through to the centre of the net.
Once you've done this, take corners from each of the sections you snipped and stitch these into the centre and through onto the hair comb ribbon.
-
 Step 7
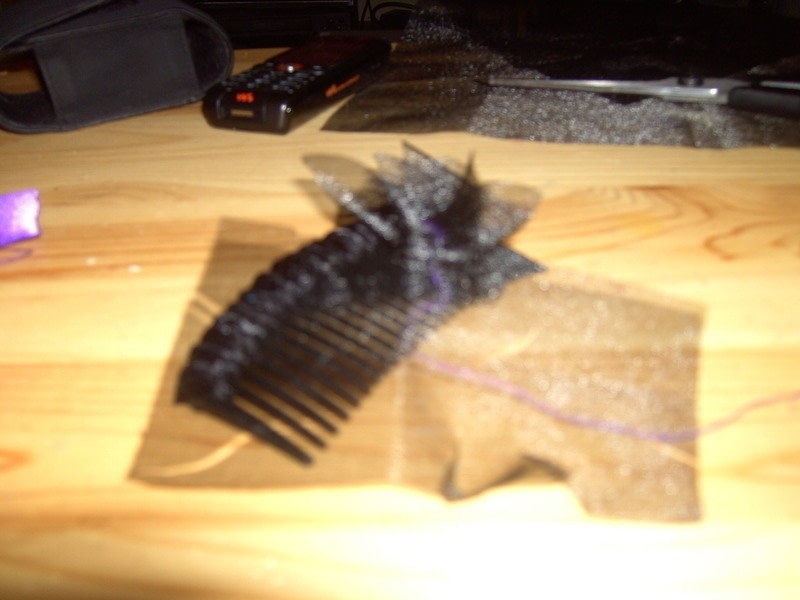
Repeat this with the second piece of netting, or if you prefer stitch the two on at the same time for a layered effect.
When you are finished it should look something like this. I have used purple thread to show where the stitch should go.
-
 Step 8
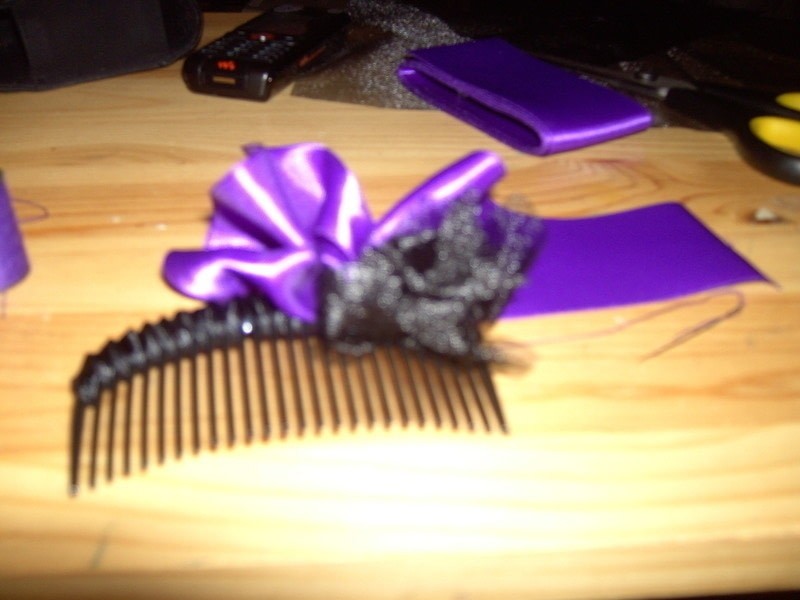
The take the larger ribbon, and place a stitch through the COMB ribbon and pass it into the LARGER ribbon.
I then repeated this stitch through the bottom of the ribbon so that it created a ruffle effect.
-
 Step 9
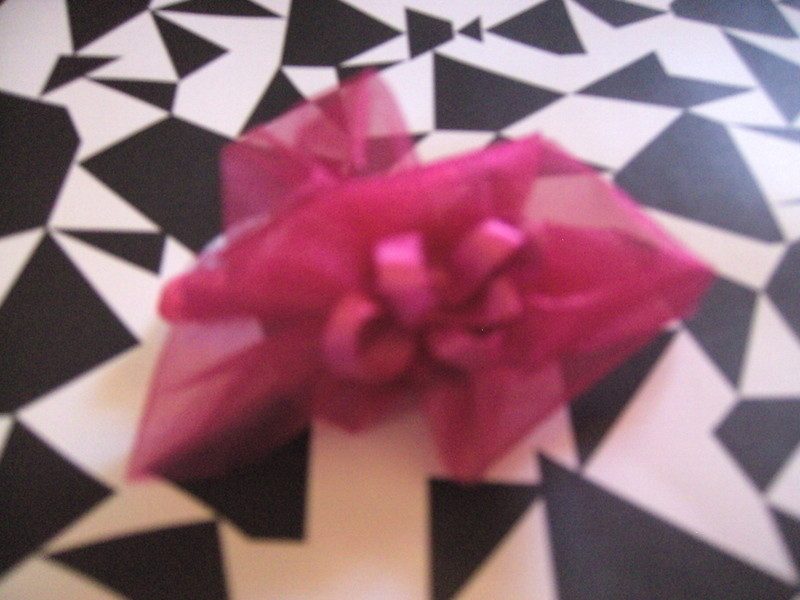
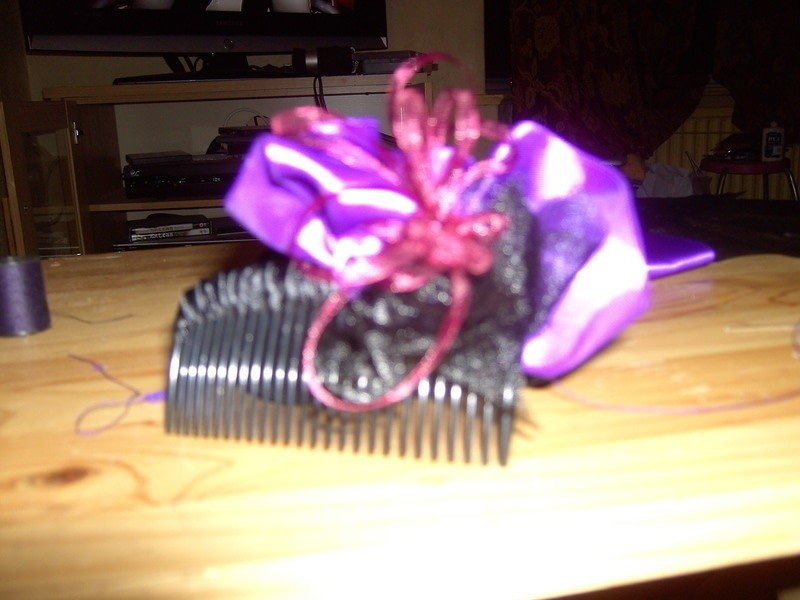
Once you've stitched on the larger ribbon, you can stitch extra embellishments to the hair comb as well. I added a darker purple organza ribbon onto the top of the net.
-
Step 10
Basically this means that if you get bored of having the same fascinator you snip the ribbon around the comb loose, and create another one.
Sorry if I haven't explained this very well, Once you've got the main ribbon around the comb sorted you can do whatever you like.


CO + K User