


About
Fun with Robes
This is a custom robe I made for a customer who is into the Morrowind Video Games. I also posted our steps on our blog.
Tags
-
 Robin C. favorited Fantasy Robe
11 Aug 14:54
Robin C. favorited Fantasy Robe
11 Aug 14:54
-
 Luke Stephens favorited Fantasy Robe
02 May 04:13
Luke Stephens favorited Fantasy Robe
02 May 04:13
-
 Alex Z. added Fantasy Robe to Интересное
24 Apr 15:13
Alex Z. added Fantasy Robe to Интересное
24 Apr 15:13
-
 Amara Ann favorited Fantasy Robe
30 Apr 19:19
Amara Ann favorited Fantasy Robe
30 Apr 19:19
-
Stitches added Fantasy Robe to Project 1
27 Jan 00:55
-
Stitches favorited Fantasy Robe
27 Jan 00:55
-
breanna w. favorited Fantasy Robe
23 Jun 05:01
-
 Sarai B. favorited Fantasy Robe
08 Apr 04:24
Sarai B. favorited Fantasy Robe
08 Apr 04:24
-
 ShoujoMadness favorited Fantasy Robe
11 Jan 22:05
ShoujoMadness favorited Fantasy Robe
11 Jan 22:05
-
 Broken Bownes favorited Fantasy Robe
25 Oct 23:27
Broken Bownes favorited Fantasy Robe
25 Oct 23:27
-
 Step 1
First you need to sketch out your robe view. Since I made my own pattern from the sketches you will need the following if you are going to do the same.
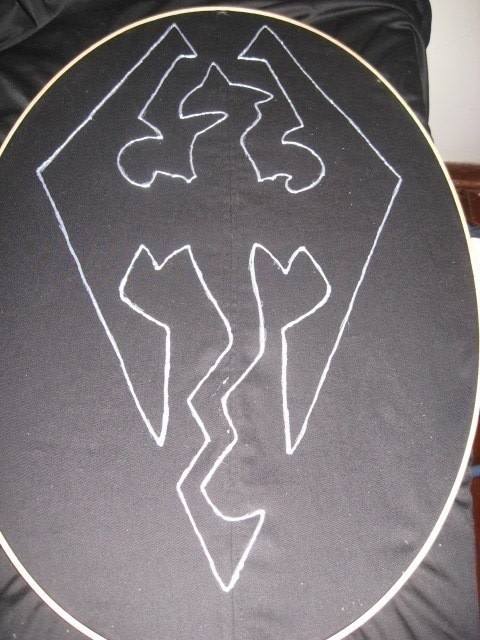
Butcher Paper, Rullers and Seamstress Tape Measure, Pencils, Sketch pad, an Idea, Time and patience.You will need to figure out what design you are going to put on the back of the robe. We went with the Skyrim Dragon Emblem from the game that was modified.
-
 Step 2
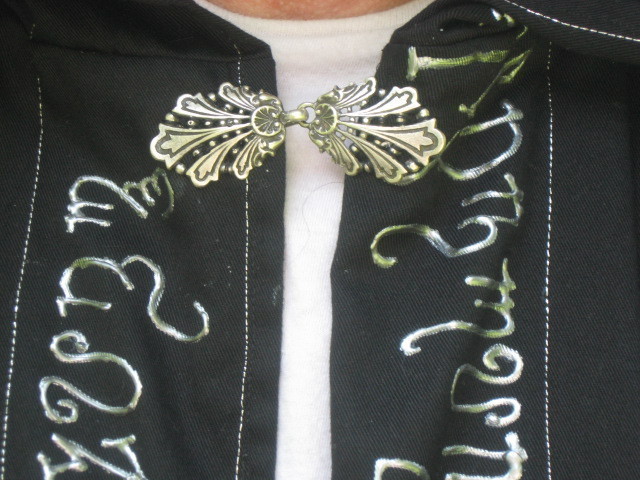
Second you need your phrase or words you wish to translate into Runes. There are many runes and elvish scripts out there online as well as adding fonts to your writing programs which can make translating easy. We went with Theban Script.
-
 Step 3
Next step sew or purchase your robe.
-
 Step 4
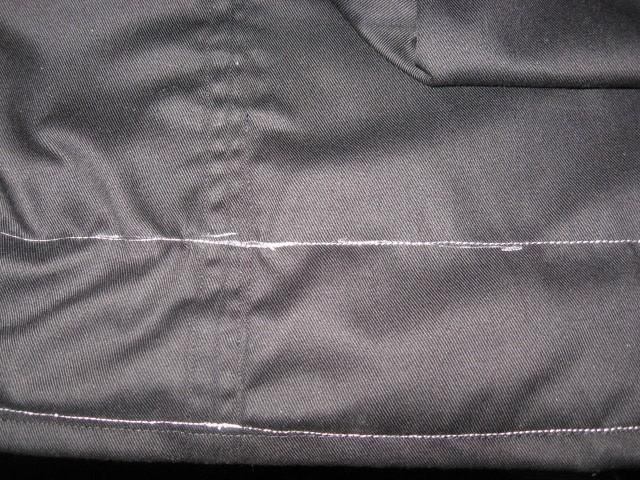
Make your silver boarder I started by following the hem all around starting in the center back. After the first round measure up to 2-4 inches and mark a sewing line all around this took about 30 minutes might take longer for some or shorter time, depending on your skill levels. Sew this line as you did the first. This will make the boarder space you will do your translation into.
-
 Step 5
Using a white gel pen or seamstress paper start your writing. Gel pens will wash out. This took about an hour to write. If you never wrote in any runic form stop, take some paper and Practice writing your runes before going to the fabric. Once you are confutable in writing this way then go to the fabric.
I ended up repeating the whole 9 virtues 4 and a half times.
-
 Step 6
With the fabric paint right from the tube write over your writing, take your time and do it in sections. Allow the paint to dry in sections this is where it is time consuming.
It took me 2 and a half days to write out the runes with the paint. Go slow and easy. Keep a paper towel with you and wipe the tip after so many lines. Take this time to correct spacing as you paint.
After you do the last section allow the whole thing to dry for a whole 24 hours before continuing on.
-
 Step 7
While you are waiting for your boarder to dry, its time to enlarge your image to fit in the back of your robe. This is where the ruler comes in.
Draw a grid on your image.
Draw a grid on your big pice of paper, we used Newspaper Sketch paper.
Scale drafting comes into play here, My hubby did the actual enlarging and I believe his squares on the big paper was 1 inch by 1 inch.After you enlarge it you will cut it out this will be your pattern.
-
 Step 8
Using your biggest embroidery hoop you will then center your design onto the back. We taped ours down and used the center back seam to keep the image straight, the hoop was to keep the fabric tight and stable while we painted the back of the robe.
Take your gel pen and trace your image. Remove the image and take your Fabric paint and do the outline. Let this dry, it may take 4 hours or less depending on how big or small your design is.
-
 Step 9
Using the acrylic paint you will then add your first coat. Let this coat dry completely before doing a second coat. Allow to dry as it states on the paint directions on the bottle. After it has dried you will then take the hoop off. Get your iron a scrap pice of fabric and iron board.
On a medium heat you will then do the following:
Place the robe onto your iron board with image side up, place your scrap fabric over the painted image. Gently press the back, this Heat sets the image. The scrap fabric will stick slightly Gently pull off. Then through the robe into the washer by itself on a small gentle load. wash. Hang dry for 24 hours. Take a lent brush and have at it. -
 Step 10
Add your cloak clasp and then Enjoy wearing your new and Improved fun filled robe :)


CO + K User