


About
Envelope Cushion
This is a great sewing project for a beginner!
-
 Zornitsa A. favorited Envelope Cushion
07 Sep 05:56
Zornitsa A. favorited Envelope Cushion
07 Sep 05:56
-
 Emma H. favorited Envelope Cushion
26 Oct 14:24
Emma H. favorited Envelope Cushion
26 Oct 14:24
-
 Adventures and Tea Parties published her project Envelope Cushion
23 Oct 06:00
Adventures and Tea Parties published her project Envelope Cushion
23 Oct 06:00
-
 Step 1
Measure the height and width of your cushion. These measurements are the dimensions of your cushion. My cushion measured 16 inches x 16 inches.
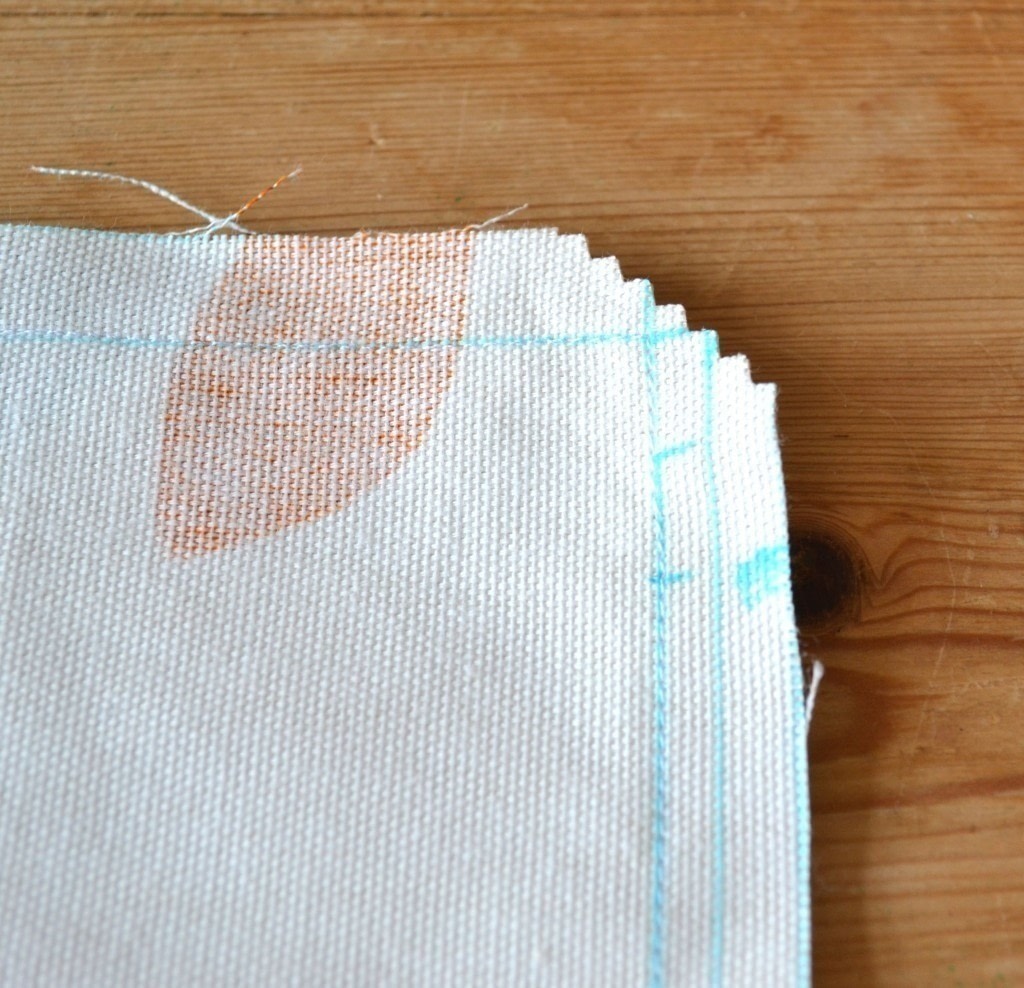
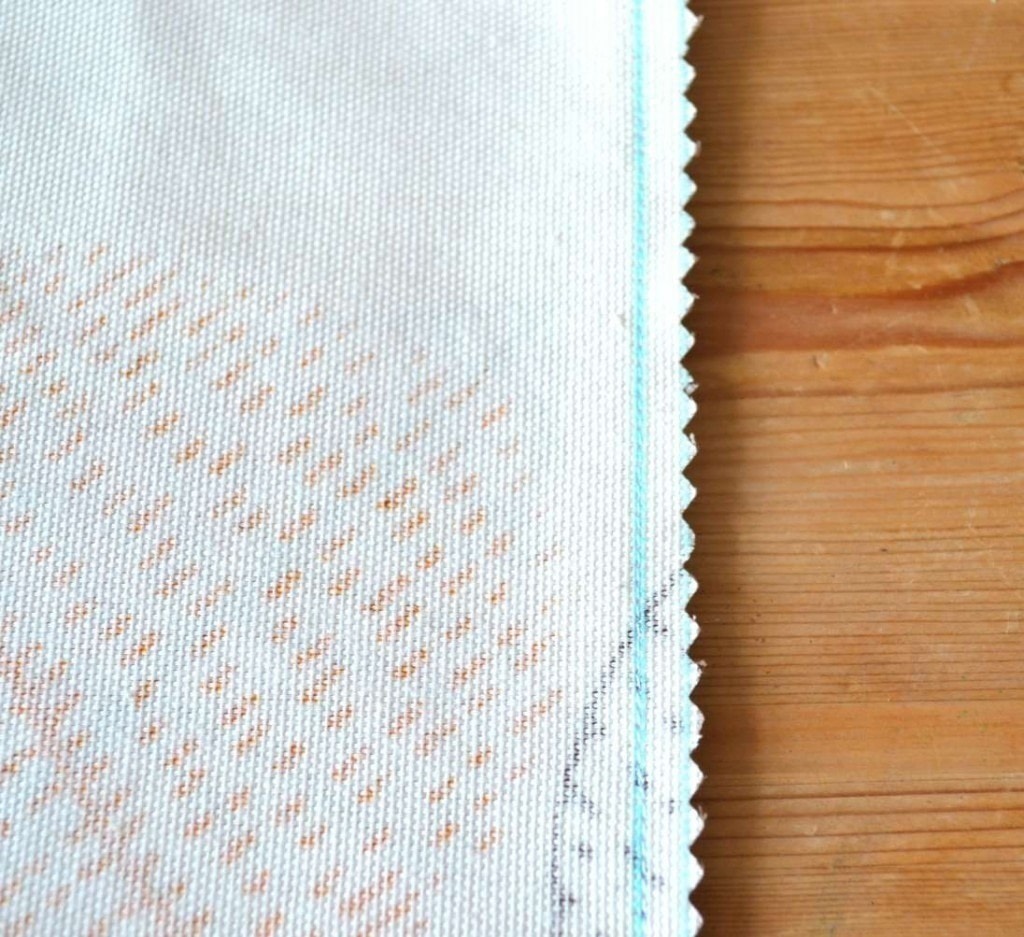
With your chalk or water soluble pen, draw a square shape (to the above dimensions) on to the wrong side of your fabric. Add a minimum seam allowance of 1cm on top of this. I used a 5/8 seam allowance throughout the entire project. Now cut out your square piece of fabric, **remembering not to cut off your seam allowance**.
Step 3:
For the envelope part of the cushion, we’re going to do the same as step 2 but we’re going to cut out two rectangles instead.On the wrong side of your fabric, draw one rectangle measuring the same width as your cushion and half the height of your cushion. So mine measured 16 inches x 8 inches. Remember to add your seam allowance on top of this. Now cut out your rectangle, **remembering not to cut off your seam allowance**.
On the wrong side of your fabric, draw your second rectangle measuring the same width as your cushion and approximately 2/3 of the height of your cushion. So mine measured 16 inches x 13 inches Again, remember to add your seam allowance on top of this. Now cut out your rectangle, **remembering not to cut off your seam allowance**.
-
 Step 2
We’re now going to create some lovely double hems on our rectangular pieces. Creating a double hem stops your fabric from fraying and gives your cushion a professional finish.
Create a double hem by folding over 0.5cm-1cm of the bottom width edge of rectangle 1. Now fold again, iron the fold and pin in place. You only do this for one width edge. Now repeat for rectangle 2.
If you have an overlocker machine, you could do a lovely rolled hem instead.
We’re now going to pin together our 3 fabric pieces ready for sewing our cushion together.
-
 Step 3
In order to ensure you’re cushion has the envelope feature, pin the small rectangle to your square piece of fabric, right sides facing and the top corners of your square and rectangle matching together. Now pin your large rectangle (right sides facing) on top of these two pieces, matching the bottom corners of the rectangle and square together. You’re now ready to sew!
-
 Step 4
Sew around the entire square, leaving a seam allowance.
-
 Step 5
We’re now going to tidy up those seams! You can do this either with pinking shears or on your machine. If using your sewing machine sew a 90 degree angle along each corner of your cushion (this ensures nice pointy corners on your finished cushion). Now run a zig-zag stitch around the 4 edges. If using pinking shears, cut a 90 degree angle across each corner of your cushion – *remember not to cut too close to your stitches*.
-
 Step 6
Now cut around the 4 edges, again remembering not to cut too close to your stitches.
-
 Step 7
Iron your cushion, turn out, press again if needed, then pop your cushion inside and ta-da, you have finished your envelope cushion! Now pop it in your favourite chair and admire it!


