About
I am quite a novice so I have to set myself projects to develop my hand engraving. Here is one of the early ones.
Here I am showing the stages of how to build up an image, rather than how to hand engrave.
-
 Alissa B. favorited Engraving Practice
03 Apr 16:19
Alissa B. favorited Engraving Practice
03 Apr 16:19
-
 Rebecca Skeels. published her project Engraving Practice
20 Mar 12:54
Rebecca Skeels. published her project Engraving Practice
20 Mar 12:54
You Will Need
-
 Step 1
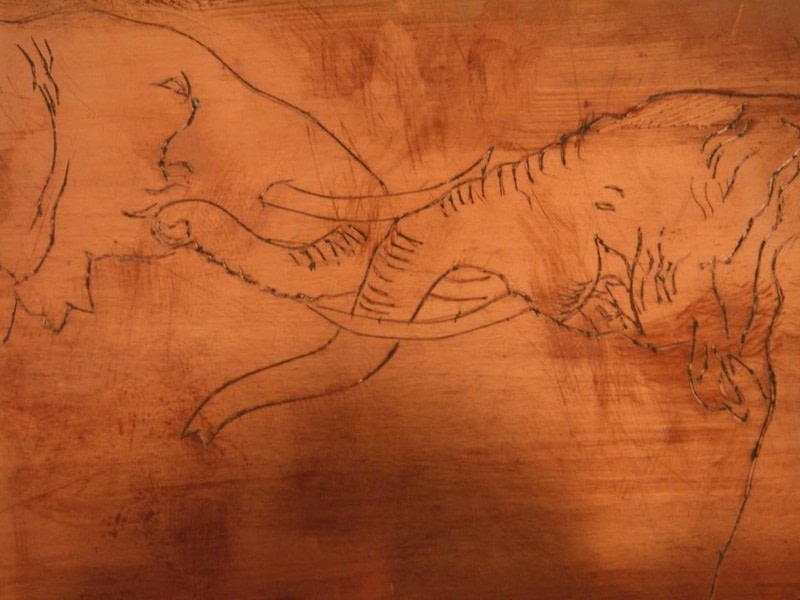
Tape a sheet of copper to some wood to make it easier to hold. So I challenge myself to develop my engraving and draw Elephants (incase you couldn't tell what they are from the picture) on the copper. It is easier to draw with pencil if plastercine has been rolled across the surface.
-
 Step 2
Scribe over the pencil lines so it scratches them into the surface of the copper, the pencil lines will get rubbed away, but the scrathes won't.
-
 Step 3
Engrave all of the lines cutting into the surface of the metal.
-
 Step 4
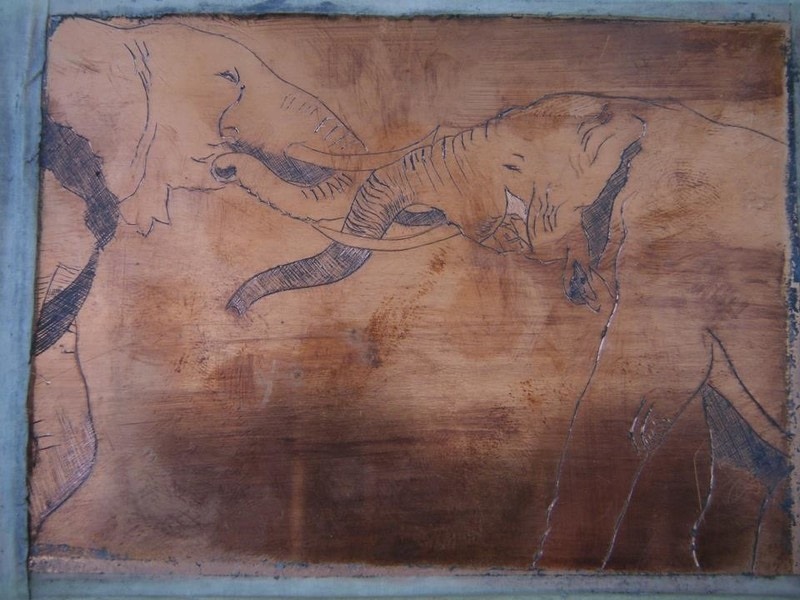
Roll plastercine on the surface and draw where some of the shading should be to get started.
-
 Step 5
At each stage roll more plastercine in, draw on some lines and the scribe the lines then cut the lines.
-
 Step 6
DEciding what to do next is hard, this shows the advantages of the pencil too, you can test and rub it out before adding the scribed lines.
-
 Step 7
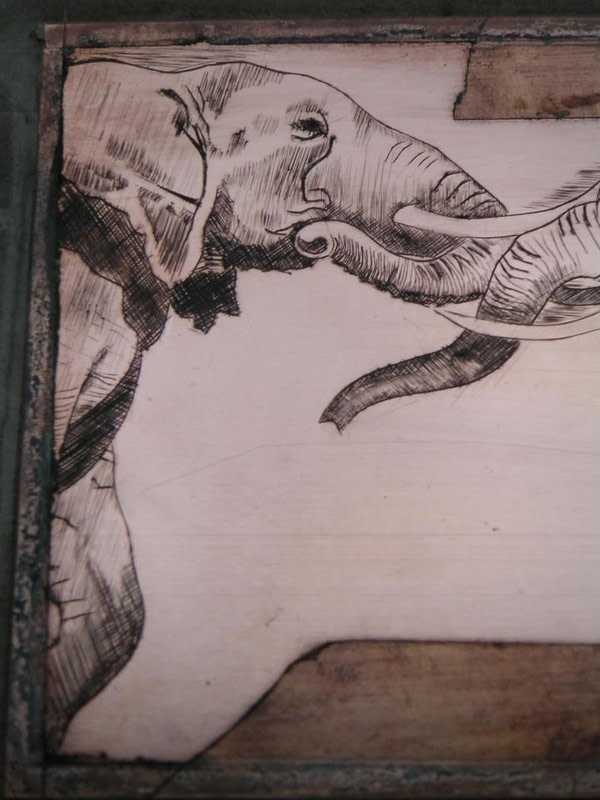
I work on the shading one at a time.
-
 Step 8
Until I think it is done.
-
 Step 9
Work can begin on the next one.
-
 Step 10
Handengraving can take time, especially as a beginner.
-
 Step 11
If you don't get past stage three this may not be for you.
-
 Step 12
A handengraver develops over years before they become a master, I need another 5.9 years to be okay.
-
 Step 13
I think this one is nearly done.
-
 Step 14
Now to work on the background.
-
 Step 15
It is hard to tell where to stop to make sure it doesn't become the focus.
-
 Step 16
It is also hard to take a picture of handengraved images, this is taken outside at an angle to pick the lines up rather than the reflections.
-
 Step 17
So that will go into the practice box and on with the next practice.