

About
Easy Colorful Covered Button Choker Tutorial
Last week I was inspired by something, probably on the Internet, to make more
covered buttons.
I have saved almost every nice scrap of fabric that I have left while making my dog
collars. I also have an abundance of ribbon, so why not combine the two and make
something wearable‐‐by people or pets! Imagine the possibilities: choker, necklace,
bracelet, headband, pet collar, etc!
-
 Key West Witch favorited Easy Colorful Covered Button Choker
08 Aug 03:00
Key West Witch favorited Easy Colorful Covered Button Choker
08 Aug 03:00
-
Key West Witch added Easy Colorful Covered Button Choker to Jewelry
30 Jun 04:53
-
 Susie F. favorited Easy Colorful Covered Button Choker
15 Jan 06:11
Susie F. favorited Easy Colorful Covered Button Choker
15 Jan 06:11
-
 martha I. favorited Easy Colorful Covered Button Choker
25 Feb 13:47
martha I. favorited Easy Colorful Covered Button Choker
25 Feb 13:47
-
 Candy Orange favorited Easy Colorful Covered Button Choker
10 Feb 18:57
Candy Orange favorited Easy Colorful Covered Button Choker
10 Feb 18:57
-
 Step 1
Supplies needed:
-
 Step 2
Cover your buttons according to the manufacturers directions. I chose to make 7 for this choker.
-
 Step 3
Decide upon the arrangement of your buttons and then proceed to Step 4.
-
 Step 4
Thread all of the buttons on to the ribbon. I had a few issues with one of the backs,
and had to use needle nose pliers to make the shank opening a little wider so that
the ribbon would pass through it.
Once you have all the buttons onto the ribbon move them further "down" the ribbon
away from the end where you started threading them (which probably now has
some fraying‐‐not to worry!). -
 Step 5
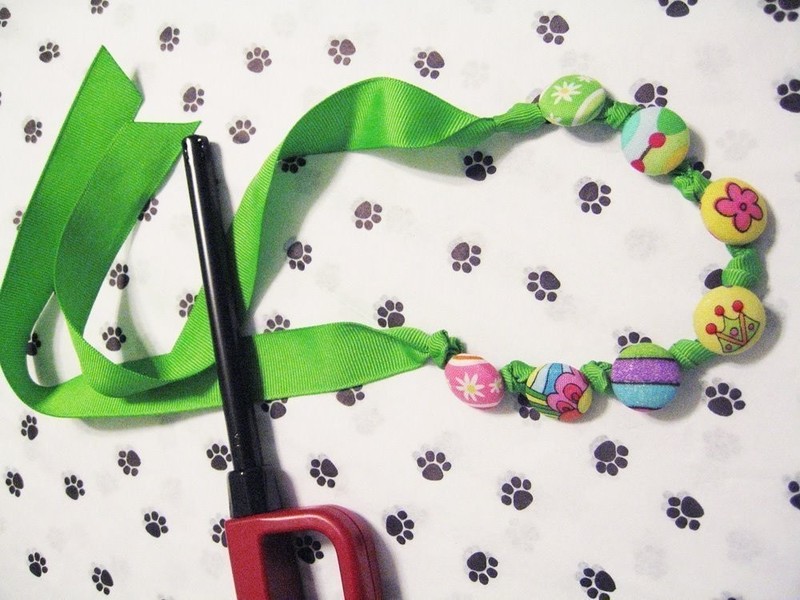
Tie a knot about 14” from the “frayed” end of the ribbon and slide the first button up close to it.
-
 Step 6
Tie a knot on the opposite side of the first button and move the second button next to knot #2.
-
 Step 7
Continue this process until all the buttons have knots on both sides.
This can get a little tricky. I find it easier to do if I move the “free buttons” further down the ribbon so that I have plenty of space to fashion each knot. It does get easier with practice. -
 Step 8
Trim the ends of the ribbon and seal them using a heat source. I use a candle lighter, and just pass the flame quickly across the cut edges of the ribbon.
-
 Step 9
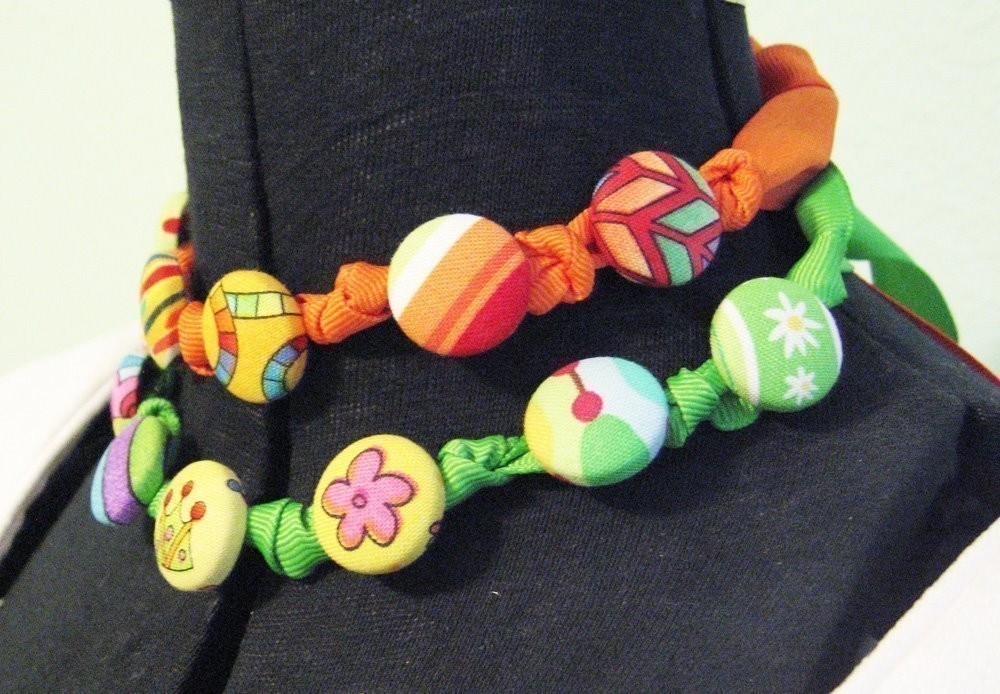
Tie it on and off you go!
I just noticed that I didn't follow my design layout, but changed it up a bit. I also love these a bracelets!


Comments


