About
takes one big scrap, one long skinny scrap, and an old pair of jeans
A gardening apron that takes one big scrap, one long skinny scrap, and an old pair of jeans and whips them into a divine little ditty for digging in the dirt. You can do it. (There's lots of very satisfying straight line sewing ahead of you.)
-
 witterings favorited Easy Peasy Gardening Apron
13 May 11:17
witterings favorited Easy Peasy Gardening Apron
13 May 11:17
-
 Kathy Gregson added Easy Peasy Gardening Apron to Weihnachten
07 Dec 03:15
Kathy Gregson added Easy Peasy Gardening Apron to Weihnachten
07 Dec 03:15
-
 Finn favorited Easy Peasy Gardening Apron
21 Feb 17:25
Finn favorited Easy Peasy Gardening Apron
21 Feb 17:25
You Will Need
-
 Step 1
Gather up your goods.
You need just these things:
A hunk of heavier weight fabric (upholstery, oil cloth, denim—something like that).
Shoot for something somewhere around 20" X 30". But remember--this is a scrap apron so there's no need to be picky about it. Just hold it up to the front of you if it's around this size and check to make sure that it covers all you want to cover. (The seam allowances only take up a bit of the fabric, so you'll get a good sense from the hold-and-check method here.)A longish strip of some other fabric (plain old cotton is fine, though the heavier stuff tends to be easier to work with, I think.)
You're going to cut this long piece into three that are 2" wide. Two of these strips will be for the ties, so make sure they’re nice and long. (40” is really as short as they should be—so you might have to piece together some strips to get this length.) This apron looks niftiest when the ties double back around and make a swell bow or knot in front. The other strip is used as flair, so it just needs to be the same length as the bottom edge of the main panel.One pair deconstructable jeans.
I usually find a pair that are already blown out, but I’m making this particular one for my son’s first grade teacher and I wanted to use a pair of his jeans that he grew out of while she had him in class. I know: I’m sappy. Don’t follow my lead—just go find some pants you’d just as soon cut up as keep. -
 Step 2
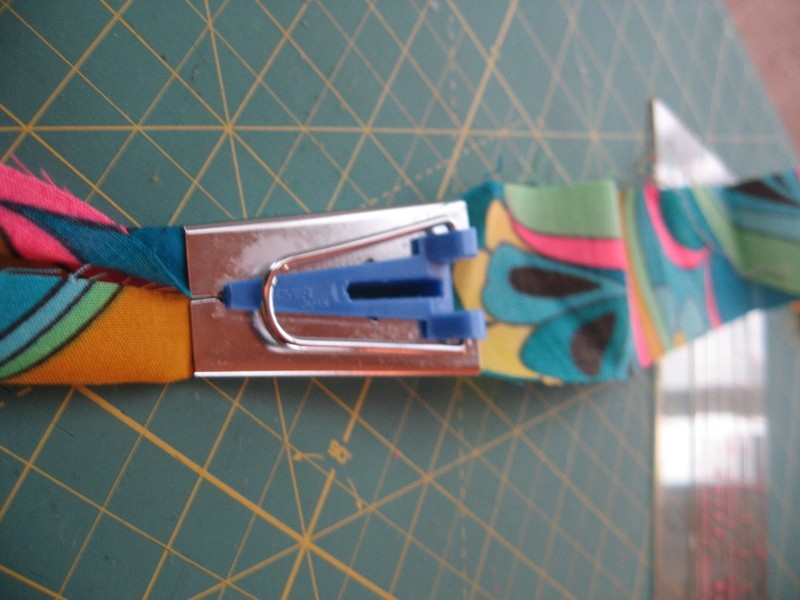
Make your ties & trim.
I know this seems like it comes later, but you’ll need to do it now because there’s not too many steps in this apron. So go find your bias-trim-maker. (Don’t have one? Stop what you’re doing and go buy one: they’re fabulous. And cheap, too, which is key.) Well, okay, if you don't want to use the bias-trim maker, then just do some fancy ironing to get yourself some nice, long skinny ties. (After you cut your 2" strips, iron them in half, then open up the fold. Use the ironed fold line as a marker for folding in the two edges now so they meet in the middle. Iron that. Now fold the whole thing in half and iron it again. Do you wish you had a bias trim maker yet?) Like I said, feed your 2” strips of fabric through your bias maker and iron yourself into tricky bias-making goodness.
-
 Step 3
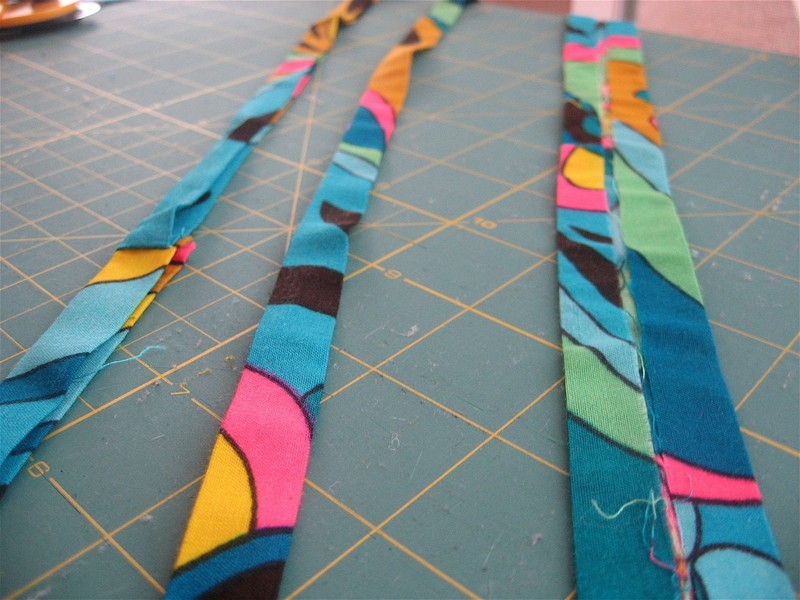
For the two super long ones that are going to be ties, sew yourself two nice solid edges.
-
 Step 4
See that edge? It's going to fray. I'm okay with that for a gardening apron. A little fray makes me feel like a thing is worn in. If you're not into fray, then just double the ends around and you'll have a little finished-end knob.
For the third strip, let it sit bias-folded and ironed--but unsewn. It will have a job later.
-
 Step 5
Spruce up the main panel.
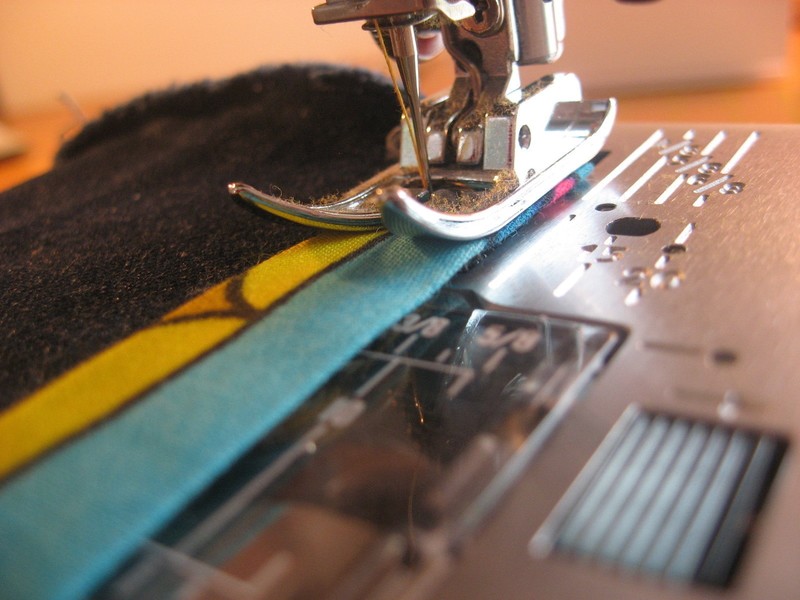
For your first step of fanciness, attach that piece of trim to the bottom of the apron. Don’t worry about the edges. You’ll get them later.
You can attach the trim however you tend to. I like to skip the fancy double-tack and just go for it--slip the trim around the edge and start sewing. This works especially well if you go slow.
-
 Step 6
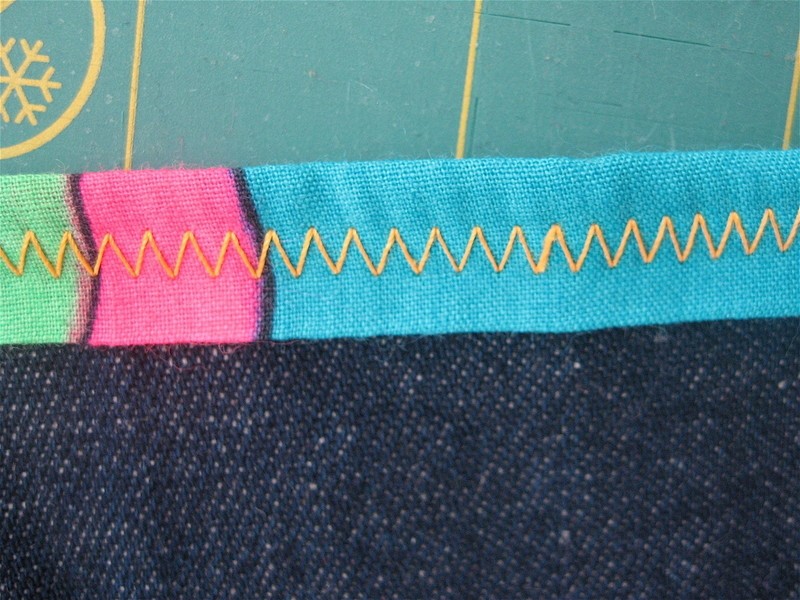
I zig-zagged this one. But check your feelings: you might be in a straight-line mood. That works too.
-
 Step 7
You've got the bottom edge set, now sew up the sides of your main panel. This isn’t too hard. I’m a fan of ironing the seam over and then folding it one more time and just sewing away. I hate pins. But you can do this however your little heart wants to. Just get yourself a finished seam on either side.
This is me folding and ironing the edge once, then I'll flip it once more and sew it up.
-
 Step 8
It'll end up looking like this when you're finished:
I mean, maybe yours will look even better (sometimes I sort of lose my mind on the back-and-forth setting . . .) All you did was fold that over twice and sew it, and it gave you a pretty little edge. Good job.
-
 Step 9
Attach the ties.
First, sew yourself a band for shoving the ties into. Here's how: fold down a ¼” width and iron it. Then fold the whole thing down 2” inches.
-
 Step 10
Sew it in place. This will give you a finished seam with gap in it (Think curtain top for this step.)
-
 Step 11
Now stick each of those ties you already made into each side. Place them just below the top of the apron so they've got some space to comfortably land when you double them around and tie them in front. Then sew the blazes out of them so they stay in place. You don’t want your apron ties ripping off on you.
-
 Step 12
And also, please turn your head away from the sight of my zig zag stitching. The Zig and I are not close yet. We are working on our relationship.
And if this happens to you, then just say a couple of swear words, rip it out and move on. It's not a big deal.
The more I sew, the more I think I should call my hobby Seam Ripping. I'm just saying.
-
 Step 13
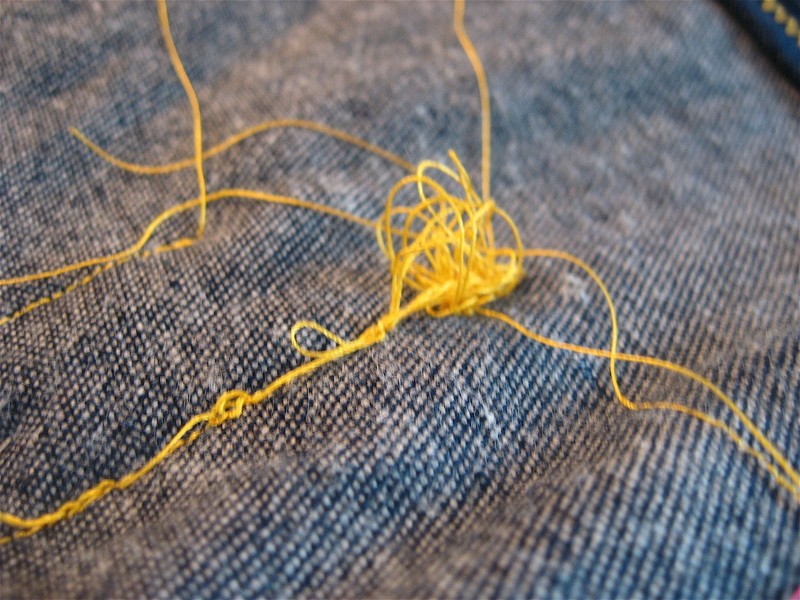
Pockets. Pockets. Pockets.
The best part of this last step is ripping up the old jeans. Maybe this says more about my destructive tendencies than I would otherwise like to share, but I think the cutting is lots of fun. And yes—I said CUTTING. Don’t spend 32 hours ripping the pockets off. Just tilt the pockets away from the pants and cut them off.
-
 Step 14
If you’re lucky enough to have painters pants, you might have a hammer loop or even some nifty little mini-pocket to work with. Sure, the back pockets are a good place to start, but don’t overlook your other good possibilities. These aprons are fun when they’ve got lots of pocket love.
Once your pocket pieces are cut (and I mean cut out and then the backs cut off),
-
 Step 15
then there's no end to how you can place them.
-
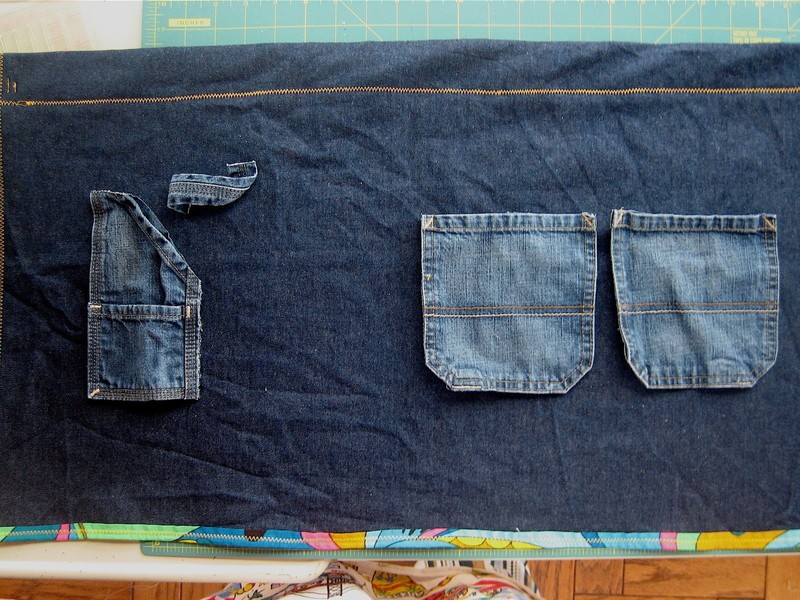
 Step 16
Always check your feelings and your old-jeans-stash. At minimum, I think two back pockets and a little one is nice. Lay your flat apron on the table and just start looking at the possibilities. Like this:
-
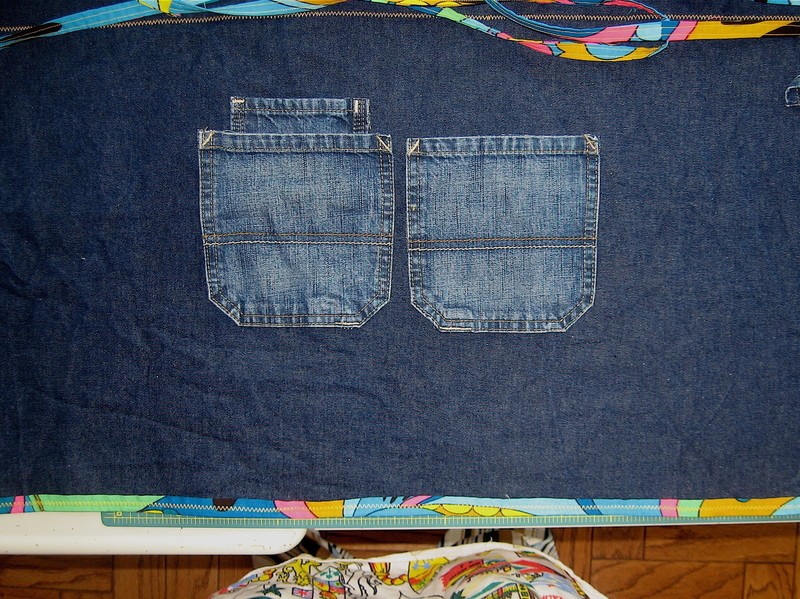
Step 17
I tend to put them all over the place and then settle on something pretty straightforward. Once you decide where you want the pockets to land, pin them in place and sew them on. (I know: I already said I never pin, but attaching pockets is the big exception to this rule. And that's only because I've done some wild free sewing of pockets and had to rip them out so many times that I've finally settled into this necessary step.)
-
 Step 18
I'm hiding a little pocket inside a big one here, so I've got that little one pinned and ready to sew first, then I'll put another big one over it and sew that.
How to sew them? Just pick one of those thread lines and follow it.
-
 Step 19
See? Easy peasy. Hence the name.
-
 Step 20
Go dig.
That was it. You’re done. Now get up from your sewing machine and start planting something to eat and look at. There’s no better place for finding your sanity than in the garden. Good luck to you. I’m having a heck of a time keeping the cabbage worms off my broccoli.