


About
Super easy and looks so cute!
It actually took me longer to write the tutorial than it took to make this!
If you are not experienced, it will take you a bit longer, but you'll get the hang of it pretty quickly. :)
Feel free to customize this project and really make it yours! The wrapping material is only limited by how flexible it is (you have to be able to wrap it tightly around your base cords) and how it feels next to your skin. So please, experiment!
Tags
-
 JadeSucksAtLife favorited Easy Friendship Bracelet Bangle
26 Feb 14:22
JadeSucksAtLife favorited Easy Friendship Bracelet Bangle
26 Feb 14:22
-
 VillainousNinja published their project Easy Friendship Bracelet Bangle
21 Sep 16:13
VillainousNinja published their project Easy Friendship Bracelet Bangle
21 Sep 16:13
-
 Step 1
Collect your materials.
Base cord: I used hemp cord because it's cheap and it's stiff enough to keep its shape while I wrap it. But feel free to use any old string or cord; you will be covering most of it :)
Colored cord: I've chosen a colored hemp cord. But you can use almost anything, really. Embroidery floss is a great choice as well, since it comes in many colors and you can buy as much or as little as you need. -
Step 2
Measure and cut your base cord.
Measure your wrist. You will need enough cord to wrap fully around your wrist + 12 inches so you have enough to braid the cord ends.
I need 6 inches to wrap around my wrist, so I'm cutting 18 inches worth of cord. Now, I prefer to double the length of cord and fold it in half, but you do you.
When in doubt cut extra! You can always trim the excess later. -
 Step 3
Determine how thick you want your bracelet to be.
Cut additional cord pieces of the same length until you are happy with the (twisted & compressed) collective thickness.
I want my bracelet to be a bit thicker, so I'm going to cut another doubled piece for a total of 4 strands thick (I'm already on the next step here). -
Step 4
Tie a starter knot:
Wrap your base cords around your wrist. Make sure you have the same amount of extra cord on each end (each should be about 6 inches). Make a knot using THESE 6 INCHES worth of cord.
Otherwise one braided end will be longer than the other. Which won't really matter much in the finished product, but it bothers me lol
Your starter knot should be about 5 inches from the short end, because you've used about an inch to make the knot! -
 Step 5
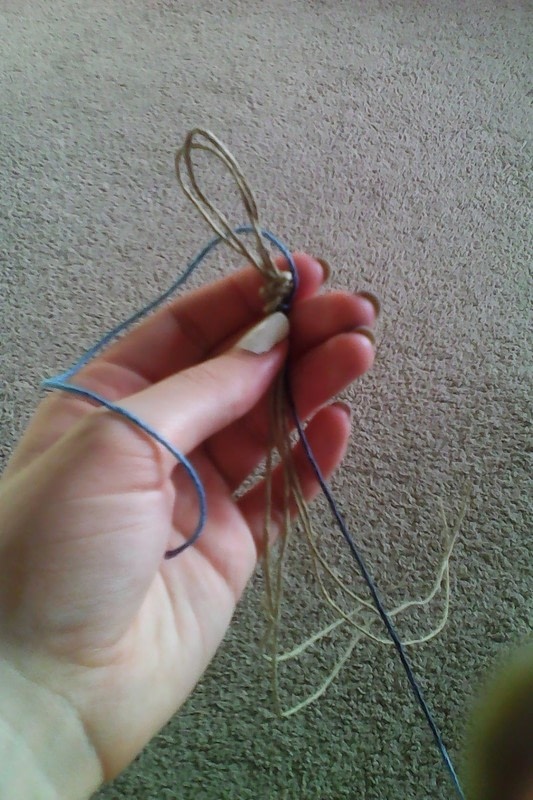
Now tie your colored thread around your base cords, just below your starter knot. Leave a tail at least 6 inches long.
I like to leave an extra-long tail, just in case I have to come back to this end and add a bit more. -
 Step 6
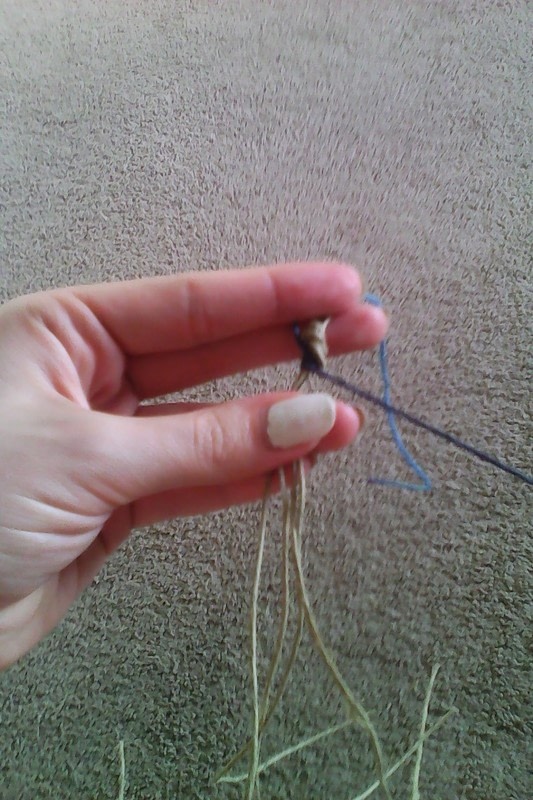
Begin wrapping.
Hold your base cord in one hand, and your colored threads in the other. Wrap the thread around the base TIGHTLY, making sure that you cover every bit of the base. This is very important, as you do not want the thread to become loose or undo itself as you are working!
If you are having trouble, grab a safety pin and pin the starter knot to a pillow, your pant leg, etc. This will free your other hand to help out! -
 Step 7
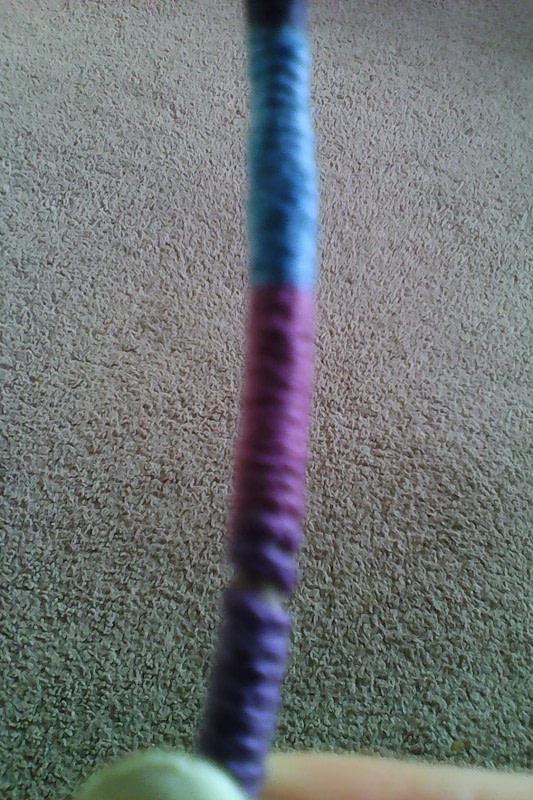
If you see any gaps form, just scrunch the thread back towards the starter knot to close the gap. I like to do this every half to three-quarters inch of work.
-
Step 8
Try on your piece from time to time (carefully, holding the loose threads on the working end so your work doesn't come undone!). When you are happy with the wound length, tie a knot around the base cords to secure it.
-
 Step 9
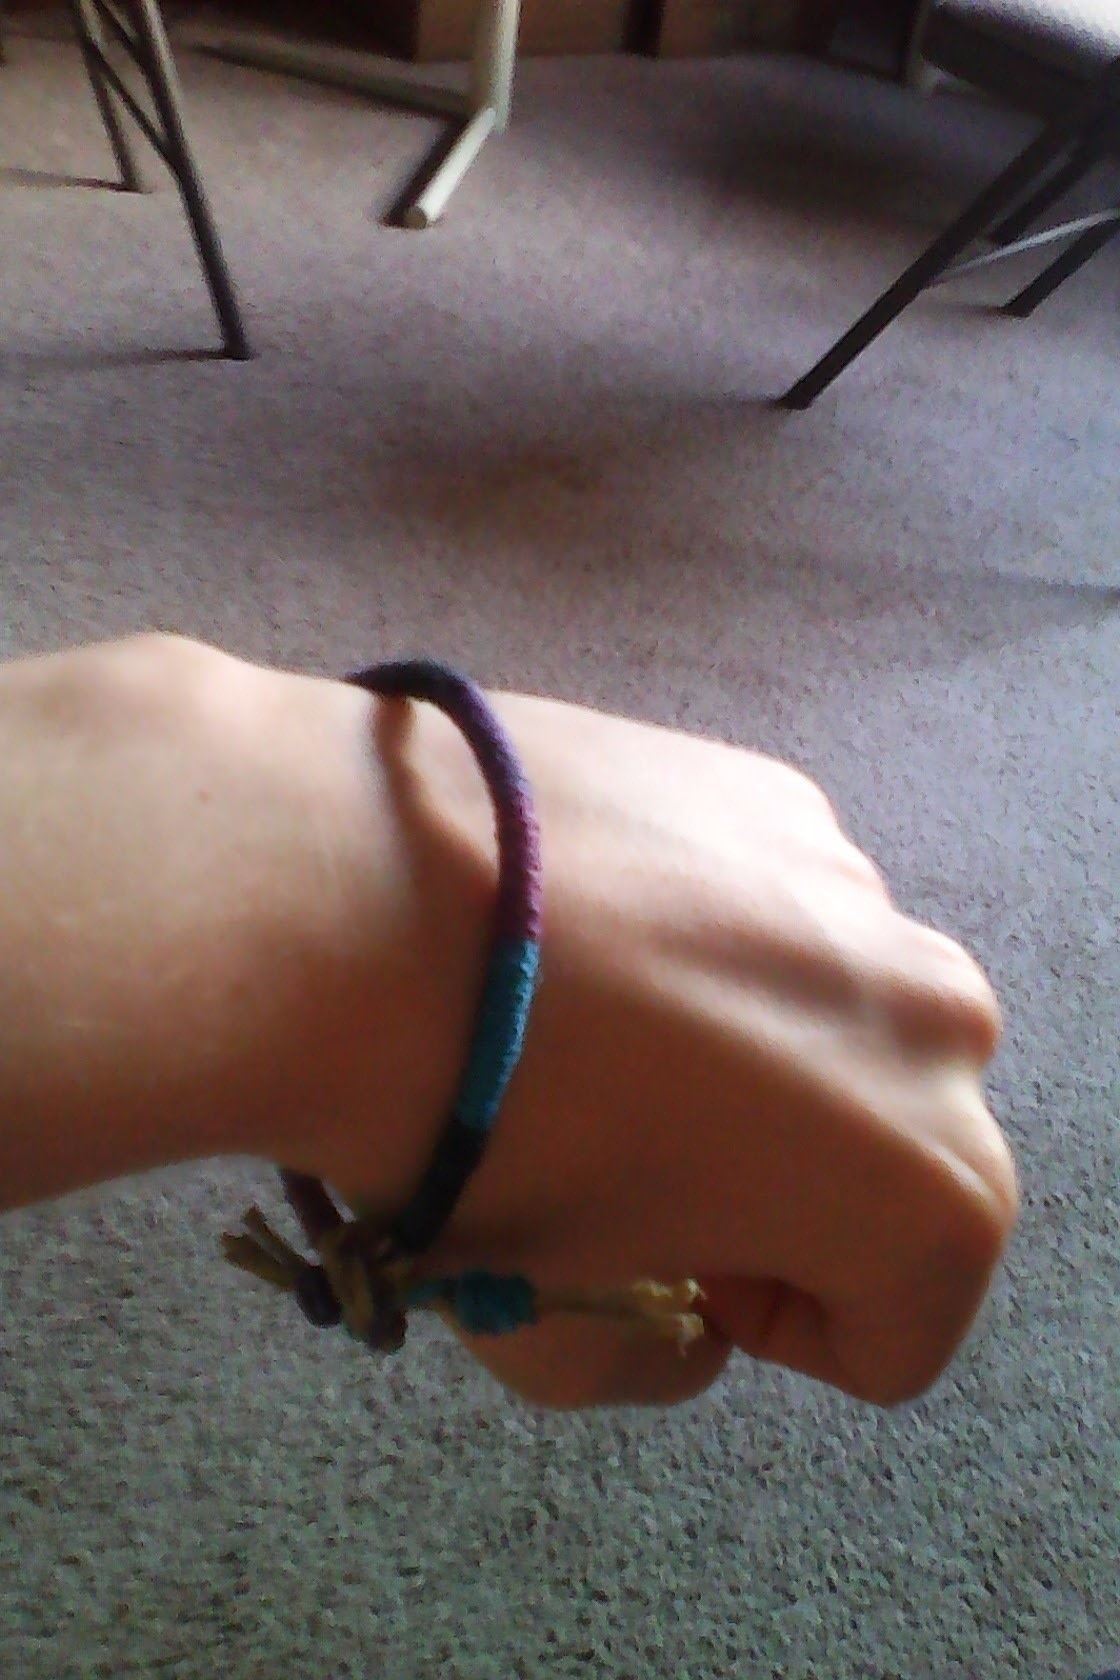
Braid the ends. (Don't mind my sock feet in the pic)
I usually just braid until I have about 1 inch of cord left. Tie a knot to secure the loose ends. I've tied a couple knots around the base cords as well using my colored thread.
Untie the starter knot at the other end of the bracelet and do the same. Trim the loose ends when you're done. -
Step 10
Optional: cover the knots at the end in a thin layer of clear nail polish or glue for added security.