
About
This week on The Hybrid Chick we are going to show hybrid projects you can make for Easter!
Hi! It’s almost Easter! This week on The Hybrid Chick we are going to show hybrid projects you can make for Easter! This should be fun! Let’s get started.
Today we are going to decorate those cheap plastic Easter eggs. We all have them, so lets doll them up a bit!
Tags
You Will Need
-
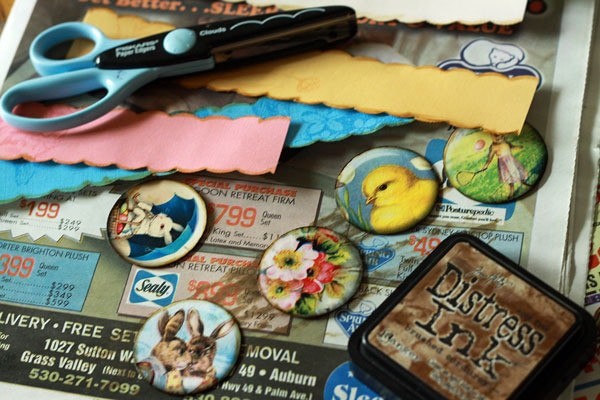
 Step 1
The first thing we need to do is design your egg decor in Photo Shop. These are super simple. Just take all the little Easter Epoxies and drag them onto an 8.5×11 file and print that. Then make a paper strip for each egg out of the papers. mine are like and inch and a half. Drag those all onto another 8.5×11 file and print that.
-
 Step 2
Then paint both of them in a coat of Mod Podge. The paper will curl a bit, but will flatten as it dries. Just paint a nice thin layer all over them.
-
 Step 3
After it’s dry take the Epoxy circles and glue them to the cereal box/chipboard with another coat of Mod Podge.
-
 Step 4
While that is drying you can cut out your strips. I used “Cloud” decorative edge scissors. Then ink the edges of the strips. When the circles are dry do the same, cut and ink.
-
 Step 5
Next I added a little piece of ribbon to the circles. Just cut a piece off and fold it with the 2 ends meeting in back of the circles. Then stick it down with a piece of double sided foam tape.
-
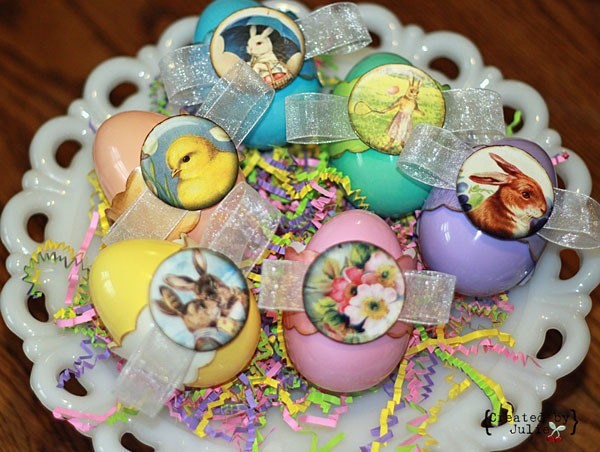
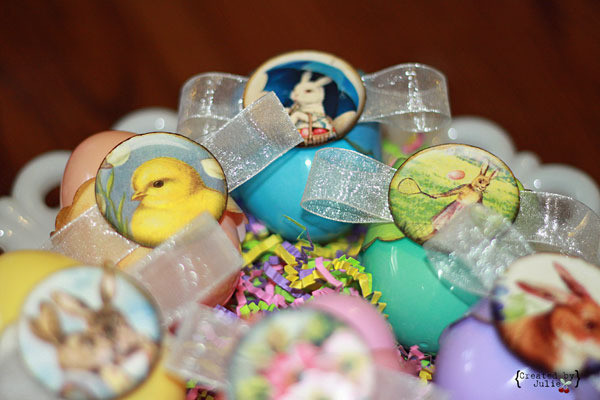
 Step 6
Now all you have left to do is wrap them around you Easter Egg and tape it in the back. I did place a few heavy books on them for a few hours first though. To get them nice and stuck together.
Here they are!