About
Use a laminator to increase life expectancy of paper dolls!
Get a comfortable pair of scissors ready as this is a cutting intensive project!
The laminator I'm using is the Xyron Ezlaminator: It is a cold laminator and the laminate has a water-resistant coating making it unsuitable for virtually ALL adhesives. It does allow you to cut into the laminated item though which is important for making the doll stand up.
Some of the paper dolls referenced come from paperthinpersonas.com
This site has dozens of different paper doll collection in color or black and white and they are free to use. I'm attaching the specific ones I pictured for simplicity but if you like paper dolls I suggest you check out the website :)
For the stamped dolls I used the "Keira" stamp by Julie Nutting (I found it at Hobby Lobby)
Tags
Downloads
- 114557_2F2016-06-19-051341-alice-in-wonderland-color-printable-paper-doll.png 951 KB [ Download ]
- 114557_2F2016-06-19-051352-fabulous-fairy-black-white-1.png 626 KB [ Download ]
- 114557_2F2016-06-19-051854-garden-ballgowns-black-white-paper-doll.png 850 KB [ Download ]
-
 Mildred H. favorited Durable Paper Doll Play Set
10 Sep 09:47
Mildred H. favorited Durable Paper Doll Play Set
10 Sep 09:47
-
 VeganSprinkles published her project Durable Paper Doll Play Set
13 Jul 09:06
VeganSprinkles published her project Durable Paper Doll Play Set
13 Jul 09:06
-
 Step 1
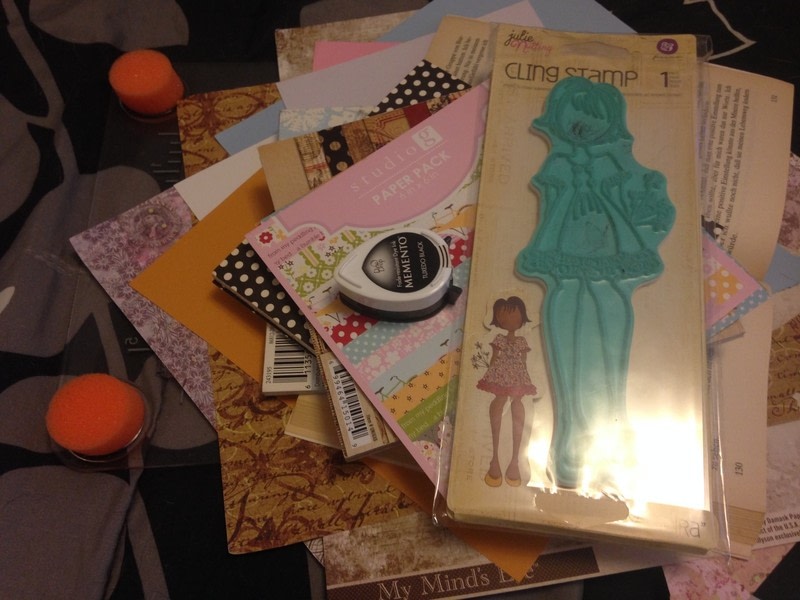
Doll Option 1:
Julie Nutting Doll Stamp "Keira"
Memento Tuxedo Black Ink
Fiskars Stamp Press
Lots of Fussy Cutting -
 Step 2
Doll Option 2:
Printable Paper Dolls
Either Color Images or Black and White
Coloring Supplies
Lots of Fussy Cutting -
 Step 3
Doll Option 1:
Stamp Dolls and various pieces
I stamped hair, dresses, and shoes on a variety of papers and cut out the pieces to create the pieces to change on the doll. -
 Step 4
Doll Option 1:
To make the dolls more sturdy I glued them to empty Kleenex boxes and cut them out.
You want to use thin cardboard so it will be able to be laminated. -
 Step 5
Doll Option 1:
To make the stand, trace something round onto some thin card board.
Make sure it is big enough to for the feet to fit (I'm using the inside of a duct tape roll.) -
 Step 6
Doll Option 1:
Cut the circle in half
In the 1st piece cut half way "up" the middle
in the 2nd piece cut half way "down" the middle
Feel free to color or paint these pieces as desired. -
 Step 7
Doll Option 1:
Glue the dolls feet to the 1st piece -
The piece that has the cut on the bottom so the two pieces can be connected and removed.
Try to leave a gap between the feet and the cut so you have room to add shoes later!
*This will NOT work with thermal (hot) laminate- If you are using hot laminate do NOT glue the doll to the stand and don't laminate the stand pieces -
 Step 8
Doll Option 2:
Print the dolls on card stock. I used white card stock I found at Walmart.
If you chose black and white, color them before cutting out to make it easier. -
 Step 9
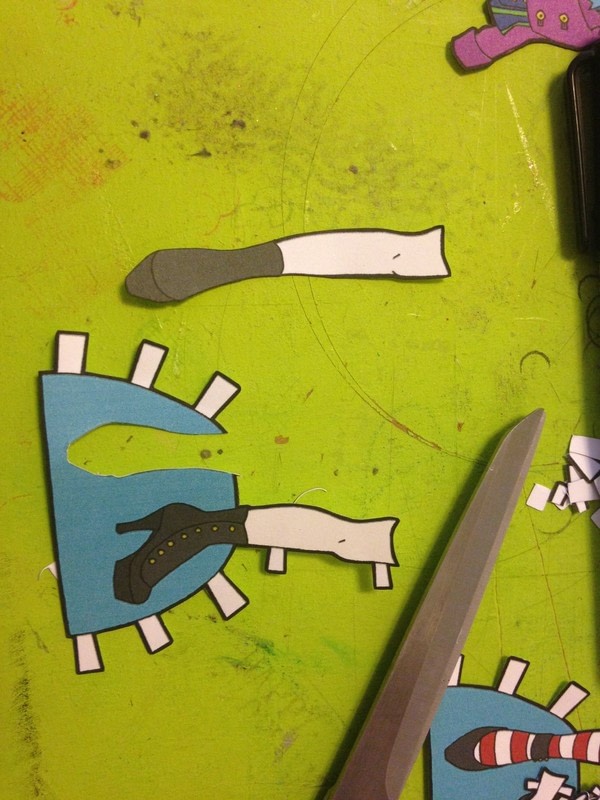
Doll Option 2:
When you cut these out cut off the tabs and use a black marker to fill in the lines if needed. -
 Step 10
Doll Option 2:
For the shoes I just cut out the actual shoes so I could add a doll stand. -
 Step 11
Doll Option 2:
I glued the doll to a thin piece of cardboard like a Kleenex box to make it more sturdy then cut it out.
The doll already has half of the stand attached.
To make the other piece trace the stand part onto a piece of thin cardboard, cut out and paint if desired.
Cut half way "up" on the doll's piece
Cut half way "down" on the piece you made
*This will NOT work with thermal (hot) laminate- If you are using hot laminate cut off the doll's stand and make 2 stand pieces (1 with a cut going up and 1 with the cut going down). Don't laminate the stand pieces -
 Step 12
Make sure any glue or paint is completely dry.
Laminate your pieces being sure to leave space around them to cut them out. -
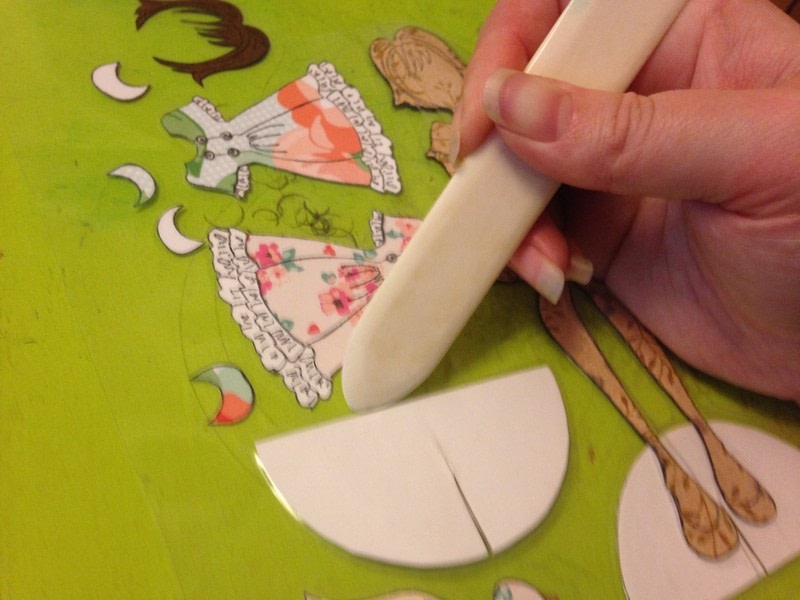
 Step 13
When you laminate there is a "halo" around each piece you want to be sure to cut around that "halo" or the laminate will pop open in that spot.
Because this is using a cold laminate the piece of plastic are like a sticker sandwich and you can make the halo smaller by burnishing around each item with a bone folder, popsicle stick, or even just your fingernail. -
 Step 14
The exception in this project is the doll's stand.
Because the cold laminate is basically a sticker you can cut right up against the project for the bottom of the doll stand and right up into the cut of the doll stand without it coming off (It is no longer protected for water at these areas once cut so no paper doll pool parties!)
*This will NOT work with thermal (hot) laminate- If you are using hot laminate Don't laminate the stand pieces and attach the doll to the stand After the doll is laminated. From my research Hot Glue and E-6000 work on hot laminate I have not tested it though. -
 Step 15
When cutting out the hair you can leave the laminate in the face area to make life easier- since the laminate is clear no one will notice when it's attached!
-
 Step 16
Because of the water-resistant coating on the cold laminate virtually no adhesive will stick to it. The exception is glue dots- The hold is temporary and will not hold much weight but works just fine for this project!
*If you are using hot laminate, as an alternative, you can glue pieces of velcro onto the doll and clothes. From my research Hot Glue and E-6000 work on hot laminate I have not tested it though. -
 Step 17
With the glue dots you can also add accessories like a flower on the hair or sequins over the buttons.
(This flower was make using the TIm Holtz Tiny Tattered Florals die) -
 Step 18
For storage you can leave the glue dots attached and just press two pieces together or cut out circles from your laminate scraps to put of the glue dots.
-
 Step 19
They're ready to play :)