

Double Crust Apple Pie
Extract from Mary Berry Cookery Course • By Mary Berry • Published by DK Books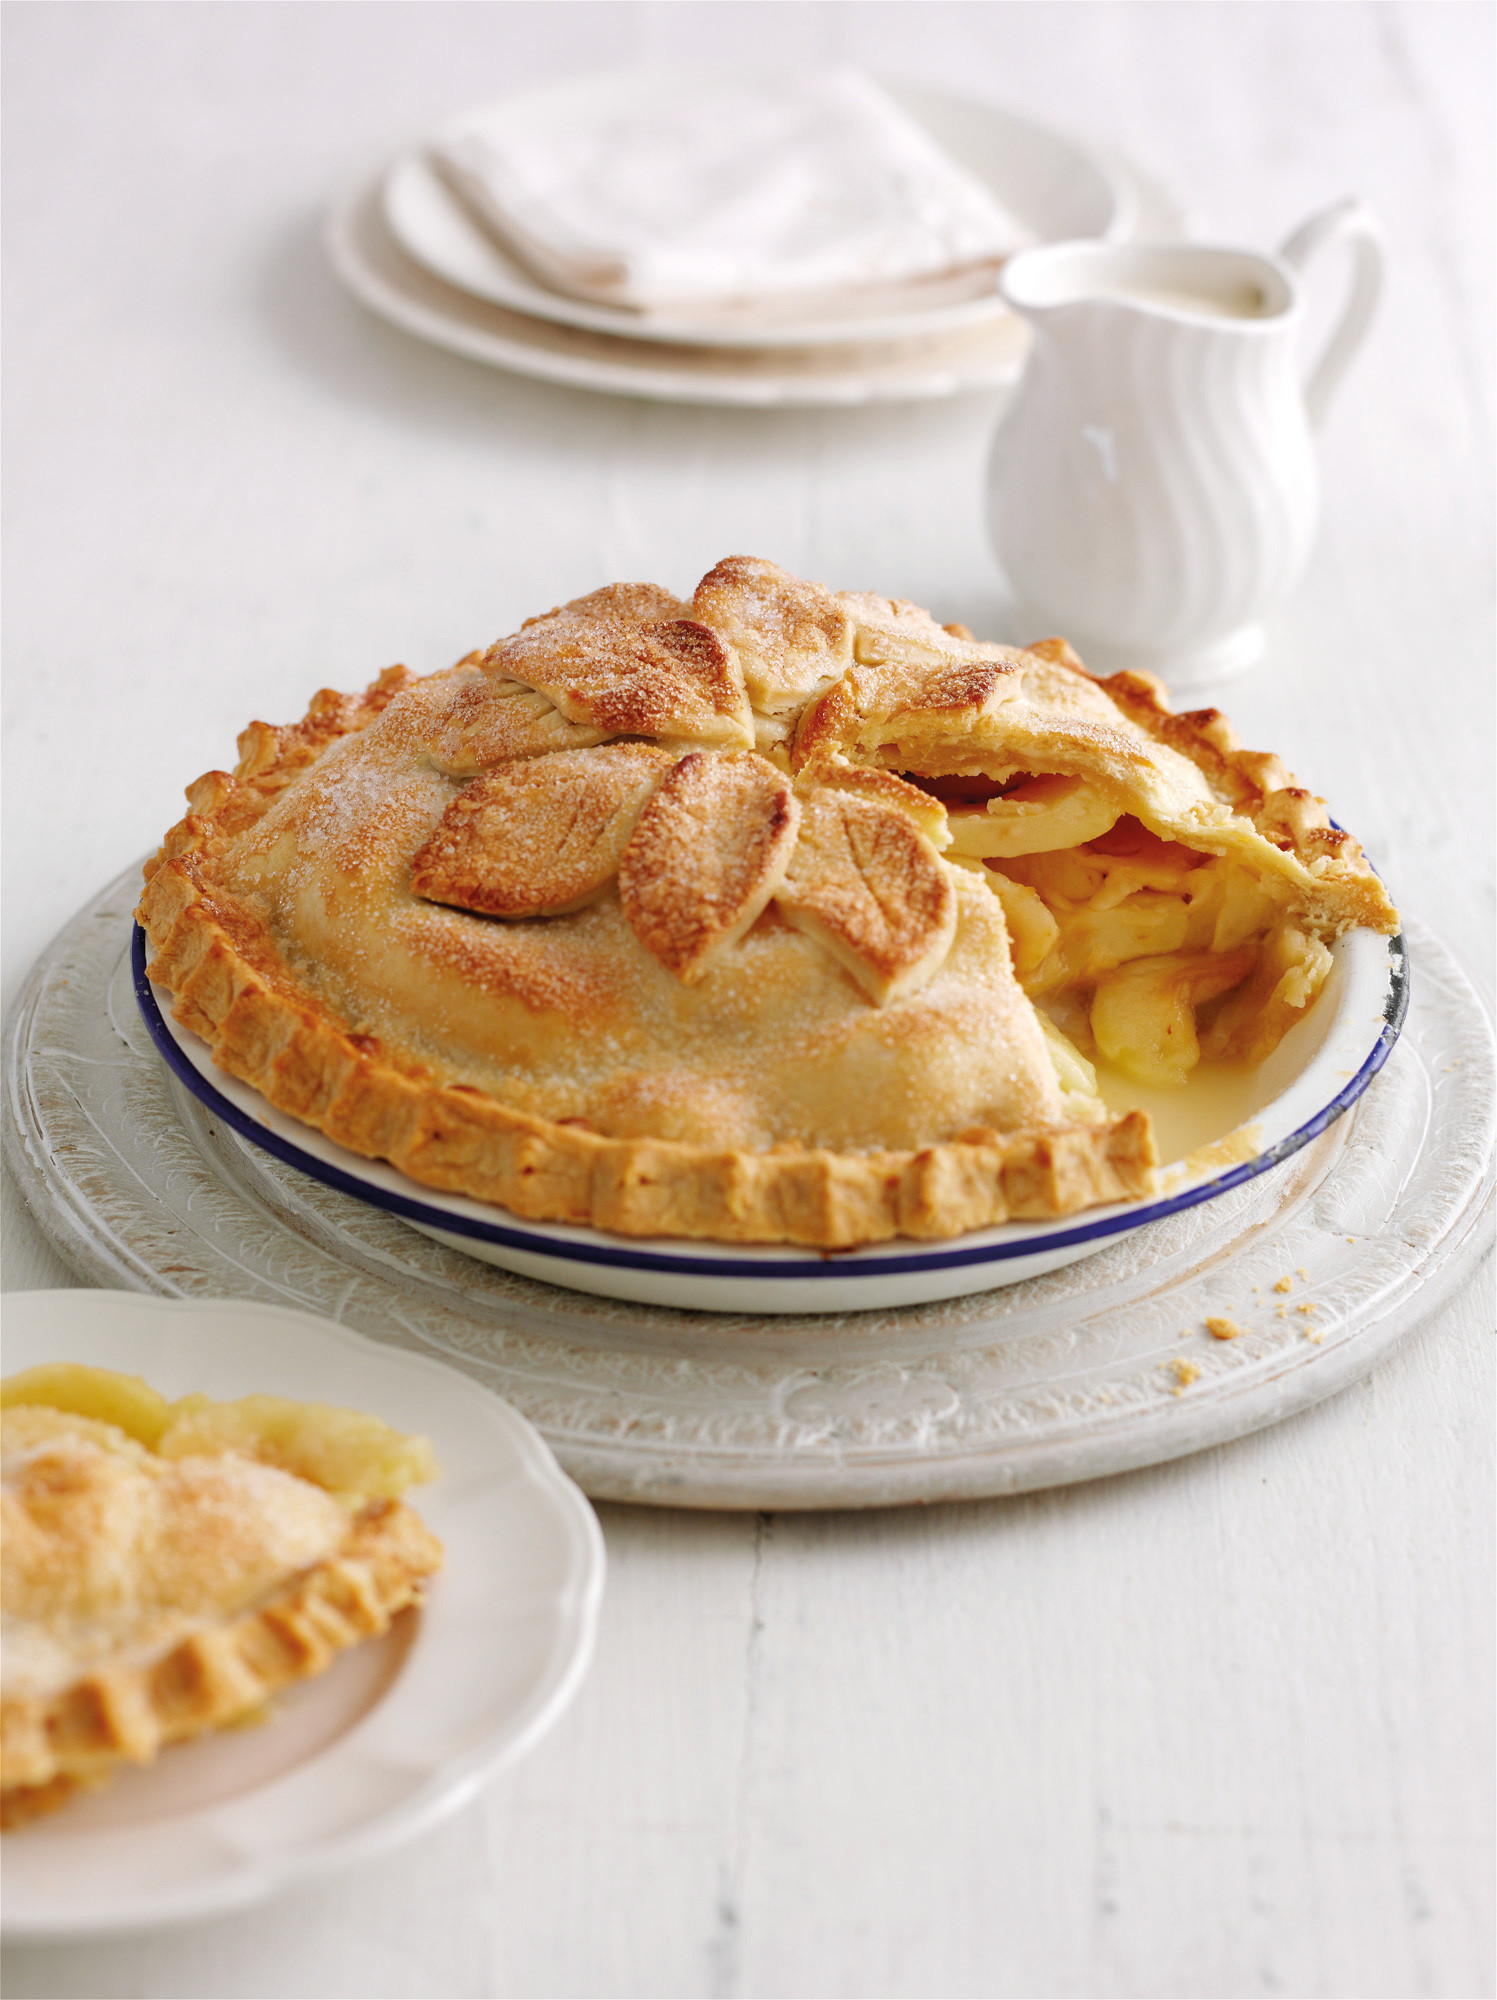

About
Mary Berry Cookery Course
Homely and traditional, apple pie is the perfect dessert for a special meal. It never fails to please and is surprisingly easy to master. The trick is to have crisp, golden pastry on the outside and tender, juicy fruit that holds its shape on the inside. For crisp, light pastry always work in a cool kitchen with cool ingredients and tools.
Serves 6
Prep 45 mins, plus 30 mins chilling
Cook 40–50 mins
Cook’s notes
Sweetness
Use only the amount of sugar specified and serve extra at the table if necessary, particularly if you’ve used cooking apples, which are less sweet than dessert apples.
Sugar draws out the juice from fruit, and if there is too much, it may overflow during baking and stick to the bottom of your oven.
Prepare ahead You can keep the pastry, wrapped in cling film, for up to 24 hours in the fridge.
per Serving
Calories: 546 Saturated fat: 11g Unsaturated fat: 13g Sodium: 241mg
-
 Alecia B. favorited Double Crust Apple Pie
21 Aug 05:38
Alecia B. favorited Double Crust Apple Pie
21 Aug 05:38
-
 ale_corason favorited Double Crust Apple Pie
07 Aug 02:29
ale_corason favorited Double Crust Apple Pie
07 Aug 02:29
-
Suzi T. favorited Double Crust Apple Pie
05 Aug 12:07
-
 DK Books published her project Double Crust Apple Pie
04 Aug 06:00
DK Books published her project Double Crust Apple Pie
04 Aug 06:00
You Will Need
-
Step 1
Make and roll out the pastry
Prep 15 mins, plus 30 mins chillingMake the pastry, wrap it in cling film, and chill for 30 minutes. Remove half the pastry from the cling film.
KEY to SUCCESS Re-wrap the pastry that you’re not using immediately in cling film so it doesn’t dry out.
KEY to SUCCESS Between each rolling, turn the pastry a quarter turn and dust the rolling pin with flour if sticky. Don’t stretch the pastry or turn it over.
-
Step 2
Flour your work surface and rolling pin. Flatten the pastry. Working from the centre out, roll out the pastry into a circle, about 35cm (14in) across.
-
Step 3
Line the pie tin
Prep 5 mins
With floured hands, fold the pastry in half, then in half again, to resemble a fan shape. Place it in the tin with the point in the centre. This will help minimize stretching.
KEY to SUCCESS Do not grease the tin before putting in the pastry; it is unnecessary and can cause the pastry to stick.
-
Step 4
Unfold the pastry and ease it into the tin without stretching or pulling. Do not worry about the pastry hanging over the edge, because this will be trimmed later.
-
Step 5
Make the filling
Prep 10 mins
Place a baking sheet in the oven and preheat to 220°C (fan 200°C/425°F/Gas 7). Peel, core, and slice the apples (see p210). Toss in lemon juice, then sugar and cornflour.
KEY to SUCCESS
Sprinkling the apple slices with lemon juice helps prevent them browning and adds flavour to the pie. -
Step 6
Turn the apples into the lined tin, then use a fork
to distribute the slices, heaping them up towards the centre. Brush the rim of the pastry with a little milk. -
Step 7
Finish the pie
Prep 15 mins
Cook 40–50 minsKEY to SUCCESS Making shallow cuts around the edge helps to form a good seal.
Unwrap the remaining piece of pastry, and as before roll it out, fold it into a fan shape and cover the pie.
KEY to SUCCESS A steam hole allows steam to escape, keeping the pastry crispy.
-
Step 8
Press down the edges. Trim the excess. Holding a knife horizontally, tap all around the cut edge of the pie.
-
Step 9
Crimp the edge as shown (see also p273). Brush the top with milk. Cut a 1cm (1⁄2in) steam hole in the centre.
KEY to SUCCESS The pastry should be pale golden and the filling soft when pierced with a knife.
-
Step 10
Re-roll the trimmings, cut out decorative shapes, and arrange on top of the pie, leaving the steam hole clear. Brush the shapes with milk and sift sugar over the pie.
-
Step 11
Put the pie on the baking sheet and bake for about 15 minutes, then reduce the oven temperature to 180°C (fan 160°C/350°F/Gas 4) and bake for 30–35 minutes.


