About
Walk your dog in style
The pet store sells lots of leashes, but they're either boring or really expensive! I wanted to unique leash without the price. With a few materials, your sewing machine, and just a little time, you can have a leash your dog is proud to walk on!
Tags
-
 Bette C. favorited Dog Leash: Sew Your Own
24 Apr 12:54
Bette C. favorited Dog Leash: Sew Your Own
24 Apr 12:54
-
 Elizabeth s. favorited Dog Leash: Sew Your Own
07 Sep 16:52
Elizabeth s. favorited Dog Leash: Sew Your Own
07 Sep 16:52
-
 Anna J. favorited Dog Leash: Sew Your Own
09 Aug 10:04
Anna J. favorited Dog Leash: Sew Your Own
09 Aug 10:04
-
 Catheleen M. favorited Dog Leash: Sew Your Own
09 Mar 22:21
Catheleen M. favorited Dog Leash: Sew Your Own
09 Mar 22:21
-
 Krys favorited Dog Leash: Sew Your Own
07 Mar 03:55
Krys favorited Dog Leash: Sew Your Own
07 Mar 03:55
-
 Jese R. favorited Dog Leash: Sew Your Own
05 Mar 21:05
Jese R. favorited Dog Leash: Sew Your Own
05 Mar 21:05
-
 Crafting with Court published her project Dog Leash: Sew Your Own
26 Feb 16:13
Crafting with Court published her project Dog Leash: Sew Your Own
26 Feb 16:13
You Will Need
-
Step 1
Cut your webbing and ribbon. To create a 6' leash (this is a great length leash and what dog trainers recommend you use), cut your nylon webbing to 80" and your ribbon to 82".
-
 Step 2
Burn the ends of your webbing and ribbon. Light a candle. Carefully, move the ends of your webbing and ribbon over the flame. This will cause the edges to melt slightly and prevent fraying in the future.
-
 Step 3
Fold 1" on ribbon on to the back of nylon webbing. Sew across the ribbon to attach it to your webbing
-
 Step 4
Attach your ribbon to your webbing. Start on the end of attached the ribbon to in the previous step. Line your ribbon up so it sits in the middle of your webbing. Place pins about every 6" to keep the ribbon stable and centered. When you reach the over end, you should have 1" of ribbon remaining. Fold the remaining inch of ribbon over and attach it with a pin
-
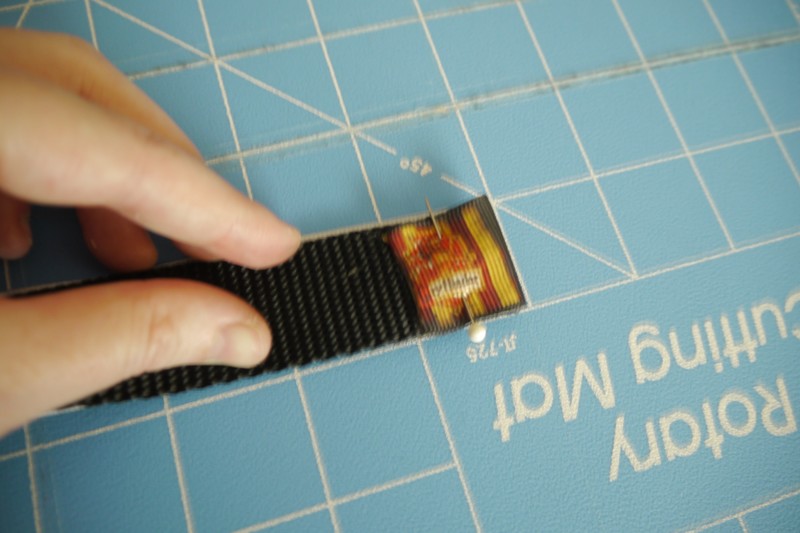
 Step 5
Sew the ribbon to the webbing. Place the needle as close to the edge of the ribbon as you can. I recommend sewing at a medium speed with a heavy duty needle to avoid breaking your needle. Run one continuous seam for the entire length of the webbing. When you get to the end back stitch. Remove the pins. Now, do the same thing for the other side of the ribbon. Both sides of the ribbon will now be secured to your webbing
-
 Step 6
Sewing across the second 1" of ribbon you folded over in step 4.
-
 Step 7
Create the handle of the dog leash. Fold over 8" of webbing/ribbon with the ribbon on the outside. Use a Box X stitch to attach the webbing/ribbon to itself. Still using the heavy duty needle, slow your machine down to a pretty slow speed. Slow and steady wins the race. The Box X should be about 1.5" x 1". Your Box X should go to pretty close to the edge of the folded over webbing.
-
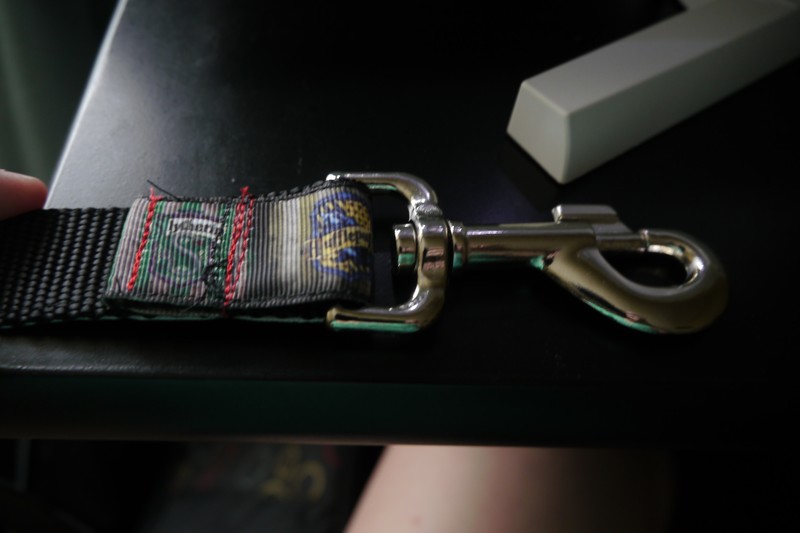
 Step 8
Attach the swivel snap hook. Slip the swivel snap hook over the other end (opposite the handle you just created) of the webbing. Fold 1.5" to 2" of webbing over. Run one set of stitches as close to the swivel snap hook as you can get. Go over this stitch at least 4 times (forward, back, forward, back). Move to the end of this piece of folded over webbing and run another set of stitches. Go over this stitch at least 4 times (forward, back, forward, back).
-
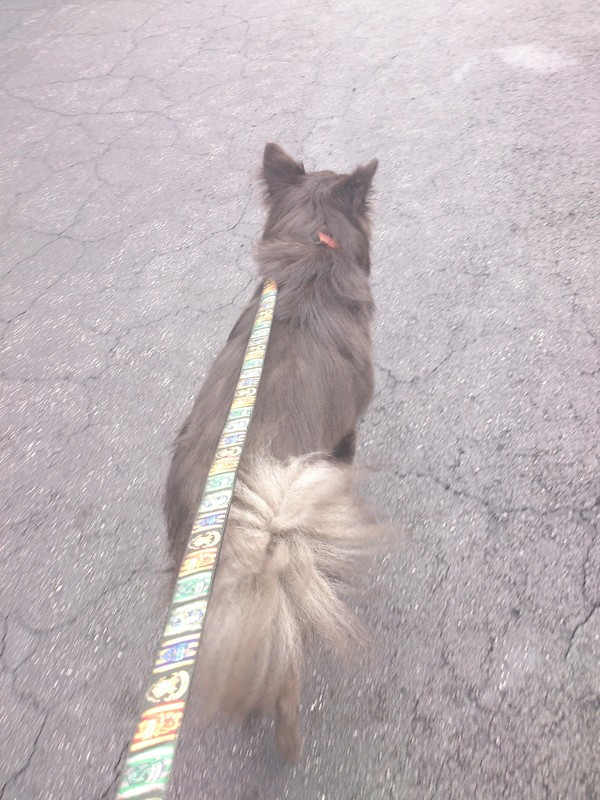
 Step 9
Attach the leash to your dog and enjoy a great walk!