
About
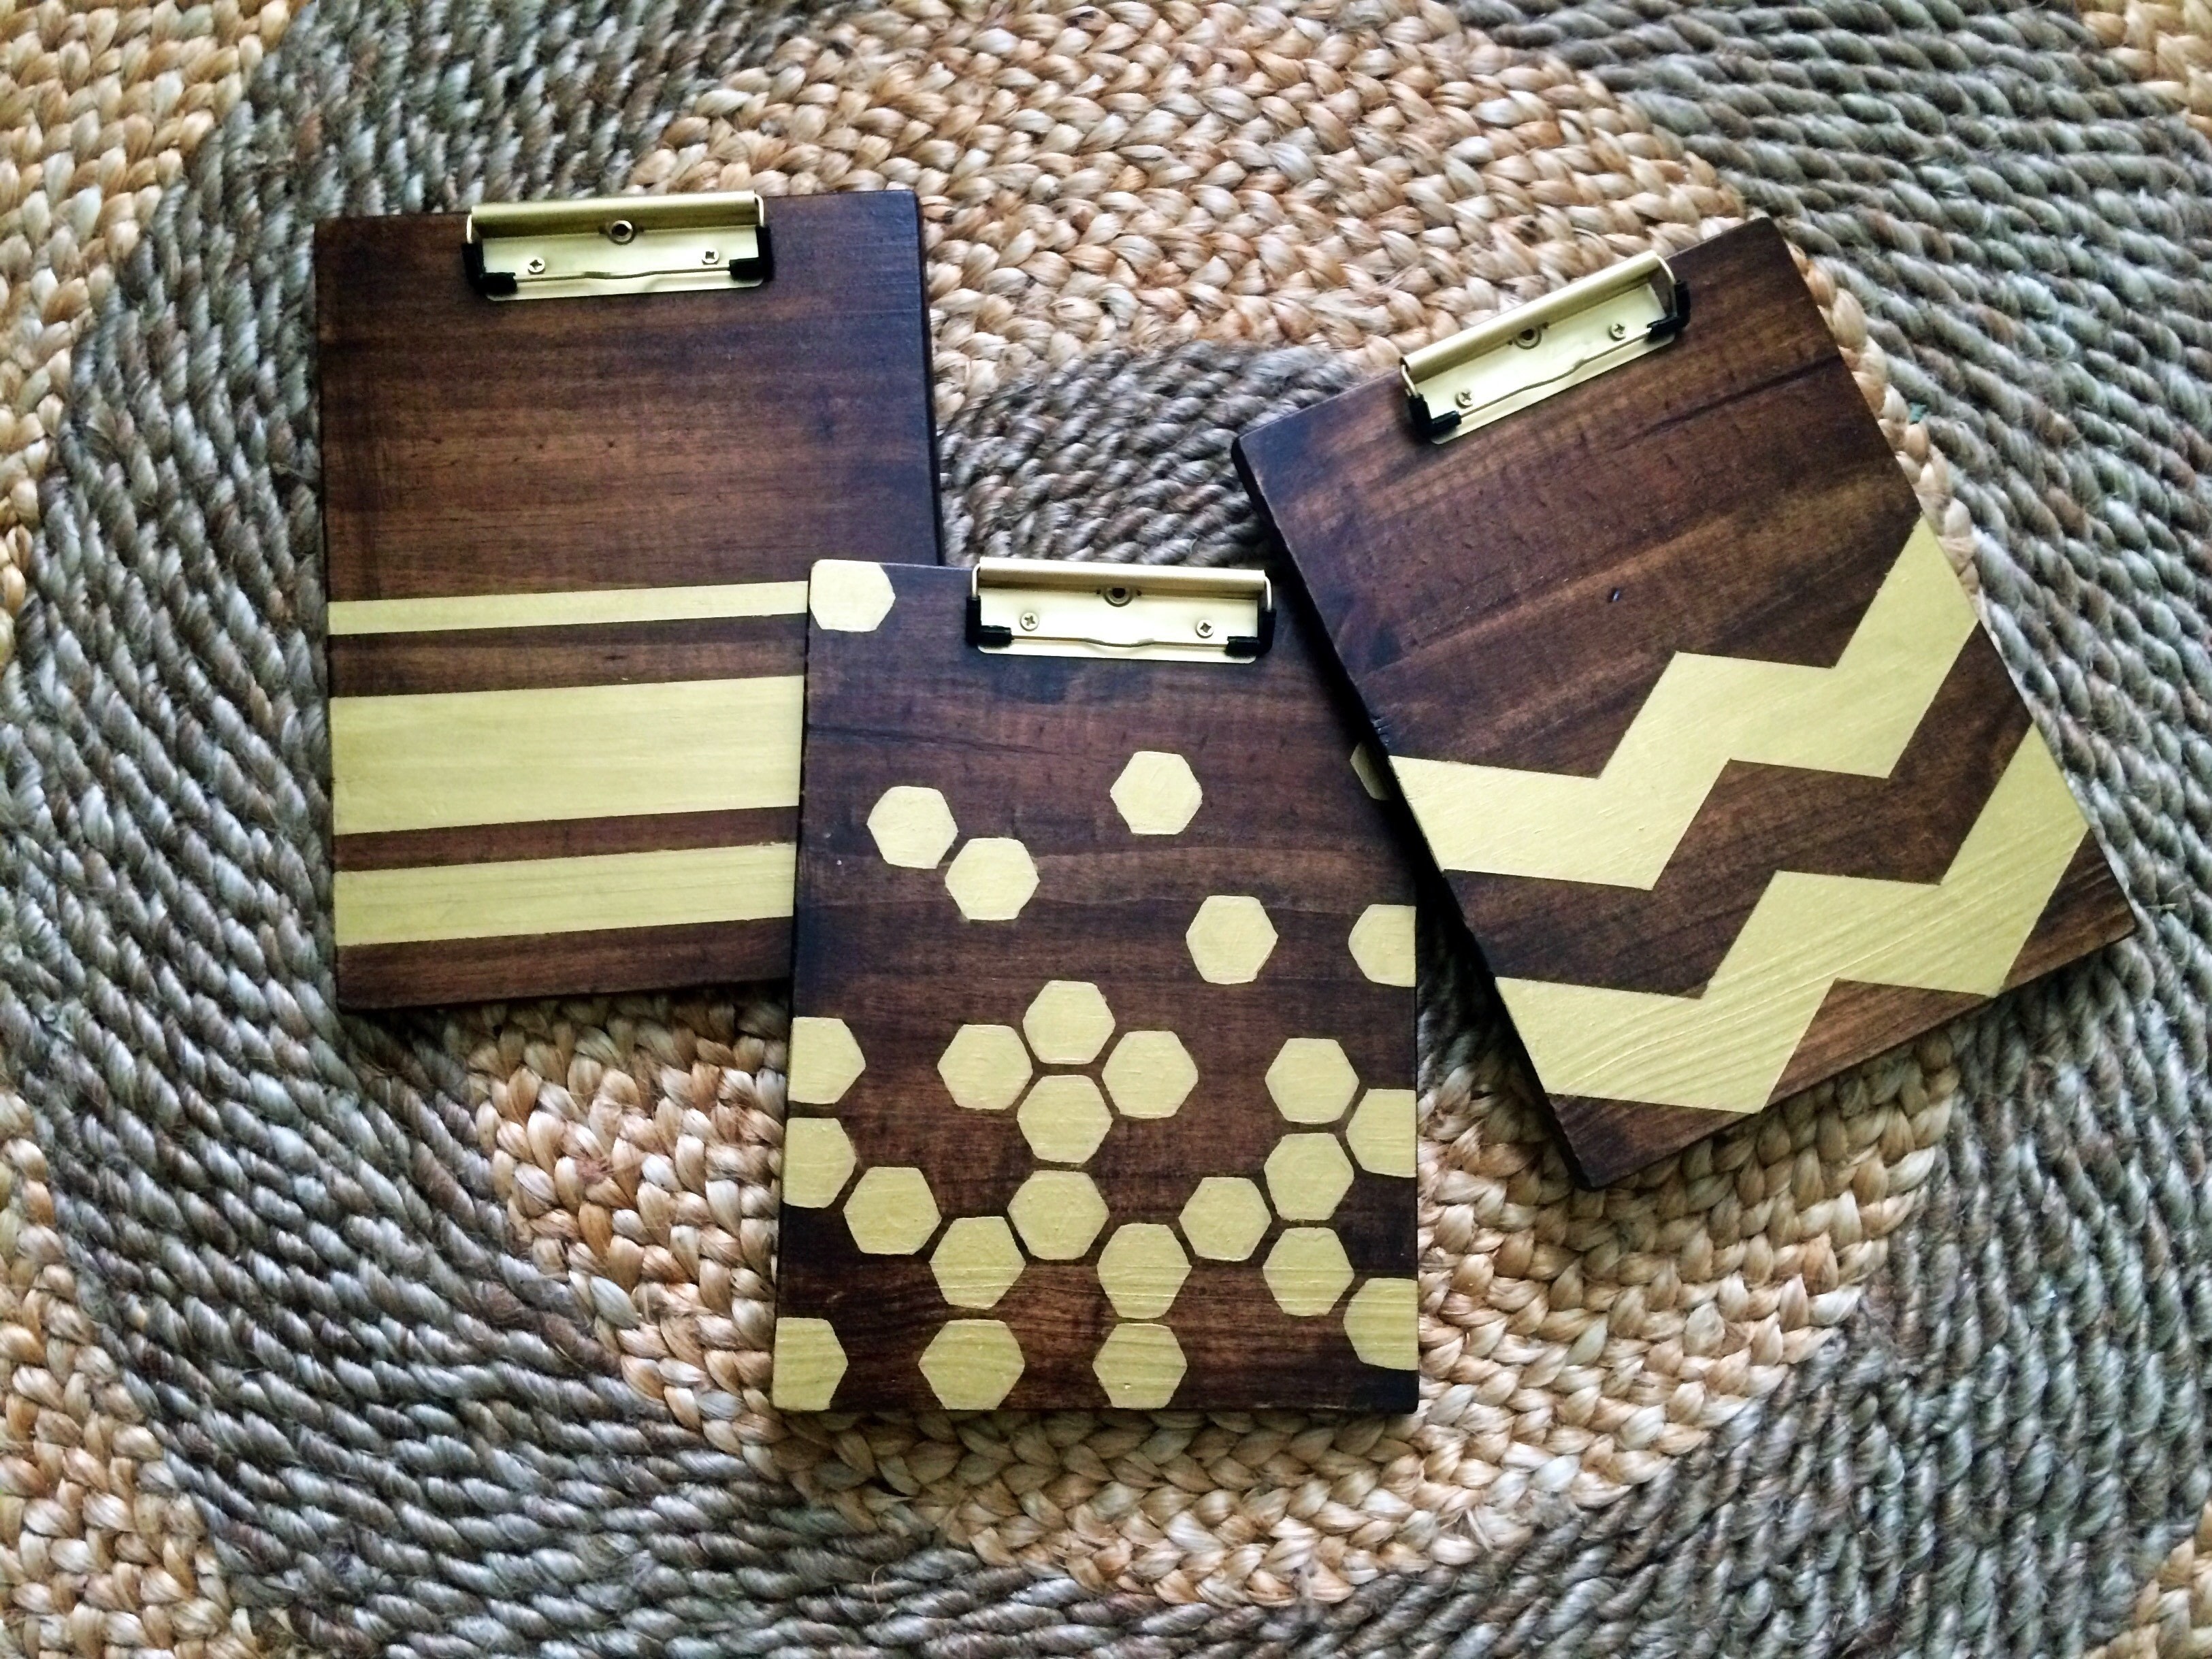
Create your own wooden clipboard with a gold design and accents.
It seems that we are always on the move going to the next job, crossing off a to-do list, or multi-tasking on a daily basis. That being said, a clipboard has come to my rescue multiple times to help keep me organized. In this post, I will be showing you how to make beautiful wooden clipboards with a little flair that makes this handcrafted clipboard very unique.
Downloads
- 111550_2F2015-10-16-203820-Chevron-cutout.pdf 114 KB [ Download ]
-
 Elizabeth R. published her project Diy Wooden Clipboards
10 Nov 06:00
Elizabeth R. published her project Diy Wooden Clipboards
10 Nov 06:00
-
 Step 1
Gather all of your supplies you will need for this project.
-
 Step 2
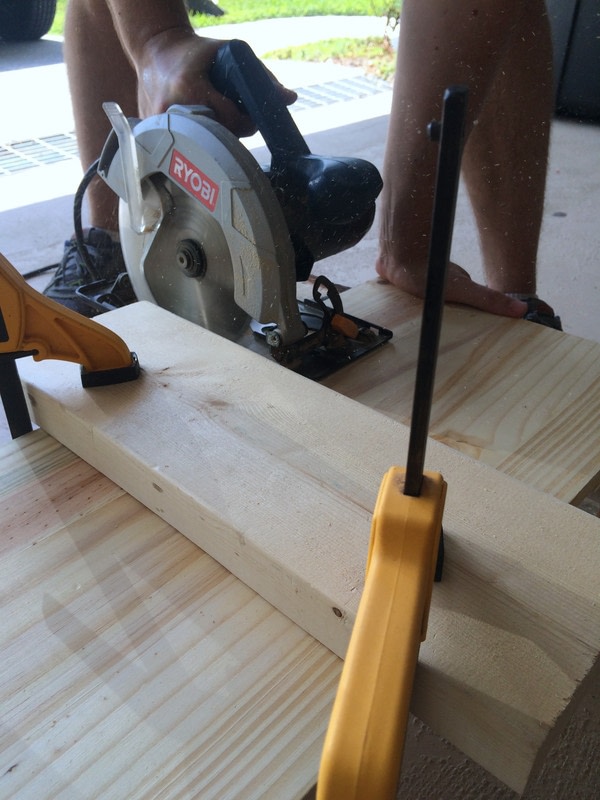
Use a piece of wood from your local craft store or cut your own piece of wood in the following dimensions: 9 inches x 12 inches.
-
 Step 3
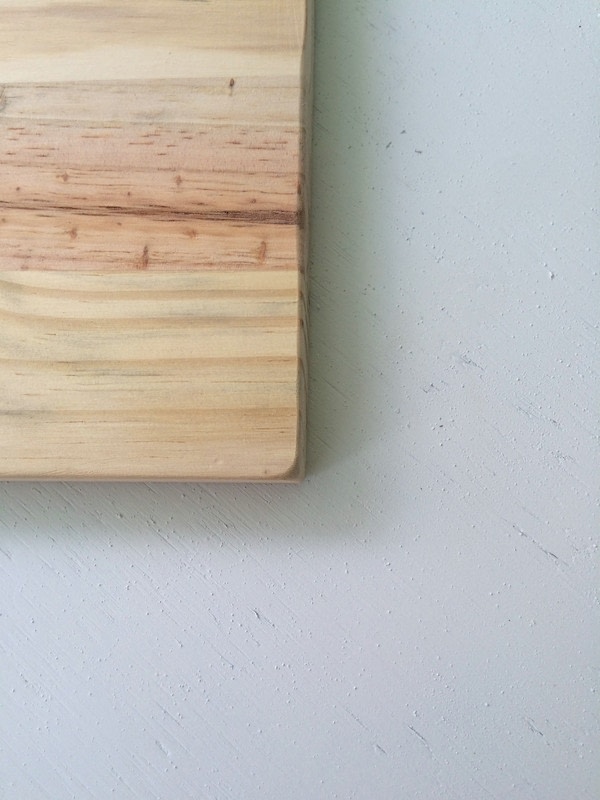
Sand all of the edges and corners of your piece of wood to create a smooth and rounded finish.
-
 Step 4
Using a foam brush, apply your stain by brushing it on going with the grain. Wipe the stain off with a paper towel after a few minutes. You will need to wait 1 hour for the stain to completely dry before moving on to the next step.
-
 Step 5
Download and cut out the chevron template to use on the clipboard. Trace the chevron pattern on the piece of wood using a pencil.
-
 Step 6
Apply the painter's tape along the edges of the chevron pattern to prepare the wood to be painted. Make sure to firmly rub the edges of the tape so that paint will not leak under the tape.
-
 Step 7
Painting away from the painter's tape, apply 3 coats of gold paint. Allow each coat to dry before applying the next coat of paint. Once the last coat has been painted, carefully pull off the tape before it dries to avoid peeling off a part of your design.
-
 Step 8
After waiting for the paint to fully dry, apply 2 coats of polycrylic with a 45 minute drying time between the 2 coats.
-
 Step 9
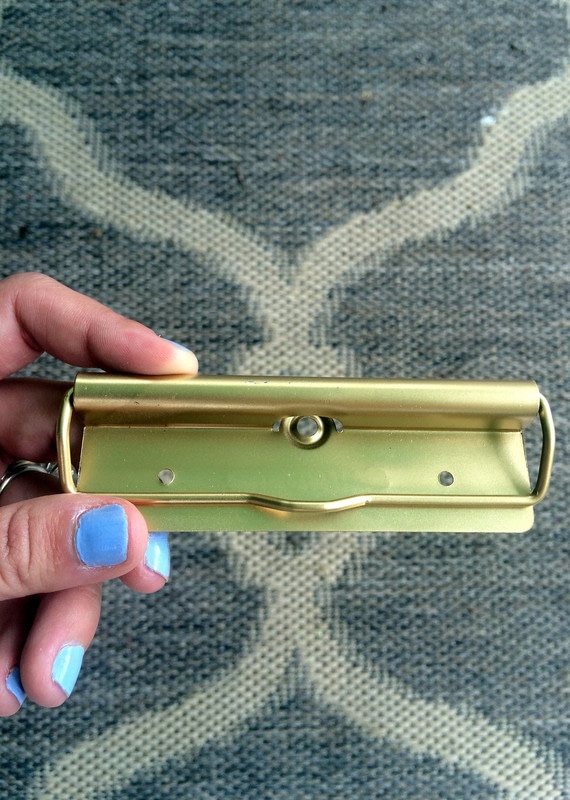
Spray paint the clipboard clip using gold spray paint.
-
 Step 10
Center the clipboard clip at the top of the piece of wood. Attach the clip to your board by using a power drill and screws. You now have a new wooden clipboard!