About
DIY Printable Candy Apple Favor Boxes
These DIY printable candy and caramel apple boxes make cute fall party favors! Plus they're super easy to assemble. Simply download the printable files and follow the instructions below.
You will need Adobe Acrobat Reader install on your computer to view the downloadable files
Tags
Downloads
- 115503_2F2016-12-06-021859-CandyApple_FavorBoxTemplates_LittleLuxuriesLoft.pdf 3.66 MB [ Download ]
-
 Rebecca favorited Diy Printable Candy Apple Favor Boxes
15 May 10:22
Rebecca favorited Diy Printable Candy Apple Favor Boxes
15 May 10:22
-
 Barbara M. favorited Diy Printable Candy Apple Favor Boxes
19 Jan 16:18
Barbara M. favorited Diy Printable Candy Apple Favor Boxes
19 Jan 16:18
-
 Rissy favorited Diy Printable Candy Apple Favor Boxes
09 Sep 00:56
Rissy favorited Diy Printable Candy Apple Favor Boxes
09 Sep 00:56
-
 Minna O. favorited Diy Printable Candy Apple Favor Boxes
10 May 05:55
Minna O. favorited Diy Printable Candy Apple Favor Boxes
10 May 05:55
-
Alissa B. favorited Diy Printable Candy Apple Favor Boxes
01 Jan 21:57
-
 Kat Benninger favorited Diy Printable Candy Apple Favor Boxes
24 Dec 23:11
Kat Benninger favorited Diy Printable Candy Apple Favor Boxes
24 Dec 23:11
-
 Crafterella featured Diy Printable Candy Apple Favor Boxes
24 Dec 23:00
Crafterella featured Diy Printable Candy Apple Favor Boxes
24 Dec 23:00
-
 AlterEgo Designs favorited Diy Printable Candy Apple Favor Boxes
19 Dec 16:23
AlterEgo Designs favorited Diy Printable Candy Apple Favor Boxes
19 Dec 16:23
-
ALISON A. added Diy Printable Candy Apple Favor Boxes to apples
19 Dec 09:21
-
 Alle C. published her project Diy Printable Candy Apple Favor Boxes
16 Dec 09:00
Alle C. published her project Diy Printable Candy Apple Favor Boxes
16 Dec 09:00
You Will Need
-
 Step 1
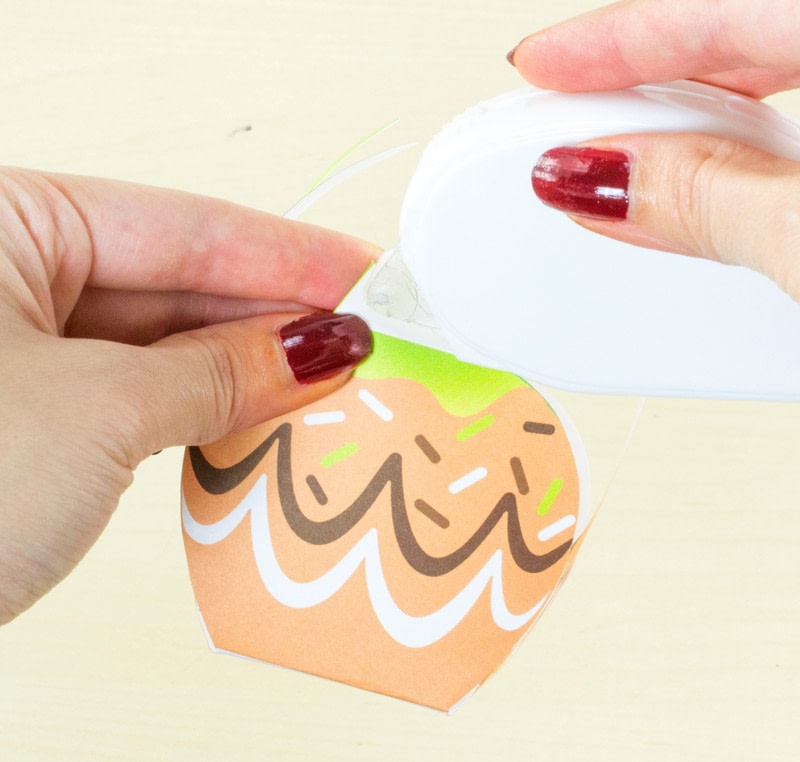
Print your apple templates onto 8.5" by 11" card stock (65lb). Next
cut around all the pieces. -
 Step 2
Crease all the edges and apply glue or tape to all 4 tabs on the
sides of the apple box. -
 Step 3
Fold up the sides of the box. Use your fingers to gently curl the sides inwards.
-
 Step 4
Crease the base of both stems so that they stand upright.
-
 Step 5
Apply glue or tape to the top 2 tabs. Press the base of the stems on to both of these tabs. The blank sides of the stems should be facing each other.
-
 Step 6
Next pinch together the two stems. Sandwich the stems between one of the slit on one of the sides. Insert little caramel squares or other small candies.
-
 Step 7
Lastly fold up the other side of the box, again by sandwiching the stems between the side slit. And you're all done :)