


About
My dog Spoon and his plastic doppelganger.
What are you gonna make today?
When my dog, Spoon attacked my rabbit PEZ I decided to make the best of a bad situation. Sure the PEZ was ruined, but I wasn't too worried about losing a good PEZ dispenser to the jaws of my dog. However, I thought twice about chucking it into the recycle bin and decided to do a little plastic surgery, using Spoon as my inspiration for the makeover. Here's the story of my time as a plastic surgeon...
My dog Spoon and his plastic doppelganger.
Tags


You Will Need
-
 Step 1
Battered, broken and left for dead...I thought twice about chucking this mangled PEZ into the recycle bin and decided to do a little plastic surgery, using Spoon as my inspiration for the makeover. Plan your design before you begin your surgery.
-
 Step 2
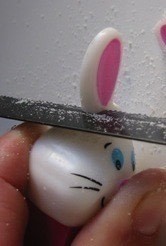
First, I needed to remove the ears. You'll be surprised at how easy it is to cut through plastic. To cut, use a small saw, sterilized of course. I decided to reuse the ears as dog ears. Think about how you can reuse the PEZ components in the new piece!
-
 Step 3
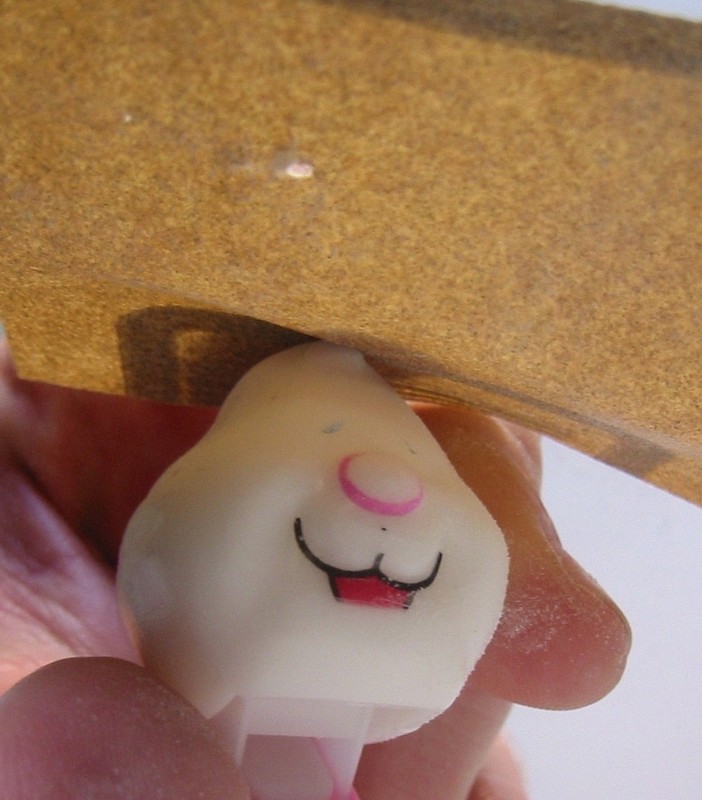
A little nubby. Nothing a quick sanding job can't fix. At this point a new face might start to emerge. Take a look at your design (you drew one before you began, yes?) Is there anything you would change?
-
 Step 4
Sanding will smooth out the rough spots, creating a perfect surface for the Sculpey clay. If you haven't done so wrap the dispenser part of the PEZ with painter's tape. This helps protect it.
-
 Step 5
You can also sand off any of the PEZ features and simply omit the clay process. Use DecoColor paint markers to give your character new features.
-
 Step 6
Spoon is coming to life. I added the ears first and built the clay around them, to hold them into place. Next, I started to mold the features - his snoot protrudes from the original face. While malleable the clay can be cut, rolled and stamped.
-
 Step 7
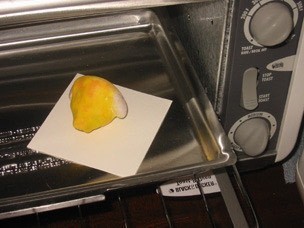
Yes, your project will need to spend some time in the dry sauna - aka the toaster oven. The polymer clay needs to bake for at least 15 minutes at 275 degrees for every quarter-inch of clay. Do not, I repeat DO NOT leave the room during this process.
-
 Step 8
It's easier to work with the head when it is back on the dispenser. You should be able to slide it back into place, use the pliers if you need help. At this point you can begin to add color and features to your new head.
-
 Step 9
Your own painting process might involve the use of paint pens or acrylic paints. After you have finished painting the project be sure to add a coat of water-based sealant to protect your hard work. Allow it to dry over night and remove the tape!
-
 Step 10
Friends forever? I hope.


your dog is so cute, especially with his pez. XD