
About
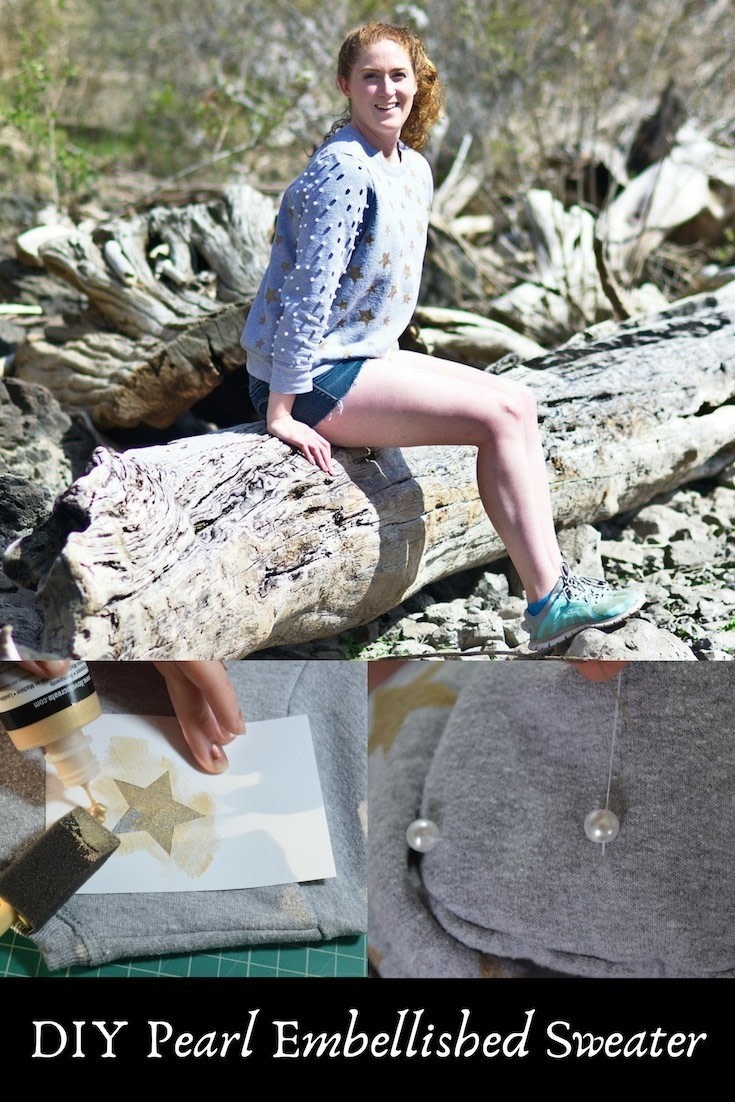
Embellish a plain sweater with pearls and gold stars
Learn how to update a plain ol' sweater with some adorable pearl sleeves and metallic gold stars. While this project isn't a quick 1 hour DIY, it's super easy and has great results! And I found the process of sewing on the pearls to be a nice relaxing evening activity.
Tags
-
 Key West Witch favorited Diy Pearl Embellished Sweater With Fabric Paint Stars
07 Aug 21:46
Key West Witch favorited Diy Pearl Embellished Sweater With Fabric Paint Stars
07 Aug 21:46
-
 Carmen B. published her project Diy Pearl Embellished Sweater With Fabric Paint Stars
03 Aug 09:00
Carmen B. published her project Diy Pearl Embellished Sweater With Fabric Paint Stars
03 Aug 09:00
-
 Step 1
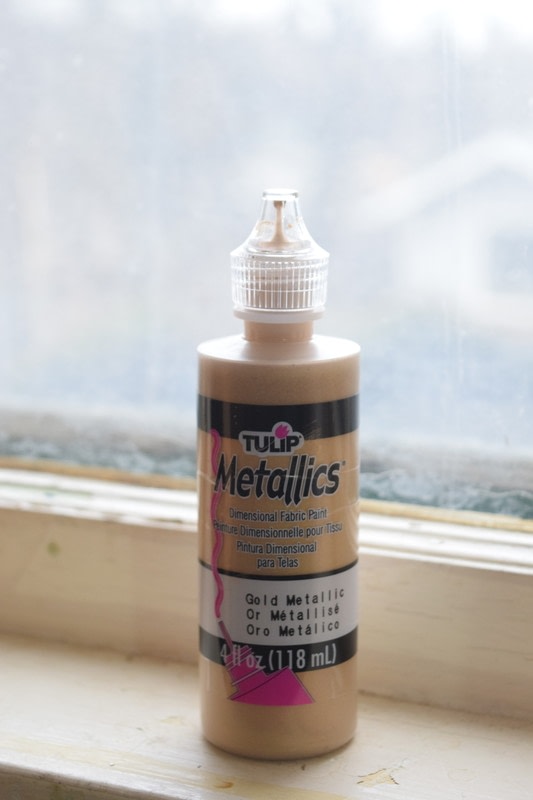
I decided to start with painting the stars on the sweater. To do this I first made my star stencils. You could also buy a stencil from your local craft store, but it's not too hard to make one!
To make my stencils, I printed off the star outlines from some clip-art I found online. I wanted two different sizes of stars so I printed the outline in both the sizes I wanted. I then cut loosely around the star, taped it to a piece of cardstock, then cut out the center of the star in the cardstock. After doing this with both sizes of stars I ended up with two stencils. -
 Step 2
Next, I practiced using the stencils on some scrap fabric to make sure my technique was working. I would really recommend practicing on some scrap fabric before trying to paint your sweater because it can take a few tries to figure out.
-
 Step 3
Before beginning to paint my sweater, I put a piece of cardboard from an old cardboard box into the sweater. This makes sure no paint will bleed through to the other side. I'm not sure if it would have bled through, but I didn't want to risk it!
-
 Step 4
Then, I placed the stencil where I wanted the star on the sweater and squeezed some paint onto the stencil near the star cutout.
-
 Step 5
I then held the stencil down as tightly as I could with one hand and spread the paint into the cutout with a paintbrush in my other hand.
-
 Step 6
Next, I squeezed more paint onto the stencil on the other side of the star and repeated the process from the other side.
-
 Step 7
Then I removed the stencil carefully and ended up with a beautiful star!
-
 Step 8
I repeated this process to cover one side of the sweater with stars. After waiting about 24 hours for the paint to dry, I flipped the sweater over and painted stars on the other side.
-
 Step 9
My final tips for using fabric paint and stencils on clothing:
1. Place cardboard inside the shirt to prevent paint bleed-through onto the other side of the shirt
2. Only spread paint towards the center of the stencil and repeat the process from both sides of the stencil, if you spread it towards the outside, paint may get under the edges of your stencil and ruin the shape
3. Practice before trying to paint your garment so you can perfect your technique
4. You may have to make new stencils at some point during the process if your cardstock isn't very sturdy and gets mangled by the paint/paintbrush -
 Step 10
Once all the stars were painted on and had completely dried, I moved on to adding the pearls to the sleeves. To begin sewing a pearl on, I threaded a needle with a double thickness of thread. To do this, cut a long piece of thread, then thread the needle and pull the tail through until it's even with the other thread tail.
-
 Step 11
Next, I tied the pearl on with a square knot. Only instead of wrapping the thread twice around the needle I used three wraps for extra strength.
-
 Step 12
Now just trim the ends and you're done! I left small (about 1/8 inch) tails on my knots, just so maybe they wouldn't come loose over time, but we'll see how it works I guess! Then you can just repeat this process to cover the sleeves with pearls. And you're done!