About
A how-to for the perfect houndstooth nails!
Houndstooth is one of my absolute favorite patterns! This tutorial shows you how to get this look - without too much difficulty. I recommend looking at a picture of the actual pattern while painting!
-
 Sveta favorited DIY Houndstooth Nail Art
02 Apr 08:23
Sveta favorited DIY Houndstooth Nail Art
02 Apr 08:23
-
 tyler t. favorited DIY Houndstooth Nail Art
15 Mar 09:57
tyler t. favorited DIY Houndstooth Nail Art
15 Mar 09:57
-
 KMOM14 favorited DIY Houndstooth Nail Art
16 Feb 03:38
KMOM14 favorited DIY Houndstooth Nail Art
16 Feb 03:38
-
 Cake Eater Sarah favorited DIY Houndstooth Nail Art
23 Nov 20:02
Cake Eater Sarah favorited DIY Houndstooth Nail Art
23 Nov 20:02
-
 Toxic Cupcake Killjoy favorited DIY Houndstooth Nail Art
22 Nov 10:08
Toxic Cupcake Killjoy favorited DIY Houndstooth Nail Art
22 Nov 10:08
-
 Celine Does Nails published her project DIY Houndstooth Nail Art
11 Jul 20:09
Celine Does Nails published her project DIY Houndstooth Nail Art
11 Jul 20:09
-
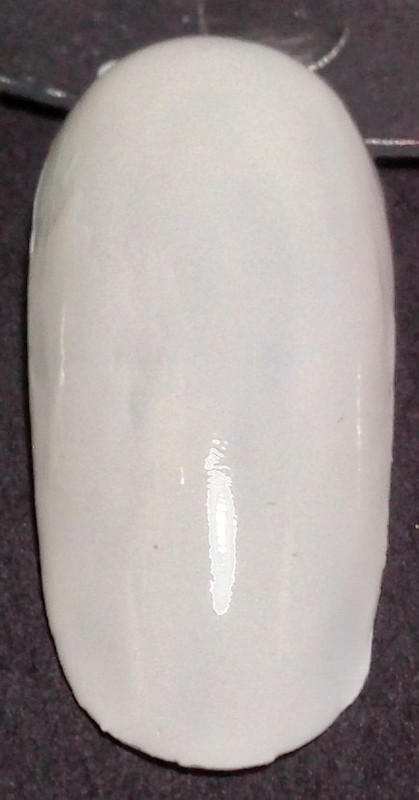
 Step 1
First thing is to paint your nails with a simple white polish. Definitely doesn't have to be perfect at this point!
-
 Step 2
Next, use your paintbrush and black acrylic paint to make small, evenly spaced squares.
-
 Step 3
Next, make small lines at the top of the squares.
-
 Step 4
Connect the lines to your squares and fill it in like so.
-
 Step 5
Next step is to paint the "legs" of the houndstooth pattern. Looking at a picture of the pattern helps immensely with this.
-
 Step 6
Last but not least, with houndstooth, it's important for both colors (black and white) to look the same. If necessary, go back in with white acrylic paint to ensure that the white parts look correct.