About
Fuse Tool
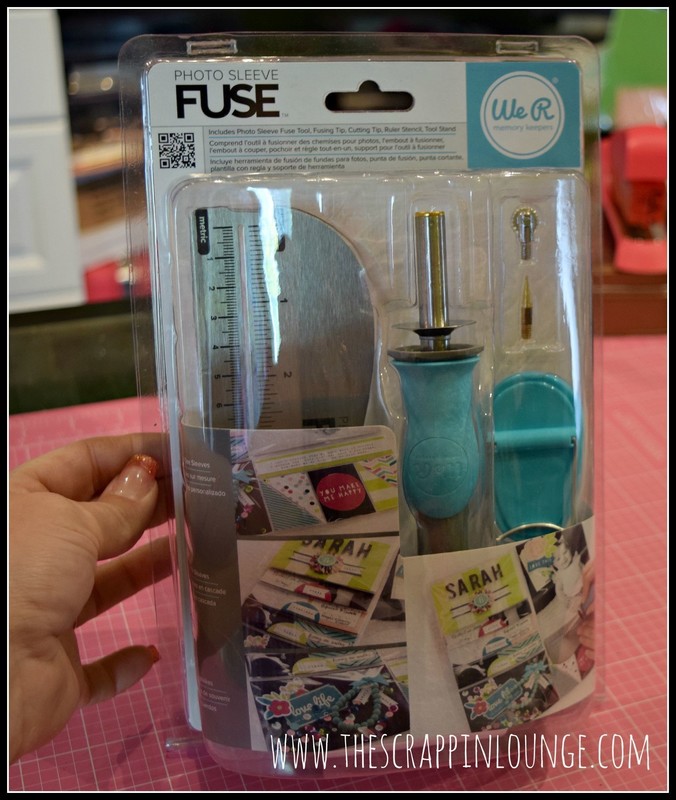
The Fuse Tool is very user friendly and I am in love with this simple yet complex tool. Creating projects is a snap with this little guy. I can not wait to create more projects like the one I created today a fun Home Decor project. Using the Fuse Tool by We R Memory Keepers and a few other products your projects are sure to be a success. Be sure to check out the full tutorial, and learn how to make your own home decor project using this fantastic tool.
-
 scrappin.madge published her project Diy Home Decor Picture Frame Using The Fuse Tool
08 Oct 06:00
scrappin.madge published her project Diy Home Decor Picture Frame Using The Fuse Tool
08 Oct 06:00
You Will Need
-
 Step 1
Using the Fuse Tool by We R Memory Keepers is fun! Simply take it out of the package. You are given two tips: one that looks like a pencil tip, and the other looks like a wheel. Decide which one works for you and put it into the end of the Fuse. You will then plug it in. After plugging it in, you will find also in the package a holder that will hold the Fuse tool off your surface. ** This is extremely important, if you just lay your tool on your crafting surface it gets hot and could possibly melt your surface area.
You also want to be aware that the metal below the area your hand holds also becomes hot, be sure to avoid this area or you will get burned. Keep this out of reach of small children. This is a fun tool but it is a hot tool.
Last but not least you get this fabulous ruler. I really like this ruler because it has a track to put your Fuse tool in when you are measuring. This keeps your lines straight and works like a champ. -
 Step 2
TIP: I strongly recommend making yourself a template. (I did not do this I just winged it, however if I would have had my sketch to follow things would have moved quicker and a little smoother.)
Here is my template that I made for you to follow. As you can see it is in a 12 x 12 format and I always try to stick to 1/4" 1/2" or 3/4" instead of using 1/8" 3/8" 5/8" and 7/8"You may want to refer back to this template several times throughout the tutorial.
-
 Step 3
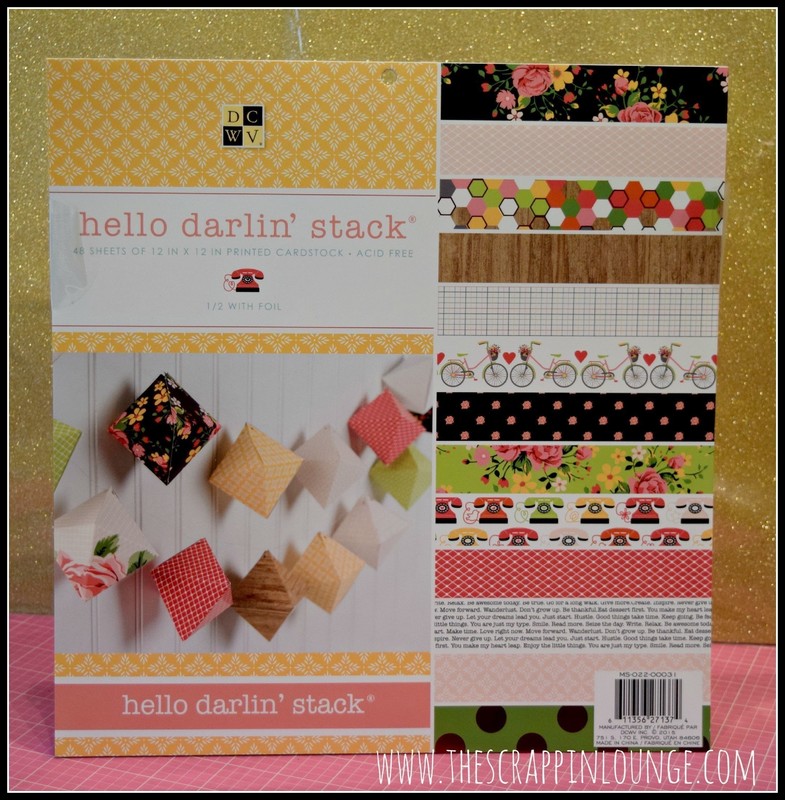
For my pattern paper I chose to use the Hello Darlin' Paper stack by DCWV. I just loved the bright colors and the different patterns in this stack. I used two pieces of paper from this stack.
One was a piece that had different patterns in different sizes of strips. The second one was one that had several different Project Life type items on one single sheet. -
 Step 4
I also chose to use a pack of Gold Sequins from Studio Calico with this project. I just love how trendy the gold is right now! So fun.
-
 Step 5
Let's get started. Step 1- Take your 12x12 sheet protector and measure 1 1/4" from bottom and mark your sheet protector. Take your sequins and fill the bottom. Take the Fuse tool with the ruler that came with it and find your marked line. (I used the roller tip because I liked the look of the tab lines, but you can use whichever tip you prefer) Place the ruler down and simply use the Fuse tool like you would a marker applying a LITTLE pressure but not much in the opening of the ruler making a straight line across the bottom of your sheet protector. Next cut your pattern paper 2" x 12" and slide into the bottom of your protector (on top of your now sealed sequins) Repeat the Fuse Technique with your ruler and Fuse Tool.
Step 2- Take your Project Life piece of paper or any pattern paper photo will work also. Place this in the right side of your sheet protector. Using your ruler mark a 4" x 6 1/4" Repeat Fuse Tool Technique. Cut a piece of pattern paper 2 1/2" x 6 1/4" and slide the pattern paper into the sheet protector right next to the rectangle you just made. Mark your sheet protector and repeat the Fuse Technique.
Step 4- This is a little tricky- I had several photo strips that I wanted to make a waterfall look with. However I did not have the right size of photo protectors. So here is what I did. Take a large 12 x 12 photo protector and cut the side with the holes off at the fused edge.
I then used my trimmer and trimmed down the sheet protector to measure 2 1/2" x 6 1/4"
Take your first photo strip and place it inside of the protector all of the way to the inside where the fold is. Take your ruler and Fuse Tool. Fuse the right side of the protector. Take your second photo strip and place inside next to the first one. Leave about 1/4" space between the two photo strips this time Fuse the left side of the photo strip and the right side of the photo strip creating your own sheet protectors. Repeat this step 5 times (or as many times as you have photos for). When you are done take your ruler and fuse off each and every photo at the top and the bottom of the photos. Once the photos are all fused cut them into individual strips. Set to the side you will need these soon. -
 Step 6
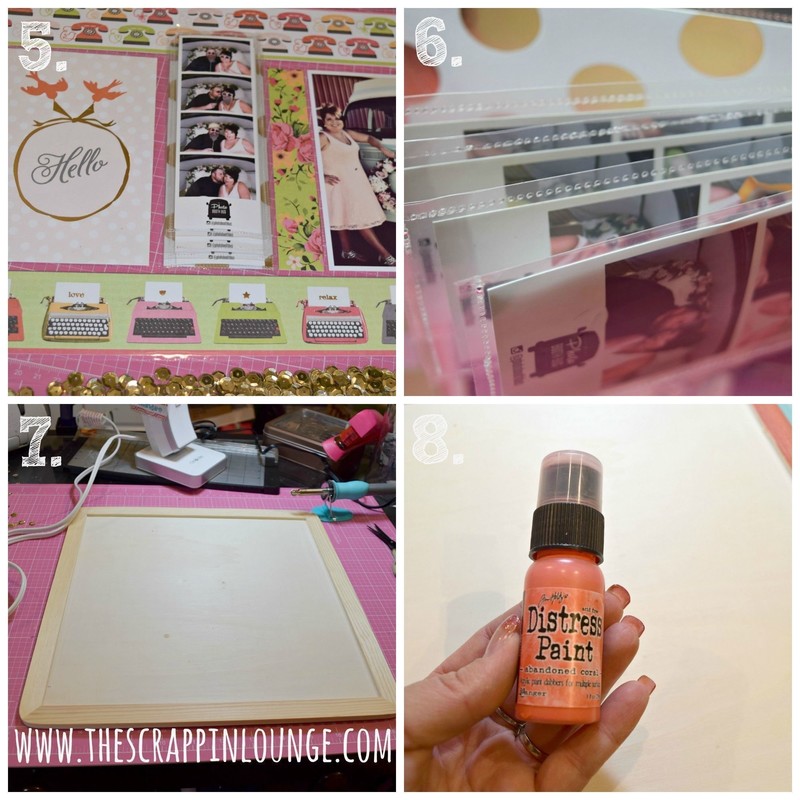
Step 5- Cut a strip of pattern paper 1" x 6 1/4" insert it into the sheet protector. Repeat the Fuse Tool Technique with ruler. Take a vertical 4x6 photo and place into the sheet protector. Fuse off the top.
Step 6- Take your photo strips and get ready to create that waterfall affect that I was telling you about. Start with the bottom photo strip. Placed it so it lined up with my white and gold piece of pattern paper (the 2 1/2" x 6 1/4" ) I fused the top of the strip to the sheet protector. I then took my second strip and placed it 1/4" up from bottom of my previous strip and fused it to the sheet protector, this should be the second of your waterfall. Repeat this step until you have used all of your photo strips.
Step 7- I used a 12 x 12 wood photo frame
Step 8- I love using the Tim Holtz Distress Paint because the colors perfect and the ease of this paint is awesome. You don't even need a paint brush because it comes with a dobber. Simply paint right on to the frame with no mess.
Allow frame to dry.
Cut one more piece of pattern paper 2 1/2" x 12" and place in your sheet protector. Use your Fuse tool and repeat the Fuse Technique.
9- Take your sheet protector cut the edge off with the holes and re-fuse the side closed. I used glue dots to adhere the sheet protector to the frame.
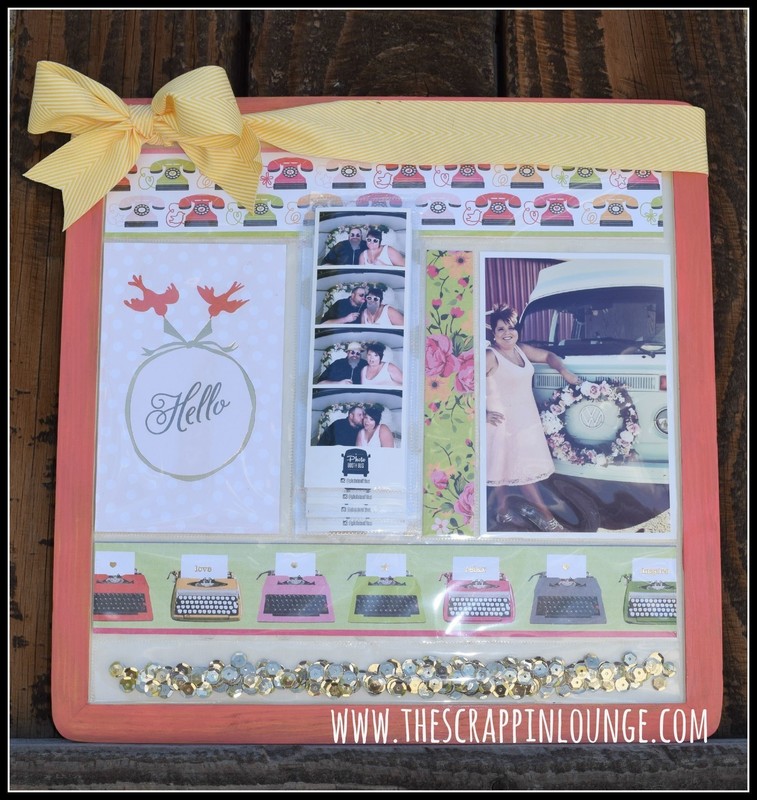
Take a large ribbon ( I used yellow by Maya Road) and wrap around the top of the frame. Tie a large bow on the left side of the frame. To hold the bow in place I used a glue dot. -
 Step 7
Now your DIY Photo Frame is complete! I hope that you liked the tutorial.
Hint**** if you don't want to make a frame simply just keep it as a scrapbook layout and not cut the side off.