About
Learn to make a handy little drawstring bag for keeping your trinkets safe!
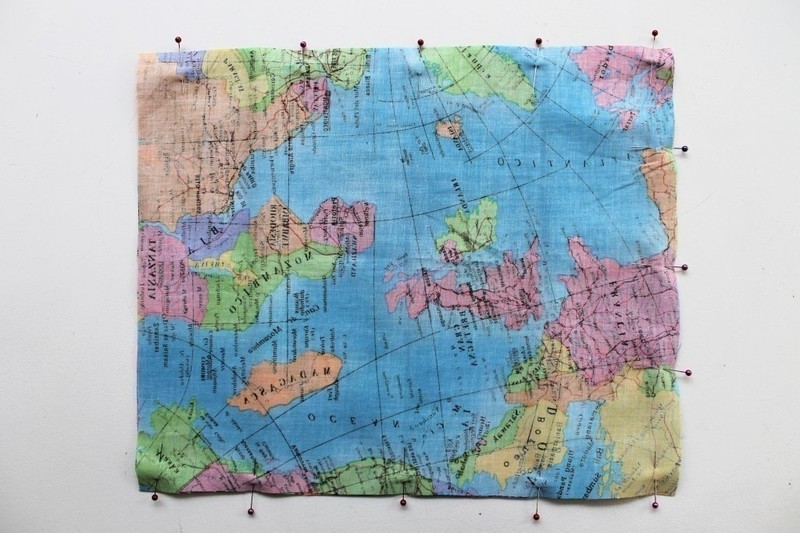
This cute little bag is perfect for keeping small bits and bobs safe at home or on your travels. Made up in some festive or personalised fabric it also makes a great gift bag for presents!
So quick and easy you’ll be whipping them up for the whole family in no time. Make them in all sorts of sizes – great for suitcases, gift bags, tidying children’s rooms, laundry bags, PE kits and much more!
-
 Denise M. favorited Drawstring Bag
30 May 06:28
Denise M. favorited Drawstring Bag
30 May 06:28
-
 Lindsay A. favorited Drawstring Bag
26 Jan 21:22
Lindsay A. favorited Drawstring Bag
26 Jan 21:22
-
 Kendell V. favorited Drawstring Bag
24 Jul 23:42
Kendell V. favorited Drawstring Bag
24 Jul 23:42
-
 Jade V. favorited Drawstring Bag
13 Jan 05:12
Jade V. favorited Drawstring Bag
13 Jan 05:12
-
 J. Pario favorited Drawstring Bag
10 Jan 18:54
J. Pario favorited Drawstring Bag
10 Jan 18:54
-
 Alissa B. favorited Drawstring Bag
10 Jan 18:05
Alissa B. favorited Drawstring Bag
10 Jan 18:05
-
 sara d. added Drawstring Bag to lights
09 Jan 22:17
sara d. added Drawstring Bag to lights
09 Jan 22:17
-
sara d. added Drawstring Bag to sewing
09 Jan 22:16
-
sara d. favorited Drawstring Bag
09 Jan 21:56
-
Lisa C. published her project Drawstring Bag
09 Oct 14:27
-
 Step 1
Step 1: Pin the two large pieces right sides together and pin around three edges, leaving the top open. Sew together using a 1.5cm seam allowance, pivoting at the corners.
-
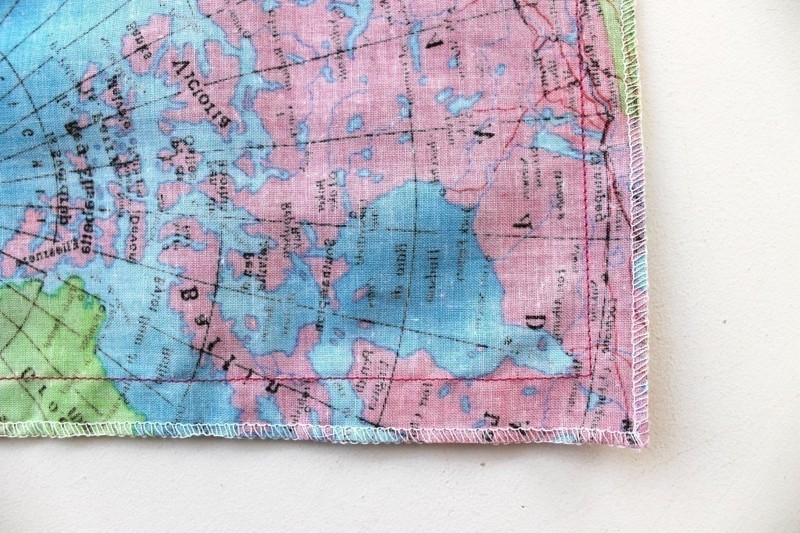
 Step 2
Step 2. Using an overlocker or a zigzag stitch, finish the three edges you have just sewn. Don’t clip the corners, we’ll keep these for strength.
-
 Step 3
Step 3. Finish the short edges of the drawstring casing pieces, and fold these edges in 1.5cm and press before stitching in place.
-
 Step 4
Step 4. With wrong sides together, fold the casing pieces in half lengthways, and pin to the top of the bag, right sides facing. The raw edges should be aligned at the top. Pin and sew with a 1.5cm seam allowance.
-
 Step 5
Step 5. Finish the seam allowances all together with an overlocker or zigzag stitch.
-
 Step 6
Step 6. Press the finished seam allowance down onto to the inside of the bag and press.
-
 Step 7
Step 7. Pin in place and from the right side of the bag, topstitch around the top of the bag, a few milimetres away from the seam. Similar to an understitch, this holds the seam allowance in place on the inside of the bag.
-
 Step 8
Step 8. Using a safety pin to help guide it through, insert one length of ribbon in one end, bringing it all the way back through to where it started and tie. Repeat with the other length of ribbon from the opposite side.