

About
Cold Shoulder Sweater Refashion
An easy refashion of an old knitted slouchy sweater to become a cold shoulder sweater! Perfect for autumn or spring, you'll just need some basic sewing skills and supplies to create an on-trend sweater.
-
 Kellyton K. favorited Diy Cold Shoulder Sweater
18 Mar 16:43
Kellyton K. favorited Diy Cold Shoulder Sweater
18 Mar 16:43
-
 Siobhanthomx favorited Diy Cold Shoulder Sweater
24 Jun 08:19
Siobhanthomx favorited Diy Cold Shoulder Sweater
24 Jun 08:19
-
 Leah. favorited Diy Cold Shoulder Sweater
29 Mar 10:16
Leah. favorited Diy Cold Shoulder Sweater
29 Mar 10:16
-
 Eileen S. published her project Diy Cold Shoulder Sweater
28 Mar 16:17
Eileen S. published her project Diy Cold Shoulder Sweater
28 Mar 16:17
You Will Need
-
 Step 1
Using your seam picker, unpick one of the shoulder seams from the neckband seam of the sweater to the top of the armhole.
-
 Step 2
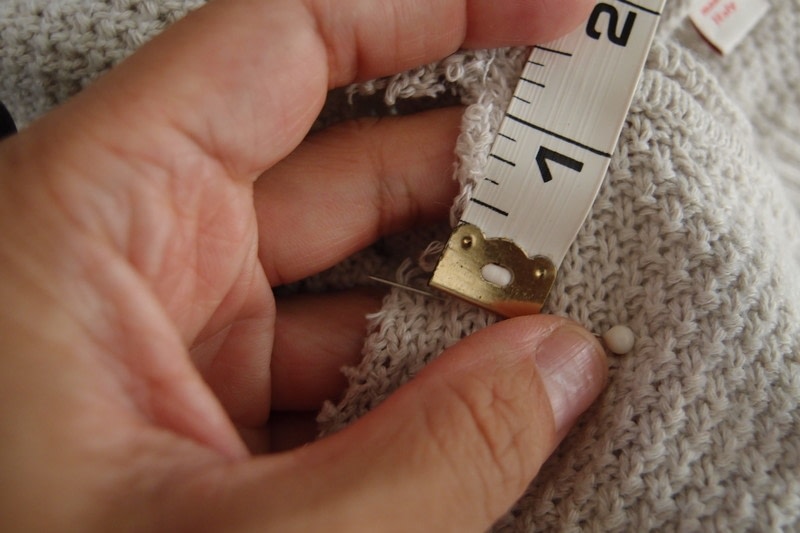
Mark 1 inch away from the neckband seam with a pin.Do the same on the other side, ie place a pin 1 inch away from the top of the armhole.
-
 Step 3
Cut a semi-circle or semi-oval shape from one pin to the other. Keep the cut-off so that you can use it as a guide.
-
Step 4
Repeat Step 3 for the other side of the shoulder seam, using the cut out shape as a guide. You may find that the shape you create in this step is slightly different to the one you made in Step 3.
-
 Step 5
Starting at one of the pins, remove it from the sweater and fold the fabric in 1/8 inch (or around 5mm metric), following the shape you cut out until you get to the other pin (it may help if you pin along to keep the fabric down). From there, fold the fabric in another 1/8 inch or 5mm, making sure you tuck in all the raw ends securely. Pin the tucked in fabric as you go around to the other side (of course, remove any pins you put in previously if you had done so).
-
 Step 6
Using your threaded needed (with thread the same colour as your sweater), stitch the folded hem all around. I used a simple hemming stitch/whipstitch as I was very lucky the thread was the exact same shade as the sweater so you can’t see the stitching, but you could do a backstitch or slipstitch, or even use your sewing machine.
-
Step 7
Repeat steps 2-6 for the other shoulder seam. Use the guides you cut out in steps to help you maintain a similar shape on the other side.
-
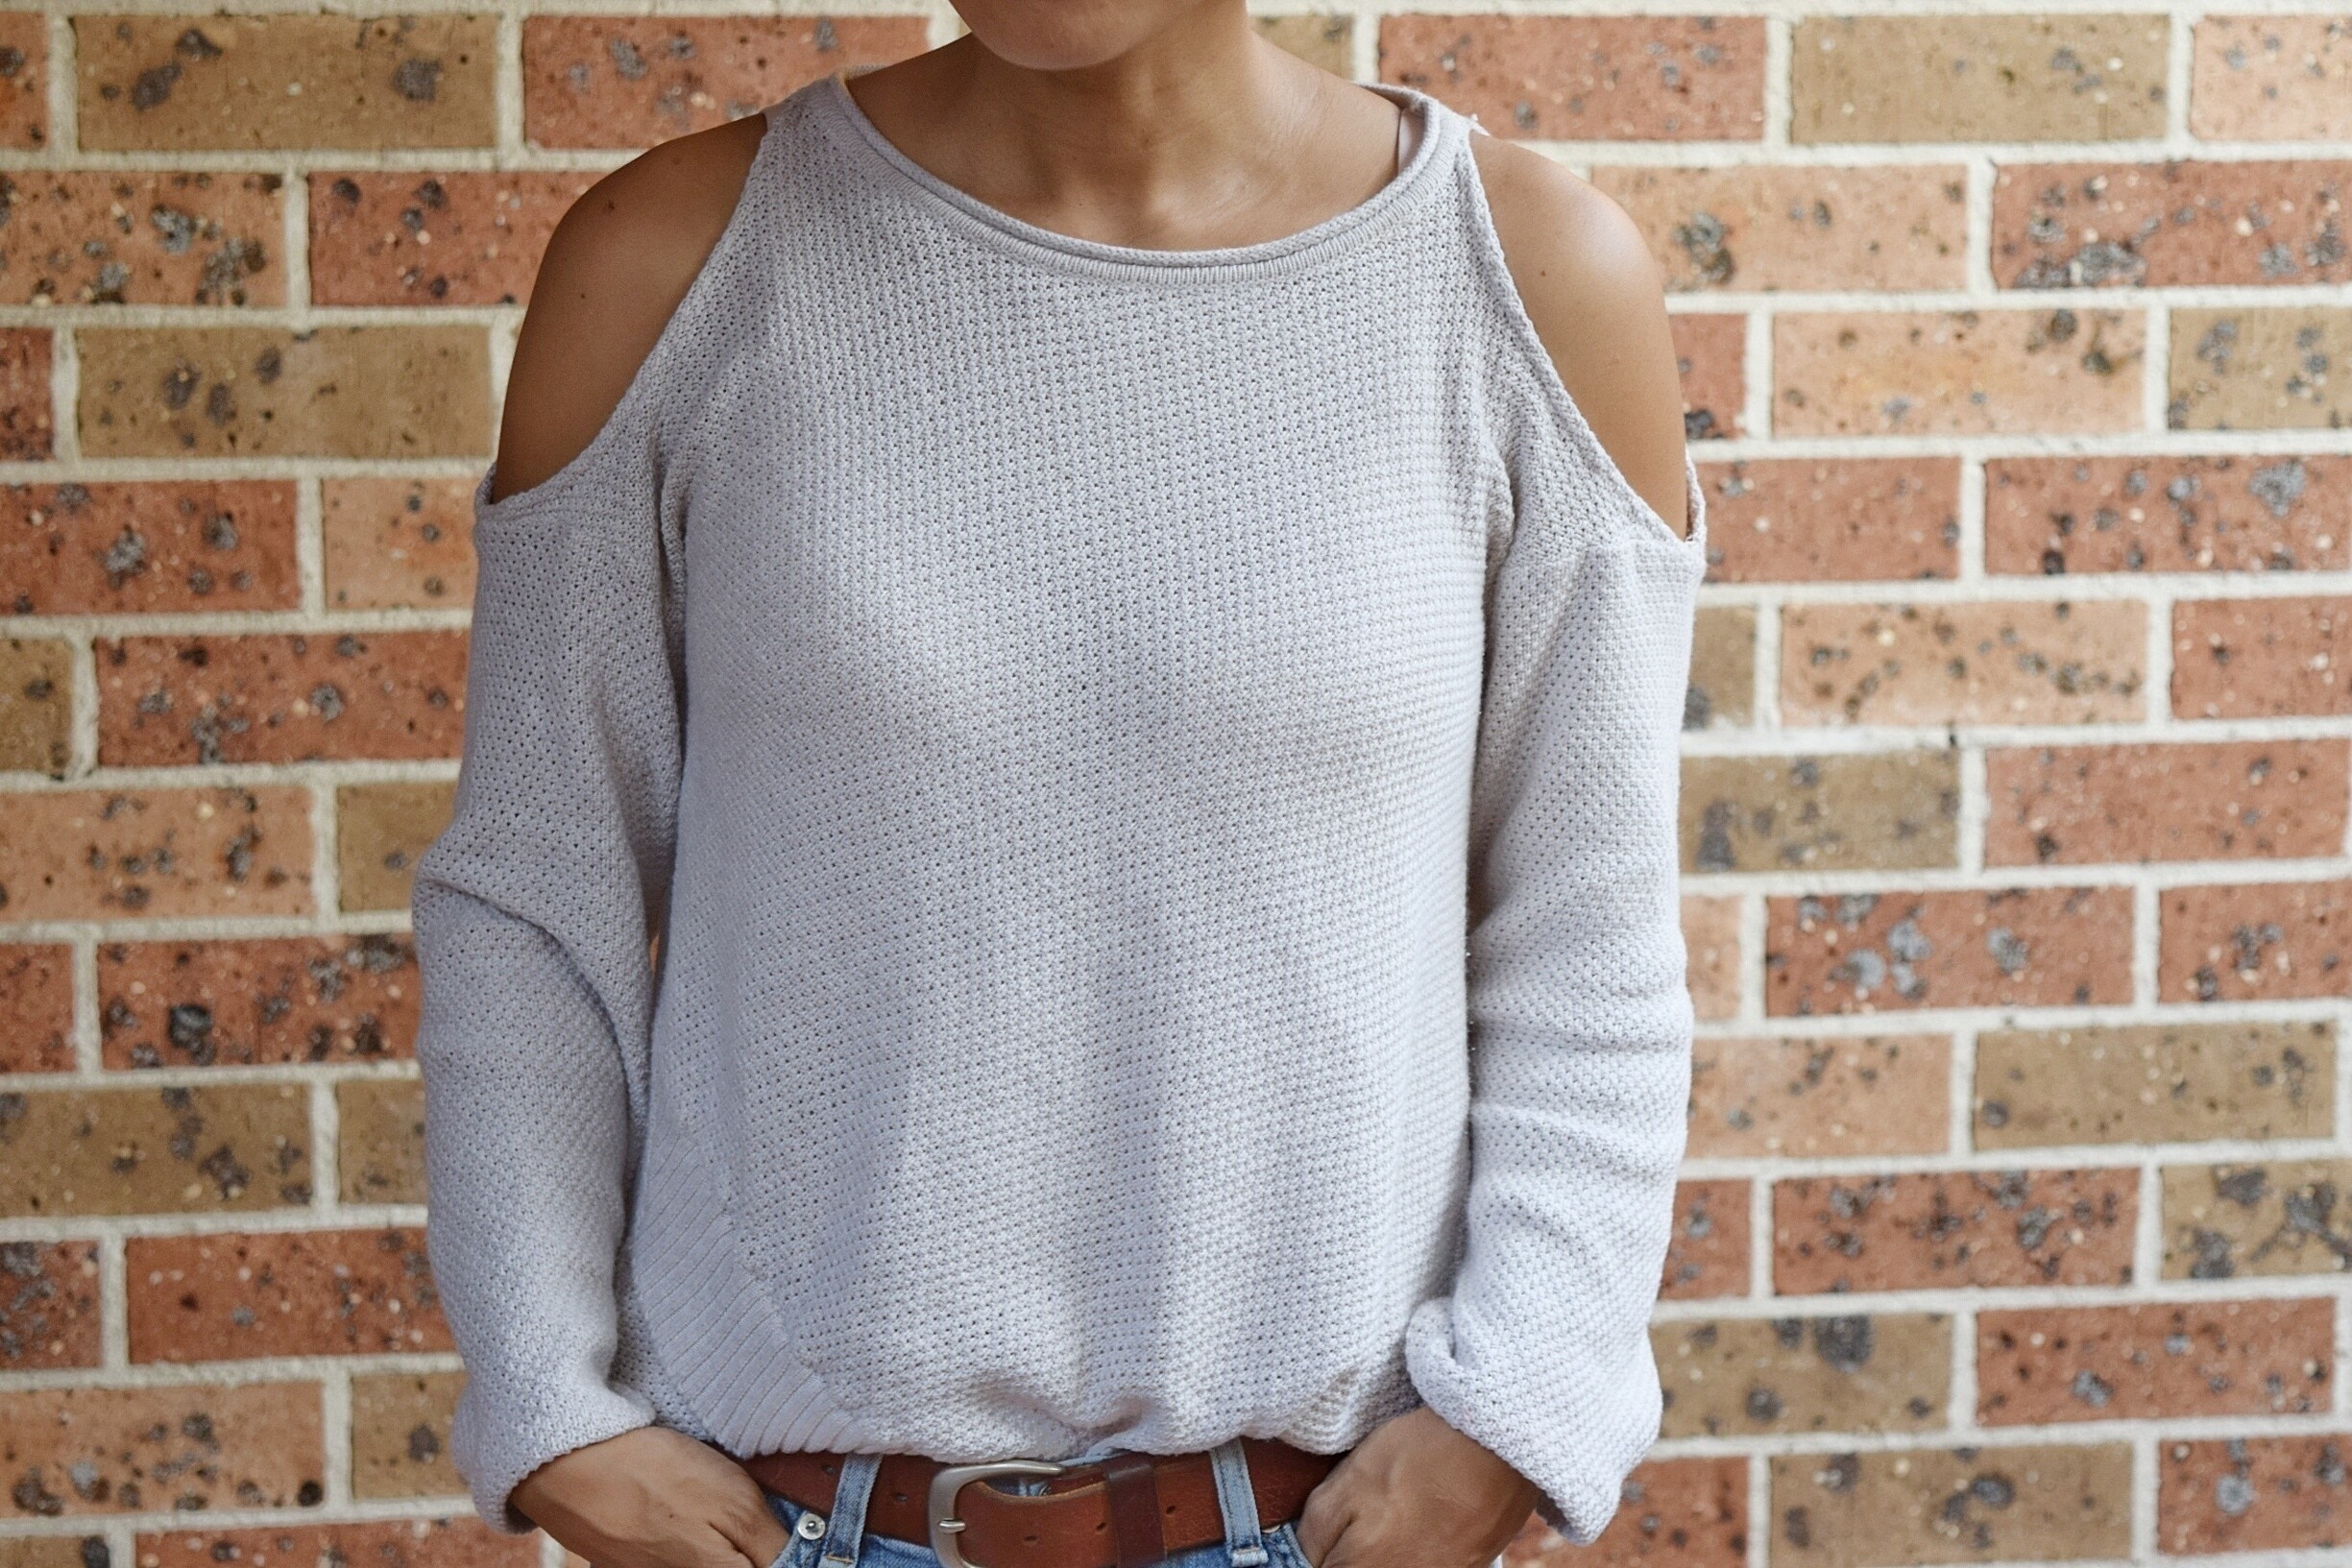
 Step 8
Your cold shoulder sweater is ready to wear.