
About
Decoupage tissue paper chair
As a teacher I am always on the hunt for easy projects to do to make my classroom more kid friendly. Since I love to craft, I decided to make an authors’ chair for my 2nd grade students. My kiddos LOVE to sit in a "special" chair to share their stories. My chair has successfully made it a full year in my classroom and is still in great condition. However, I can't take full credit for this project because I did see the idea on Pinterest (I did change up some of her stuff to make it my own). Her blog is: http://seusstastic.blogspot.com/2011/07/feeling-crafty-check-out-my-new.html The steps are simple and you can change up just about anything to make it fit your classroom or child’s room. I hope your chair turns out as wonderful as you make it!
Tags
-
 Eleanor favorited Diy Childrens Chair
27 Jun 20:19
Eleanor favorited Diy Childrens Chair
27 Jun 20:19
You Will Need
-
 Step 1
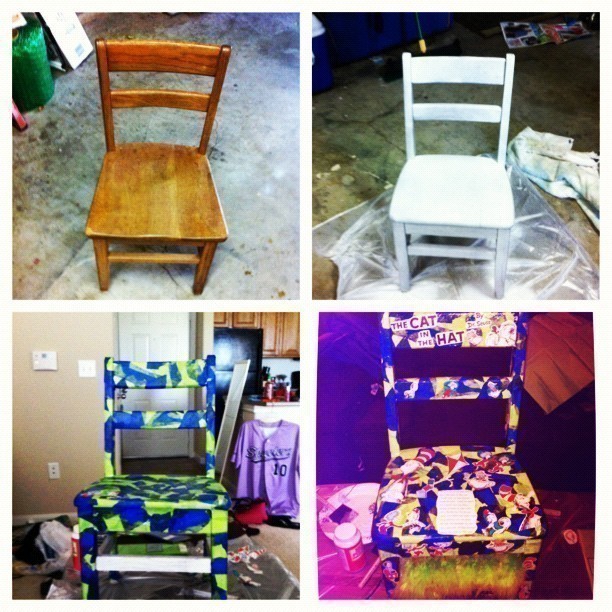
First things first, you need a wooden chair. The cheaper the better (no need to go buy a $50 chair just to change the way it looks). I had an old chair from when I was a kid and used it. You could probably go to garage sales or Good Will and find a suitable chair for this project.
-
 Step 2
Once you have your chair you will need to sand it down lightly. I decided to paint mine white to make the background a solid color. You can paint any color, but since tissue paper is very thin and see through I chose to do white.
-
 Step 3
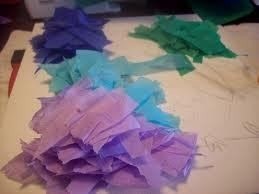
While you wait for the paint to dry you can start getting your other materials ready. You will need: tissue paper, a paper plate, sponge brush, some type of glue product (I used Modge Podge© for this project and all my projects that involve decoupage), some type of clear sealer (again-I suggest Modge Podge© products), and any embellishments you want to put on the chair (boa, pictures, or jewels). Next you need to decide on what colors you want for the tissue paper (I ended up with green and blue). Tear up the tissue paper before starting your project because you will be too sticky to do it later. You can tear them any size.
-
 Step 4
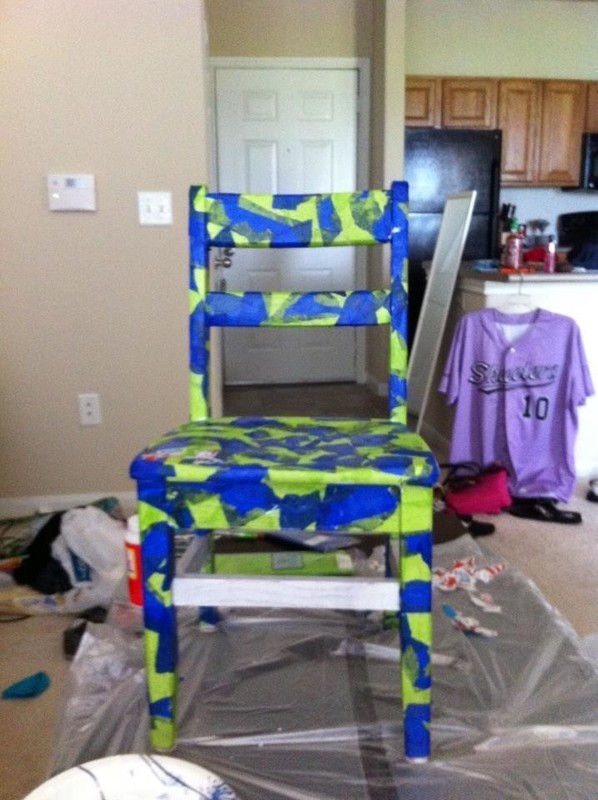
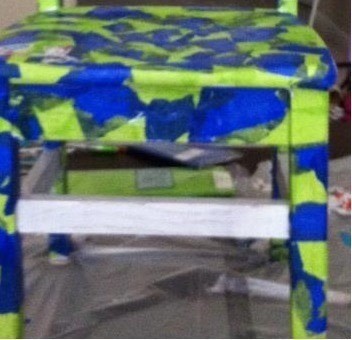
Next you will start putting the tissue paper on. Pour some Modge Podge© on the paper plate. Using the sponge brush spread glue onto a part of the chair (if you want a boa on your chair, leave that space open; this is the white space on my chair) and place a piece of torn up tissue paper on it. You may have to move it around to get it smooth.
-
 Step 5
Once you have covered all the desired parts of the chair with tissue paper, let it dry for about a day. You will then need to spray it with some type of sealer. Since I love Modge Podge© products I used their glossy sealer. Follow the directions for the sealer that you choose.
-
 Step 6
Now you can add any "extras" to your chair. My classroom is decorated in Dr. Seuss© so I cut up one of the books I had and used it on the chair. If you chose to do photos or any types of paper, use the same method to decoupage. If you want jewels or a boa, you should try hot glue. Spread glue where you want the item and them paste it on. If you choose to embellish your chair you will need to seal the chair again, or switch steps 5 and 6. I also added a boa to the white portions of my chair. To add the boa I used hot glue.
-
 Step 7
You’re finally done. Make sure the chair dries completely and then it is ready for use. I have had my chair in my classroom for a year and it has held up perfectly.