
About
A quick no-solder tinplate project!
Tinplate, which is what tin cans are made of (tin-plated steel) is a great material for making all sorts of cool things. You'll first need to flatten out the can to get some useable tinplate for your project. Check out the videos on our website (http://tinplategirl.com) for instructions on how to do this, as well as information about the tools and techniques we use.
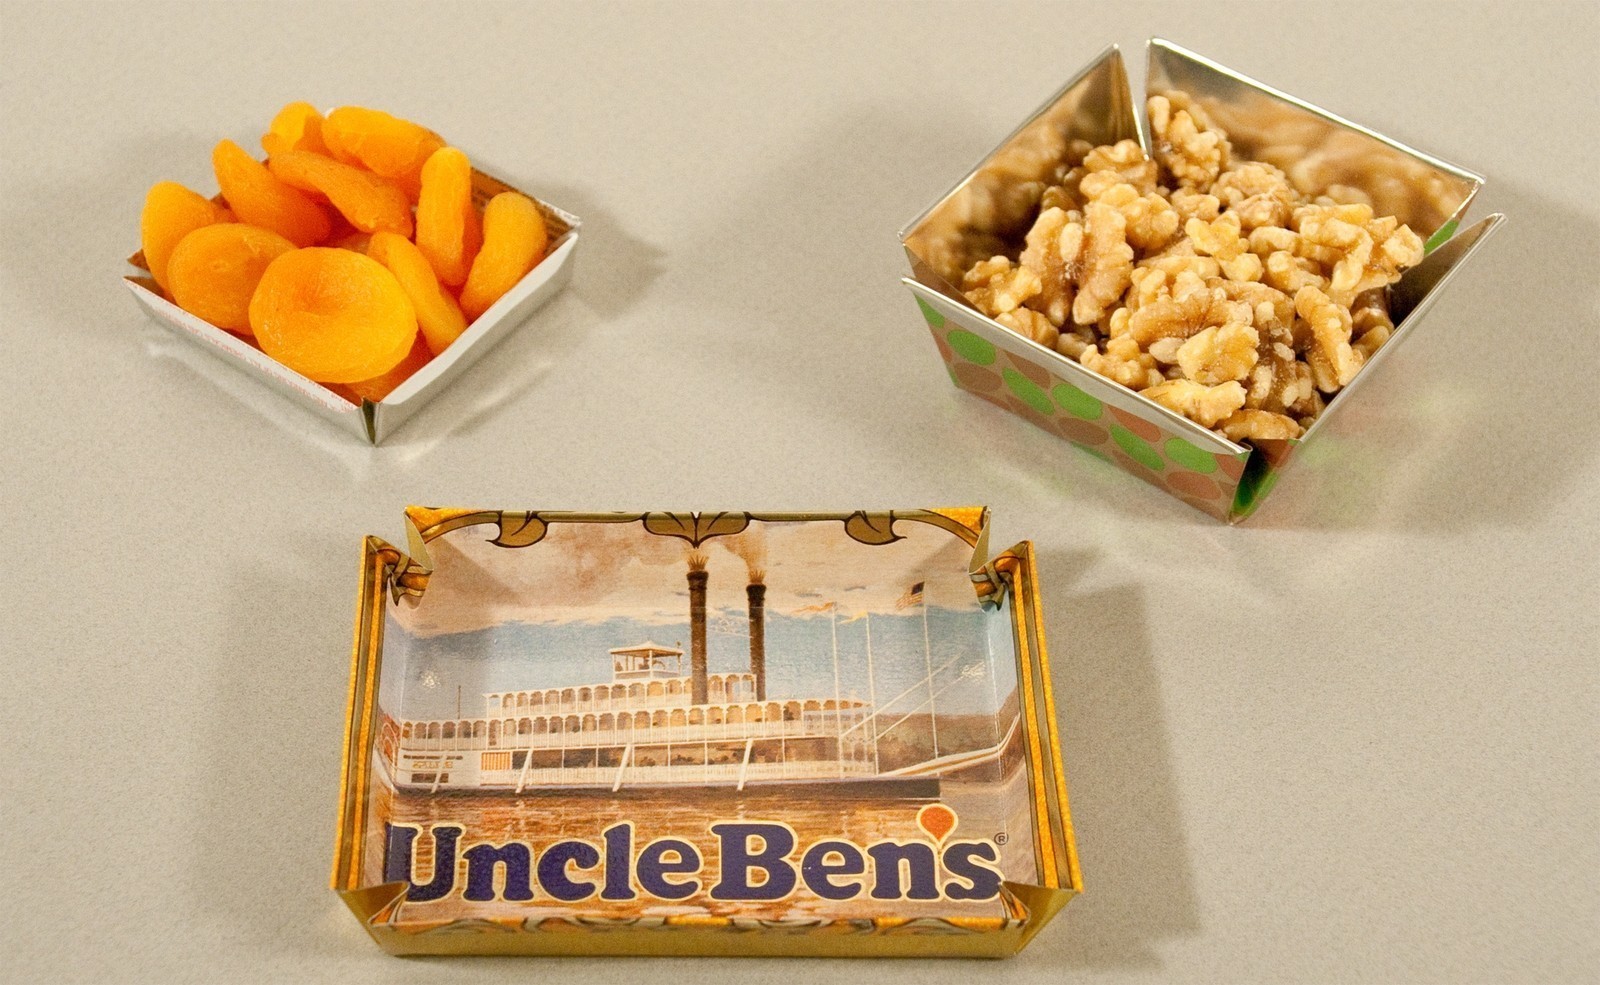
These little dishes are just the thing to add a little sparkle to your next party. They’re made from a single piece of your favorite tin can. You just fold it up—no soldering. Use them for nuts, candy, keys, loose change, whatever.
There are one or two little tricks to making these but once you get the hang of it, you should be able to knock one out in a half hour or so.
We’ve provided drawings for three different sizes, but you can modify them just by stretching them in one or more direction.
Downloads

-
 Step 1
Spray the back of the pattern sheet with spray adhesive. I like to use Krylon #7010 All Purpose Spray Adhesive or 3M Spraymount. They have enough stickum to hold the pattern pieces in place but not so much that you can’t get them off afterwards.
-
 Step 2
Decide which side will be the inside of the bowl and stick your pattern to that side.
-
 Step 3
Cut the dish out and leave the paper on.
-
 Step 4
It’s time to score some lines. Lay your tinplate on your soft scoring surface. A piece of cardboard, like poster board or cereal-box cardboard, works well. Don’t try to use a hard surface like Formica or glass—you won’t be able to score deeply enough.
-
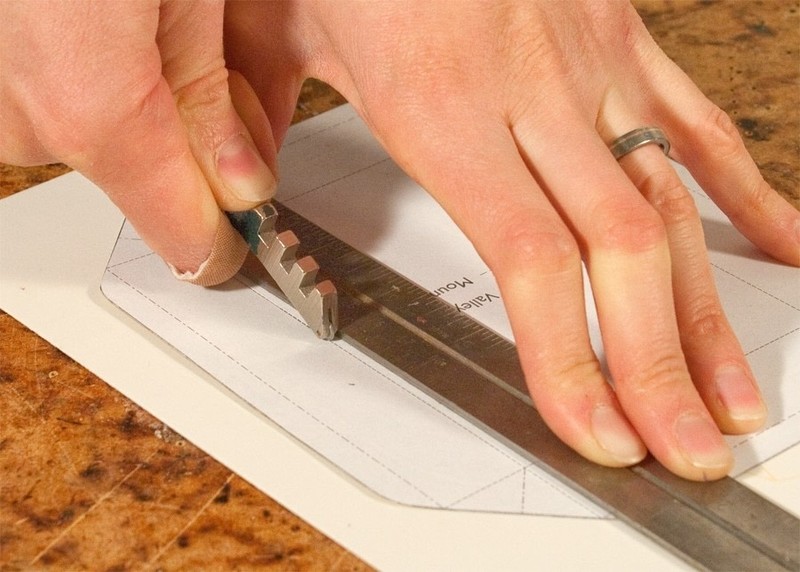
 Step 5
Align your straightedge parallel to one of the valley-fold dotted lines, so that the wheel of your glass cutter lands right on the line. Then run the glass cutter along the line, pressing hard. Do this three or four times, being careful not to move your straightedge. This should give you a deep score.
Now move the straightedge over to the next valley-fold line and repeat the process. -
 Step 6
Turn the work 90° and go through the same process with both of the lines running the other direction.
-
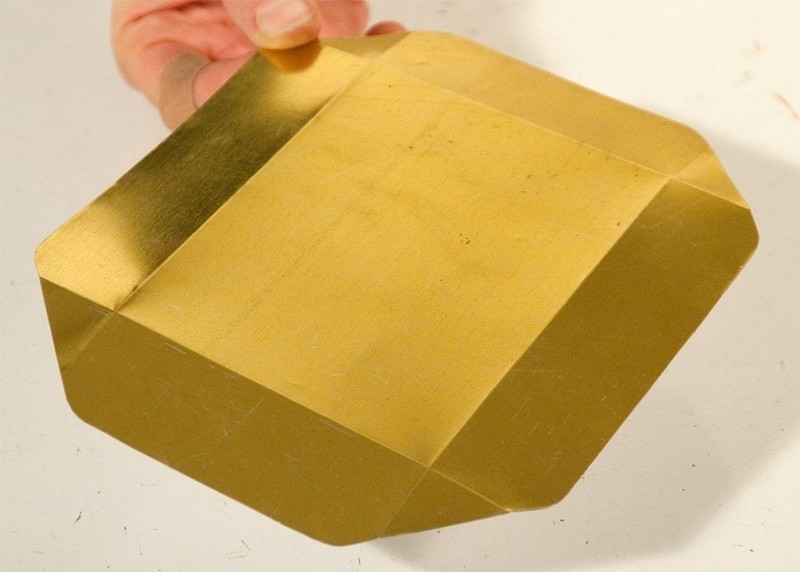
 Step 7
The bottom side of your work should look like this.
-
 Step 8
With your awl, mark the outer ends of the little lines that run 45° in the corners. This is just so you can see the mark from the other side.
-
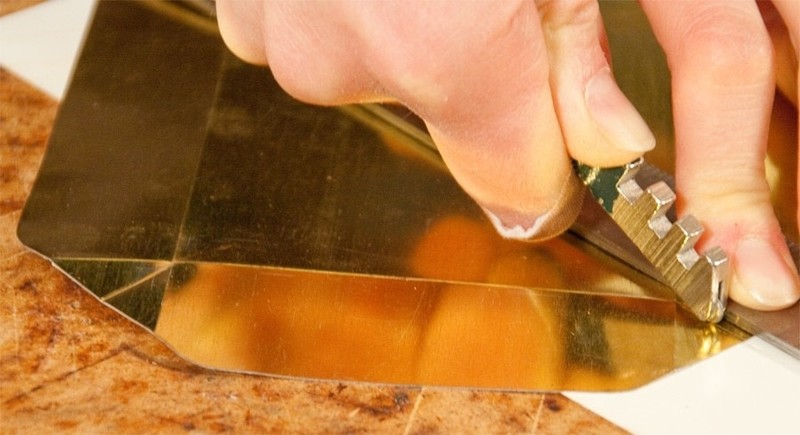
 Step 9
With your glass cutter, deeply score these short, corner mountain-fold lines from the bottom side of your dish.
-
 Step 10
Your corner should look like this.
-
 Step 11
Using the ends of the valley-fold lines from the other side as guides, score the mountain-fold lines for the outside tabs.
-
 Step 12
Remove the paper (it will come off in pieces) and clean the glue off your work with alcohol.
-
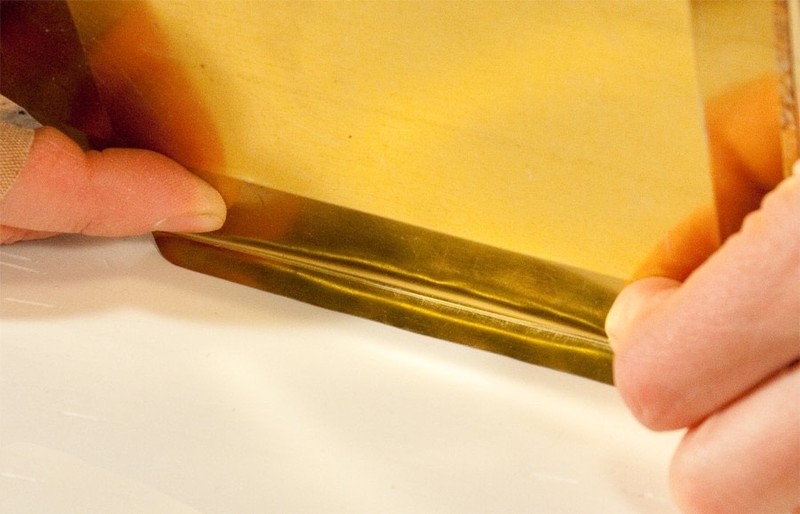
 Step 13
Now comes the fun part. The first thing to do is to fold over the tabs that form the top edges. This is best done by working just with your fingers from the top side. The tinplate will want to fold on the score line but it may need a little persuading. Try doing it over the sharp edge of a table. Don’t worry if the edge gets a little ripply—we’ll deal with that in a minute. Do all of the top tabs this way.
-
 Step 14
It may be helpful to press the tab against your work surface to help the bend along.
-
 Step 15
When all of the tabs have been bent over as well as you can bend them, turn the dish face up on your work bench and press the fold as flat as you can with your fingers. You should be able to get it pretty flat, but if you want it really flat, you can tap the edge with your small hammer (shown below) or squeeze it in your vise—it’s your call.
-
 Step 16
You should be able to get it pretty flat, but if you want it really flat, you can tap the edge with your small hammer (shown here) or squeeze it in your vise—it’s your call.
-
 Step 17
The next thing to do is to get the corners started. Just bend them with your fingers in the same direction that you scored them. Don’t try to bend them too far. At the same time, slightly bend the sides up a little—again, not too far. Do all of the corners this way.
-
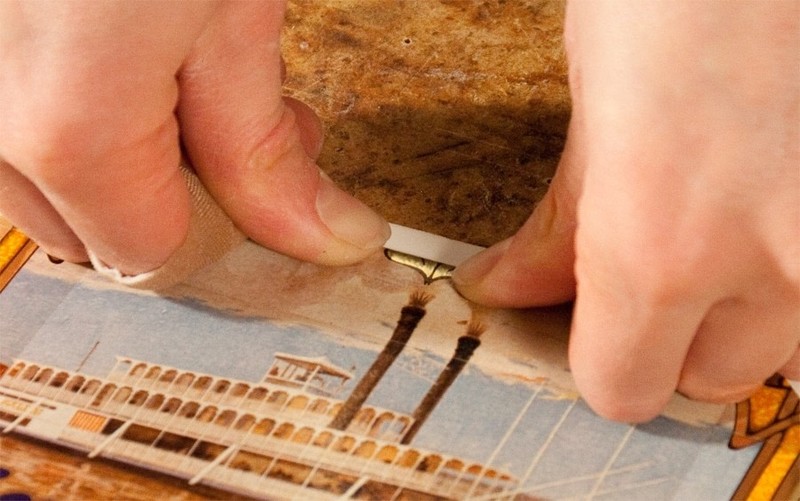
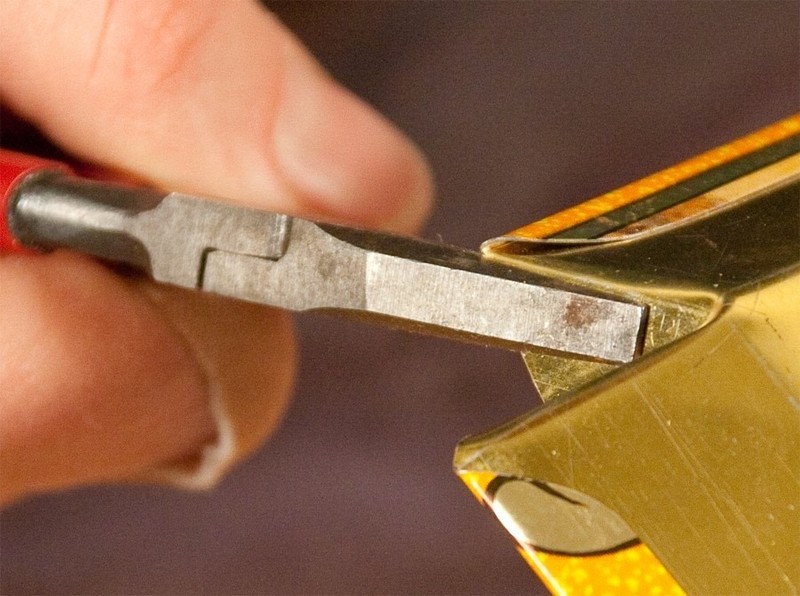
 Step 18
If the corners aren’t sharp, you can use some flat-nose pliers to sharpen them.
-
 Step 19
Your piece should look like this.
-
 Step 20
Now you’re going to bring the sides up, which will bring the corners together. Start at one corner, gradually bending a side up as you go. Put pressure on the bottom of the dish, close to the score line, to help the metal know where to bend. Work your way around the dish, doing a little at a time. This may take two or three goes to get the sharp bends along the bottom edges that you need.
-
 Step 21
(Bending the sides up and bringing the corners together.)
-
 Step 22
(Refining the creases.)
-
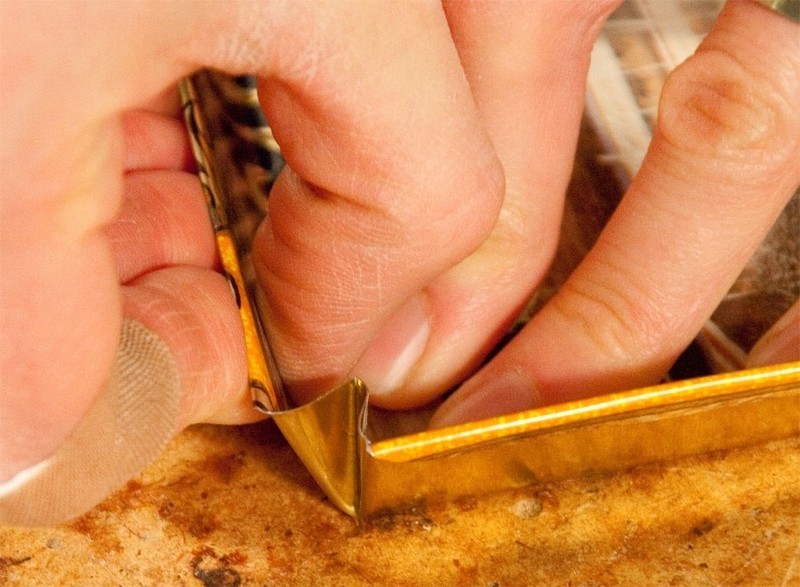
 Step 23
You’re nearly there. When the sides are as high as you want them, all that’s left is to clean up any awkward bends that may have occurred, usually in the corners. You may want to use a small pair of pliers to help straighten the metal.
-
 Step 24
You can leave the corners open or you can close them up tightly, as you wish. Also, you can let the corner tabs project into the bowl at an angle or you can fold them flat against the sides.
You’re finished! Fill your bowl full of M&Ms and have a party!