About
Create your own one-off wallpaper
This is an extremely cost-effective way of creating a feature wall. The main skill you'll need here is patience, as it can take quite a while to complete a whole wall!
-
 najah m. favorited Decoupage A Wall With Vintage Book Pages
09 Apr 07:57
najah m. favorited Decoupage A Wall With Vintage Book Pages
09 Apr 07:57
-
 Leonor R. favorited Decoupage A Wall With Vintage Book Pages
08 Oct 14:58
Leonor R. favorited Decoupage A Wall With Vintage Book Pages
08 Oct 14:58
-
 Perfectly DeStressed added Decoupage A Wall With Vintage Book Pages to Jane Austen's Bedroom
12 Aug 22:50
Perfectly DeStressed added Decoupage A Wall With Vintage Book Pages to Jane Austen's Bedroom
12 Aug 22:50
-
 dippydiscoball added Decoupage A Wall With Vintage Book Pages to backdrop ideas
22 Jul 05:44
dippydiscoball added Decoupage A Wall With Vintage Book Pages to backdrop ideas
22 Jul 05:44
-
dippydiscoball added Decoupage A Wall With Vintage Book Pages to maybe one day
22 Jul 05:43
-
dippydiscoball favorited Decoupage A Wall With Vintage Book Pages
22 Jul 05:43
-
 Crafterella featured Decoupage A Wall With Vintage Book Pages
21 May 23:00
Crafterella featured Decoupage A Wall With Vintage Book Pages
21 May 23:00
-
 Ida G. favorited Decoupage A Wall With Vintage Book Pages
20 May 23:31
Ida G. favorited Decoupage A Wall With Vintage Book Pages
20 May 23:31
-
 Gabriela Szulman published her project Decoupage A Wall With Vintage Book Pages
11 May 09:00
Gabriela Szulman published her project Decoupage A Wall With Vintage Book Pages
11 May 09:00
-
 Step 1
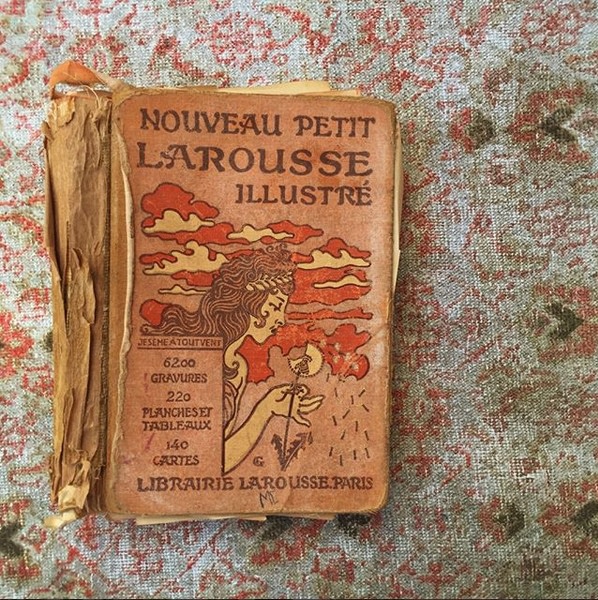
If possible choose a book which is no longer "usable" - my dictionary was already missing lots of pages so it didn't serve its intended purpose any more. I am a fan of the vintage look but another reason why older book pages are appropriate for this sort of project is that they tend to be more porous and therefore easier to glue.
-
 Step 2
Measure the wall and work out how many pages you will need to cover it. Trim all the pages to the same size using a scalpel.
-
 Step 3
Mark horizontal and vertical lines to guide you using the measuring tape or ruler and spirit level. Start on the bottom corner of your wall: apply wallpaper paste, then place a page and flatten it taking care of eliminating any wrinkles or air bubbles with a damp sponge. Clean up any paste spills with a paper towel as you go along.
-
 Step 4
You can follow a grid pattern or stagger the pages - the latter option is slightly easier and therefore recommended for beginners. I speak from experience as I chose to follow a grid on the first wall I decoupaged!
-
 Step 5
If the book pages you've chosen are not uniform, either because they come from different books or feature both text and illustration as mine did, make sure they are evenly distributed across the wall. Once you've finished, allow the paper to dry thoroughly before replacing any furniture or hanging pictures.