

About
ThreadBanger Contest Entry: This cross-over shrug is unlike anything you've seen before. I hope.
I wanted to create something to enter into ThreadBanger's New Year's sewing machine contest. I had to create a video tutorial of something and they'd pick a winner by February 12th to win a sewing machine.
Unfortunately my camera is broken so I had to take pictures. If I can figure out how to turn them into a video collage or something, I will, but at the moment I'm content with posting the tutorial here because I'm very proud of it.
It took me weeks of agonizing over how to pull this off and make a pattern, and I finally just sat down today and started drafting. It took 2 hours to complete all the cutting, sewing, measuring, and modeling, but I spent all day writing out the tutorial and messing around with options.
I'm sure anyone else is thinking, "Oh, that's so easy. How could you NOT see how to make it?" And I totally agree, but it's a tricky, tricky project if you don't realize it HAS to wrap across the front. I ran into so many problems, but I present to you the working tutorial.
-
 Laura P. favorited Cross Over Button Clasp Shrug
11 Nov 02:04
Laura P. favorited Cross Over Button Clasp Shrug
11 Nov 02:04
-
 curious cat favorited Cross Over Button Clasp Shrug
23 Dec 00:40
curious cat favorited Cross Over Button Clasp Shrug
23 Dec 00:40
-
 C.Rami favorited Cross Over Button Clasp Shrug
19 Oct 06:59
C.Rami favorited Cross Over Button Clasp Shrug
19 Oct 06:59
-
C.Rami added Cross Over Button Clasp Shrug to todo
19 Oct 06:50
-
Crystal M. favorited Cross Over Button Clasp Shrug
14 Jul 11:10
-
 Step 1
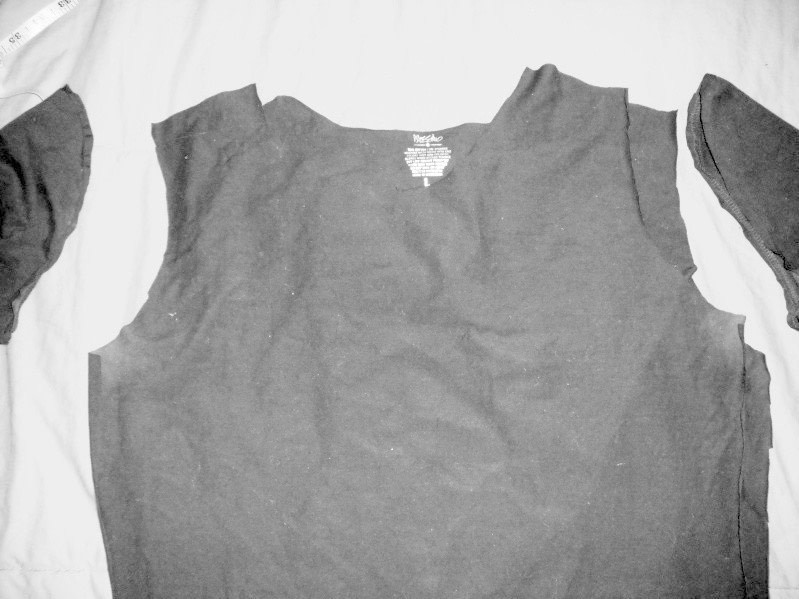
Begin by taking your shirt (I chose a long sleeved shirt) and cutting off the sleeves just outside the seams. Set the sleeves aside, making sure you remember which sleeve is which.
-
 Step 2
Then cut up both the left and right sides, completely removing the seams.
-
 Step 3
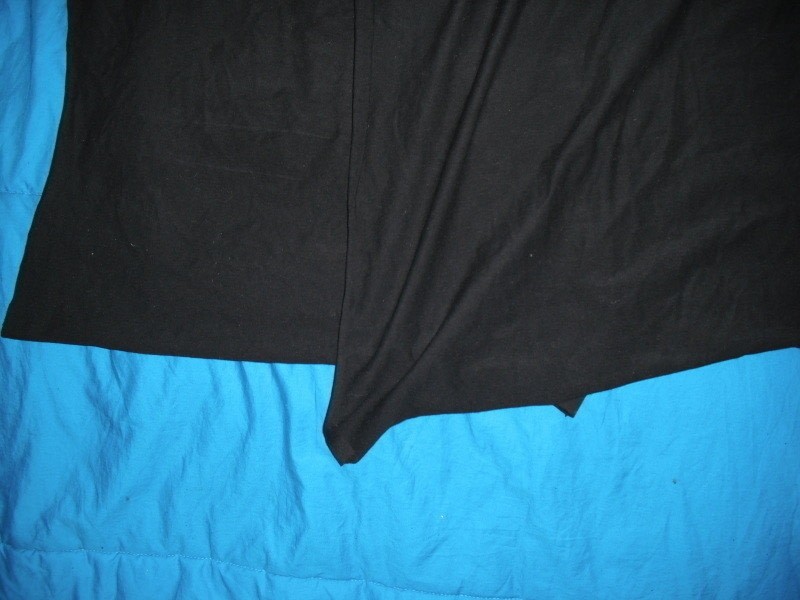
If your shirt has a hemmed bottom, cut it off.
-
 Step 4
Now go to the top of the shirt and completely cut off the shoulder seams and collar.
-
 Step 5
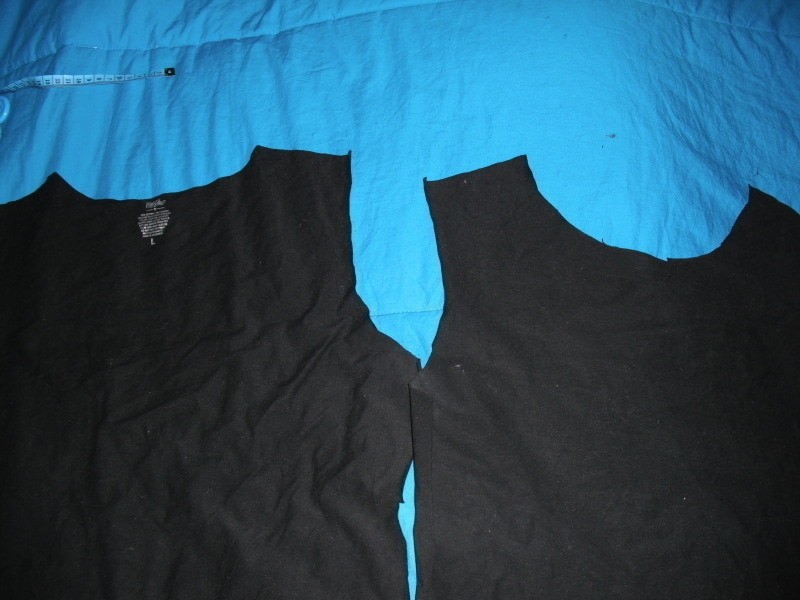
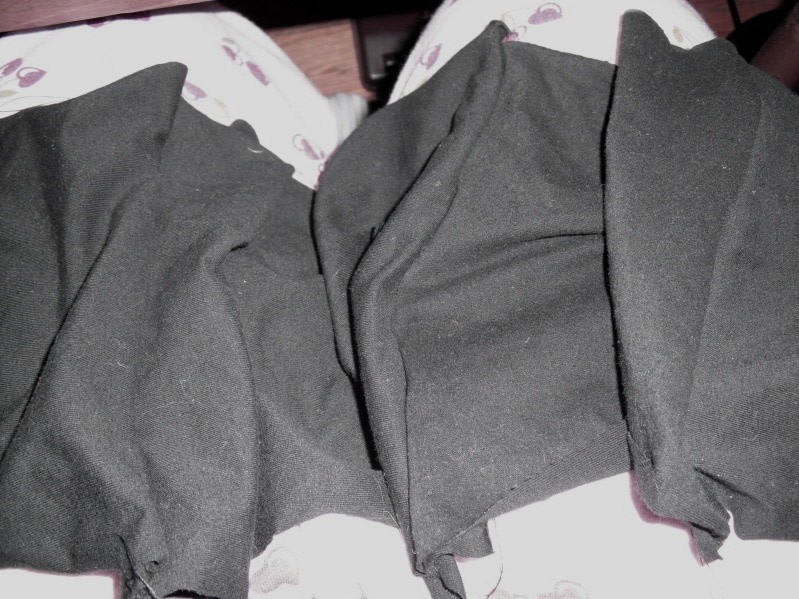
Lay out both body pieces.
-
 Step 6
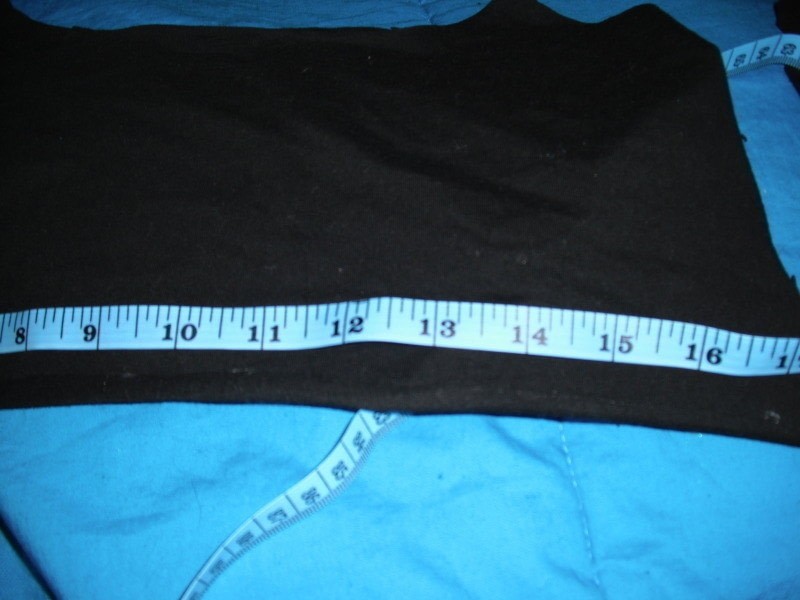
Take your measuring tape and measure the diagonal distance across one cup of your bra. I'm a B, and I used 8 inches as my measurement.
-
 Step 7
On the front body piece, use your chalk or marker to mark this measurement.
-
 Step 8
Continue making marks along the entire front length until you run out of fabric, typically around the armpits. I fit two 8 inch rectangles on my shirt with a half inch in between.
-
 Step 9
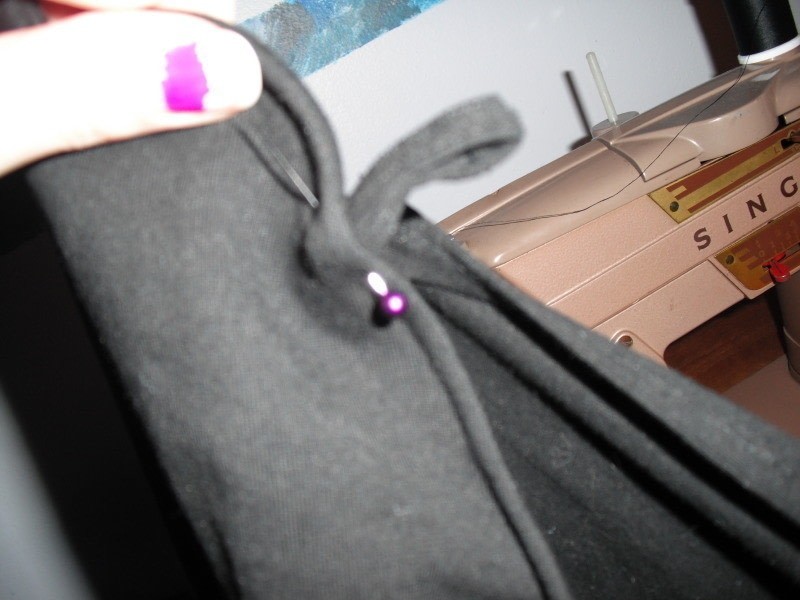
Click on the image to enlarge for specific instruction.
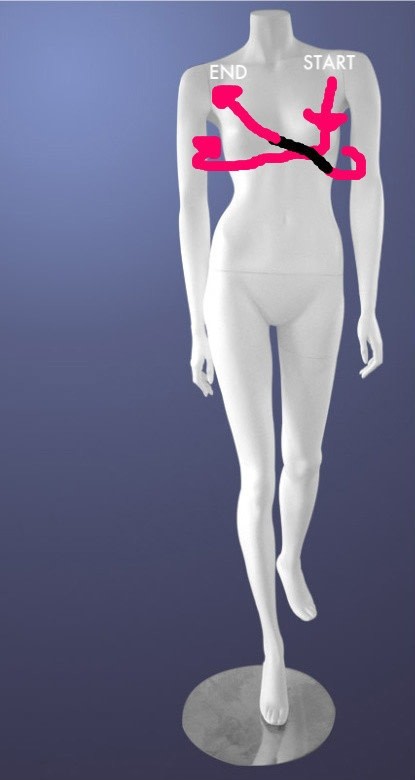
Take the measuring tape and pin it to your current shirt, two-three inches below the highest point of your shoulder. Cross the tape over your left breast, under the right one, around your back, under the left, and across the right until you reach the equivalent two-three inches below the right shoulder. This is the measurement you'll need for the wrap. Add on 2 to 3 inches for hemming and seams, unless you're using a stretchy material.
-
 Step 10
Using the number you found, measure the length of a marked rectangle you made. Multiply that number by however many rectangles you managed to fit on the shirt. I needed more fabric and used the back piece. If you do, MAKE SURE you cut ONLY UP TO THE ARMPITS! You need the back for a later step.
-
 Step 11
Cut out all the rectangles and begin pinning them all together.
-
 Step 12
Put on your left sleeve.
-
 Step 13
Very carefully pin the end of one of your pinned lengths to the left sleeve, beginning from the armpit and going along the front as far as it will go, which should be just about where you previously pinned your measuring tape.
-
 Step 14
Put on your right sleeve. Follow the instructions from Step 9 using the fabric instead of the measuring tape. Make sure it comes within 3 inches of the right sleeve.
-
 Step 15
Unpin from the sleeve and set aside. Gather your two sleeves and hem all the way around. Don't be alarmed if it scallops.
-
 Step 16
Next, hem the last short side of the pinned lengths. Sew all the short sides of the wrap pieces together. If you wish to hem all the unfinished edges, now is the time to do so.
-
 Step 17
Now pin the short hemmed end to the same place on the left sleeve as before. Sew them together.
-
 Step 18
Put on your left and right sleeves, and follow the wrapping instructions from Step 9. Trim any excess fabric you have. Don't be alarmed if you have a gap of about 3 inches. Just pull the wrap a little tighter.
-
 Step 19
Hem the short edge of the wrap. Now pin the short end from armpit to below the shoulder, along the front. Sew together.
-
 Step 20
You're almost done!!
-
 Step 21
Measure two 2&1/2" by 1" rectangles on the front body scraps.
-
 Step 22
Fold into a line by thirds, and sew all the way down. Leave all edges unfinished.
-
 Step 23
Take one piece and fold short end to short end, forming a loop.
-
 Step 24
Take your sleeve and fold at the armpit so both sides are even. Across from where the top of the wrap starts is where you should pin the loop (on the back).
-
 Step 25
Sew down one loop. Repeat Step 24 on the right sleeve and sew.
-
 Step 26
Now find your remaining back piece. Measure 3 inches from the bottom and mark across the entire width of the piece.
-
 Step 27
Fold edges toward the center, then fold in half and pin. Tuck in the holes at each end and sew.
-
 Step 28
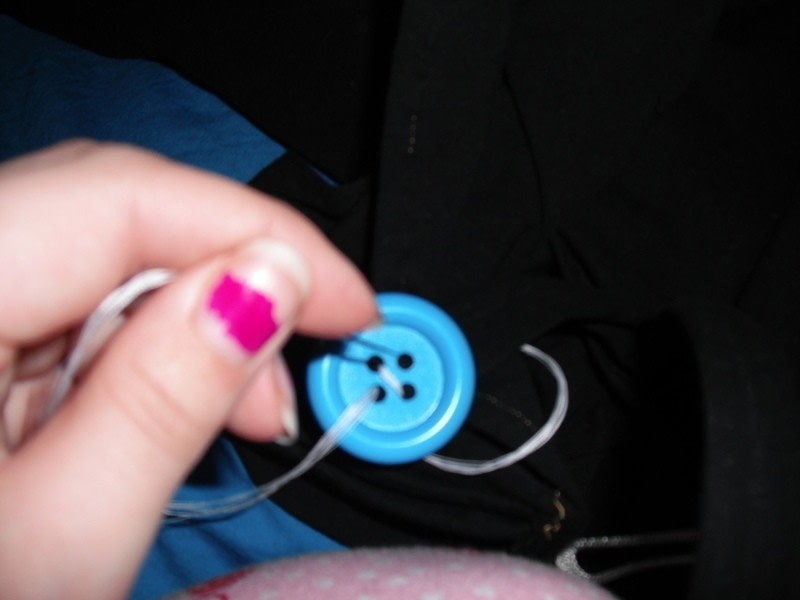
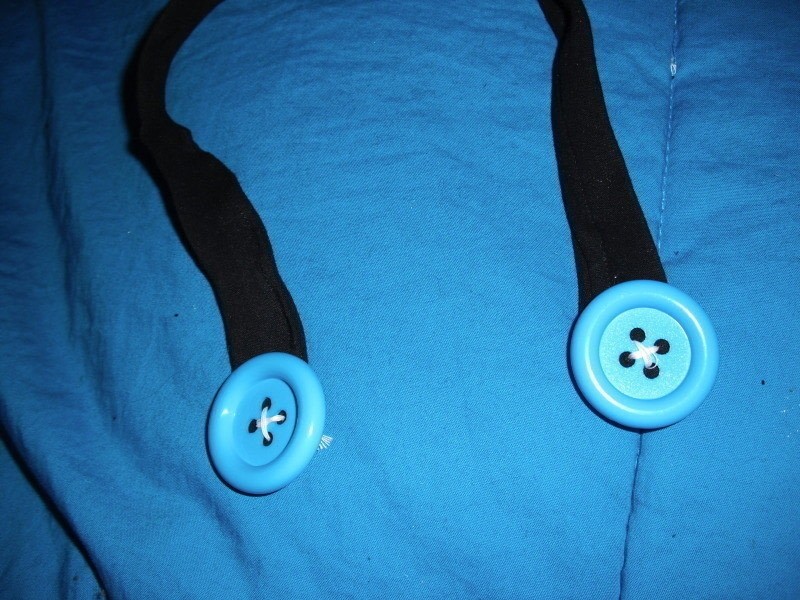
Grab one of your buttons and a needle and thread. Cut about three feet of thread and fold it in half. Cut. Fold it in half again. Cut. Thread the needle, knot the end, and sew the button to the end of your strip, making a cross.
-
 Step 29
Repeat with the same side of the fabric, on the opposite end. You should now have a strap with 2 buttons.
-
 Step 30
Slide the loop on your left sleeve around one of the buttons, and put on the left sleeve.
-
 Step 31
Follow the wrapping instructions in Step 9, and slide on your right sleeve. Reach back, grab your button strap, and attach it to the loop on your right sleeve.
Then wear with your favorite bare-shouldered top, 'cause you're done!!