About
How To: Cloth Pads and Pantyliners
Tonight I'm going to talk about something that isn't talked about very often. Women seem to think it's shameful and gross, and yet we all do it once a month. Yup, you got it - menstruation. Hey, it's Lingerie Month, and we've all gotta protect our precious underwear once a month, so why not talk about it?
I won a giveaway last year during the May Day Giveaway at Sew Mama Sew. The prize was two cloth pantyliners from HoneyBee Hill. I was pregnant at the time, but I promised to give them a try when my cycle started going again. I admit, I'm a disposable type of girl, and cloth pads didn't appeal to me.
So imagine my surprise when I found that they weren't terrible.
Here are a few of the benefits I've found:
- Another way to become more eco-friendly is a plus
- saves on money. They're re-usable after washing.
- always accessible even in the middle of the night when you don't feel like running to the drugstore
- comfy - no plastic-y hot feeling. They're breathable.
- I love to have a back up when I think my period is going to start, but don't feel like wearing plastic all day just in case
These aren't your grandmother's rags! We have advanced A LOT in the design of underwear and now have easy to wear, snap closed cloth pads with wings! :)
Here's how to make your own:
Supplies needed:
I used entirely upcycled fabrics for my example. I figure if I'm going to be green, might as well do it up right.
-
 RavenQuinzel added Cloth Pads And Pantyliners to Ideas to try
16 Feb 06:57
RavenQuinzel added Cloth Pads And Pantyliners to Ideas to try
16 Feb 06:57
-
 JubilantJessie favorited Cloth Pads And Pantyliners
29 Jul 02:30
JubilantJessie favorited Cloth Pads And Pantyliners
29 Jul 02:30
You Will Need
-
Step 1
Make your pattern
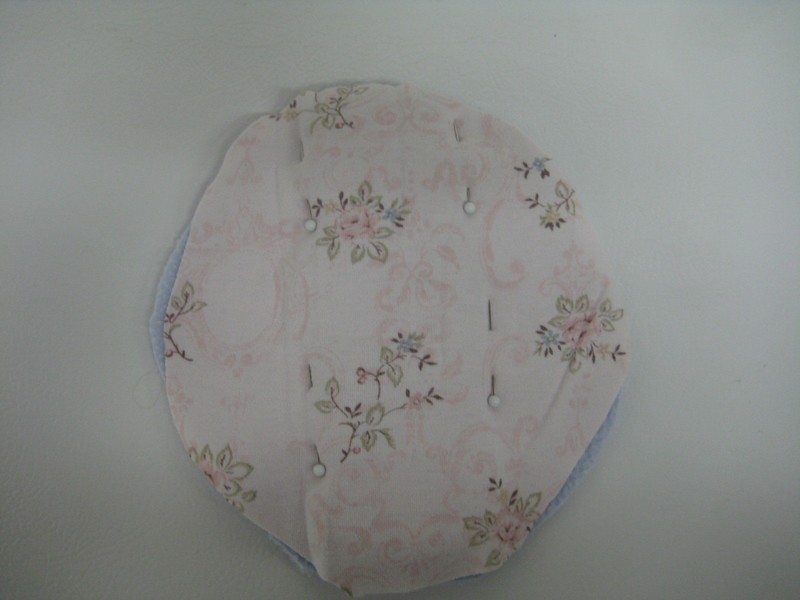
- the pattern is simple. The first piece is basically an oval. The length is 8 inches and the width is 6.5 inches. Connect the dots in an oval shape and you've got the first piece.
- the second piece is for the cloth pad (you don't need this piece if you're just making the pantyliners). It's 7 inches by 2.5 inches. Round off the ends a bit. -
 Step 2
Cut out your pieces
- for the cloth pad, cut the first piece out once of fleece and once in cotton, linen or raw silk. These are natural fibres that will be absorbent and easily laundered over and over again. Cut the second piece out in fleece, terrycloth, or anything else you can find that is super absorbent. I cut this out three times and layered them to make it my desired thickness. You can cut out the thickness you prefer. -
 Step 3
Layer the pieces together
- place the bottom fleece wrong side up on the table. Put your absorbent pieces in the middle lengthwise. Place your cotton main piece on the top, wrong side down. Pin the absorbent layers in place.
- if making a pantyliner only, then you just layer the two main pieces wrong sides together -
 Step 4
Sew the cloth pad together
- Select a small zigzag stitch on your machine. Sew down both sides of the absorbent layers. This will form the pad part.
- using the same zigzag stitch, sew around the outer edge of the pad. Trim off excess.
- if sewing the pantyliner, just zigzag around the entire outer edge of the pad and trim off excess.
** you can also serge around the edge to make a nice finished edge -
 Step 5
Attach snaps
- I've upcycled my snaps, so I've placed them in the correct position on the wings and sewed them on.
- You can also attach the snaps using the instructions on the package they came in.Now go make some more!


Versions

Comments