About
Using beautiful, Alice in Wonderland fabric by Timeless Treasures
I made my own pattern for a clutch style soft phone case.
I really enjoyed working with their fabrics, each was full of vibrant colors printed on quality cotton.
You can find a list of online retailers below.
https://ttfabrics.com/where-to-buy/online-retailers/
Tags
-
 Kimya J. favorited Clam Shell Phone Clutch
07 Dec 01:55
Kimya J. favorited Clam Shell Phone Clutch
07 Dec 01:55
-
 Amanda V. favorited Clam Shell Phone Clutch
06 Feb 03:02
Amanda V. favorited Clam Shell Phone Clutch
06 Feb 03:02
-
 DeadGirl favorited Clam Shell Phone Clutch
08 Jan 13:01
DeadGirl favorited Clam Shell Phone Clutch
08 Jan 13:01
-
 Pam published her project Clam Shell Phone Clutch
22 Nov 09:00
Pam published her project Clam Shell Phone Clutch
22 Nov 09:00
-
 Step 1
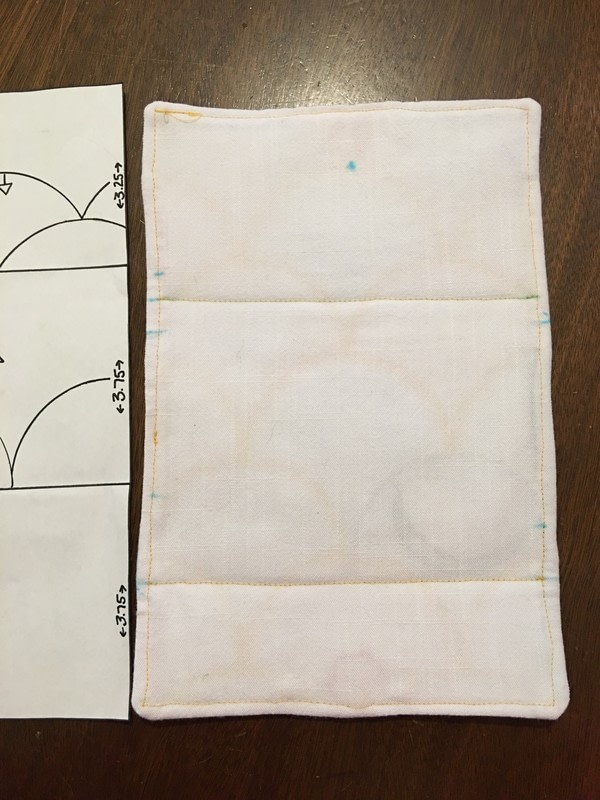
First you need to make a template for your phone cover.
My phone is 6 inches X 3 inches. Each side needed to be at least a half an inch bigger to fit my phone.You need to think about which way you want your shells to face too. When you fold it to create the pocket for the phone one side will be upside-down when its all sewn together.
Cut 2 pieces of plain fabric and 1 piece of fuse-able fleece to make the body of your clutch.
-
 Step 2
You'll need to determine how many shells you will need to cover your case. Mine took 15, 3 inch shells.
To sew your shells you will need to print off a template. You can search for the size you'd like and print it off easily. If you do a smaller shell you'll need to make sure you sew extra.
A) Pin your template to your fabric and trim your fabric to be 1/4 inch wider than your template.
B) Clip the inner curves, stop just short of the template. Hand sew a running stitch down and around the inner curves, folding the fabric over the template and sewing through both layers of fabric and the template. When you get to the top outer curve, sew a running stitch just through the fabric close to the edge of the fabric. So that it pulls together like a ruffle.
C &D) Iron your shell On both sides, along the edges. Snip your thread in a few places and pull it out.
-
 Step 3
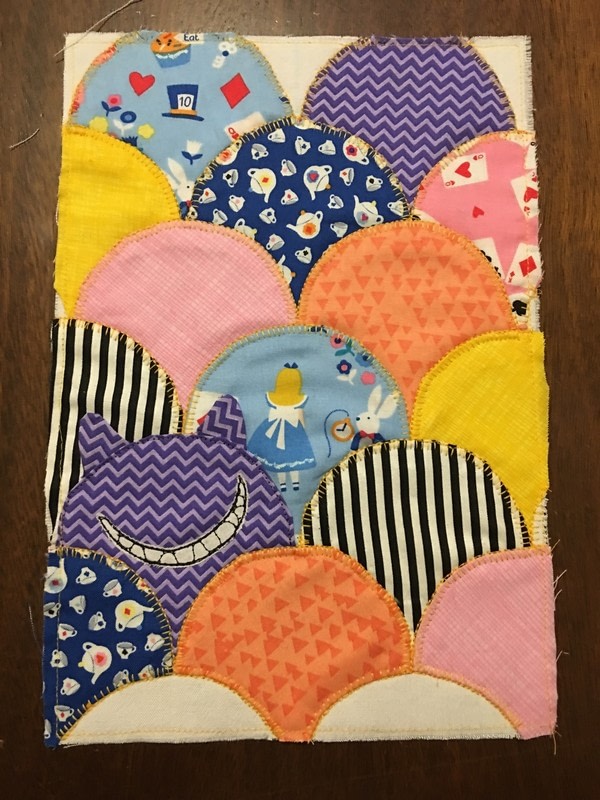
With your completed shells, find a layout you like. I had to switch my shells around a few times to get a "random" look.
Take a picture of your layout, so you can refer back to it if you need to.
Pin your shells to one of your plain pieces of fabric.
-
 Step 4
Start with your top layer of shells pinned in place, sew up and over just the top curves. Make sure the second row is still in place, and sew up and over just the second row. Repeat, making sure the row is still pinned down straight before starting to sew it.
I used the blanket stitch on my machine.If you have some of your plain fabric showing like I do, just do some stitching around those exposed edges of the shells too.
After your shells are sewn on. Do a straight stitch very close to the edge all the way around, then trim off the extra.
-
 Step 5
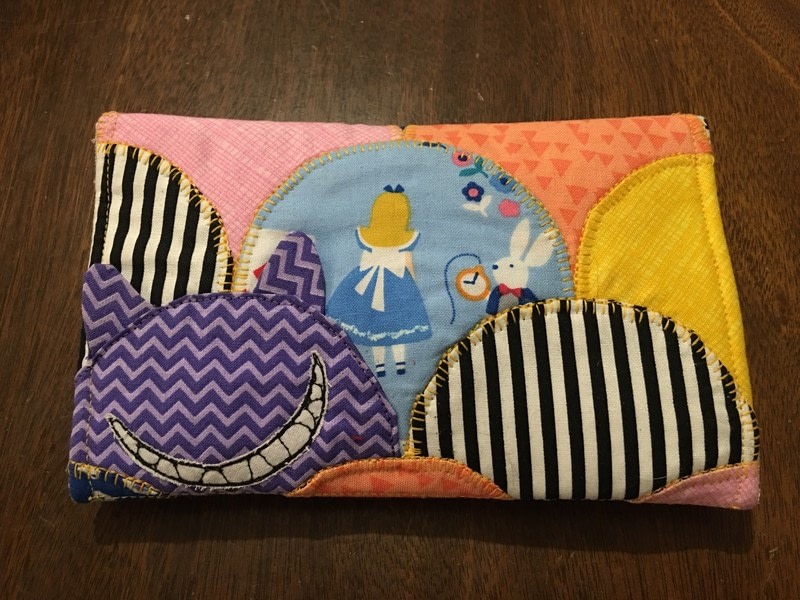
Back in step 4 - I added a little detail. Using scraps of the purple fabric I made two little cat ears that I pinned in place before sewing across the top of that row.
Then after all the rows were sewn on I added a smile and stitched it on to look like the Cheshire Cat's grin.He's watching Alice :)
-
 Step 6
Fuse your Fuse-able Fleece to your second piece of plain fabric.
You should have two pieces now, one with the shells sewn on and the one with the fleece you just made.
Sew those two pieces together, right sides facing each other, leaving a space open to turn it right-side-out. Turn it right-side-out and iron it. Top-stitch around making sure to close up the hole used to turn it. Mark and test out your folds needed to make your case. I changed mine after I saw how it was coming together. Sew across your final mark to create the folds.
-
 Step 7
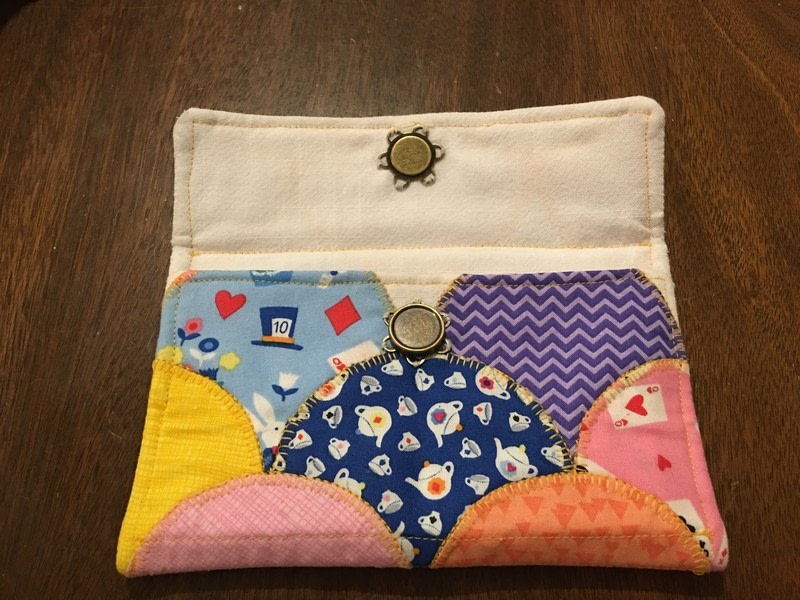
Fold up your bottom and hand sew the sides together.
Putting your phone in will help you decided where to place you magnet closure. Mark where it should be, take your phone out and sew on the closure.
Now your totally one of a kind phone case is ready.