About
An easy way to give your phone a touch up
Here is a nice way to shine up your cell phone with some of your nail polish.
You can make it rainbow coloured like shown, or other colours if you wish.
Tags
-
 Conner W. added Cell Phone Nailpolish Case Mod to gadgets stuff
09 Feb 02:22
Conner W. added Cell Phone Nailpolish Case Mod to gadgets stuff
09 Feb 02:22
-
Conner W. favorited Cell Phone Nailpolish Case Mod
09 Feb 02:22
-
 Step 1
You will need:
Scotch tape
Pencil
Cutting knife
Nail polish colours of your choice.
For a rainbow you will need red, orange, yellow, green, blue and purple (in that order).
Small brush -
 Step 2
Take the back cover of your cell phone. If you wish to paint other parts of the cell phone remember to cover things like buttons with tape. It can be risky to paint near buttons, because if any paint get into any cracks it might be harder to push.
First you have to measure the length of the cell phone. Divide the length into 6 (if it makes it easier, you can divide it with 7 and use a turquoise in between green and blue).
I'm lucky that my cell phone is 10.5 cm long, meaning that the 6th part of the length is the same length as a piece of scotch tape is wide.Draw some markings on the phone cover to show where the tape should be placed.
Make sure that each field is exactly the same width. -
 Step 3
I have covered the camera lens cover with tape to protect it from any stray brush strokes.
Put tape on every second field. Make sure that it is straight! Press it firmly to make sure it sticks.
Use your knife to cut the tape to fit in any gabs like this.
-
 Step 4
Paint where no tape is covering, meaning you have to paint with every second colour of the rainbow. Like shown.
Remember to put on a second coat for a nice even layer.When its completely dry, take off the tape (except the tape covering the lens cover)
-
 Step 5
Gently put tape on top of the painted parts. Be sure to make it fit exactly on top of the colours! It is okay to let a few millimetres show, its better than to make a gab.
Don't press it too much, just make sure it fits. You can run the risk of the polish falling off when you take of the tape, so be careful! -
 Step 6
Again, remember to cut the tape to fit gabs, to make sure that the tape is covering what it is suppose to cover.
-
 Step 7
Try as best as you can not to paint over the logo.
In my opinion, this will get a better result.You should also remember to cover the part where the speakers are. It can ruin your speakers if you get any nail polish in between the cracks.
-
 Step 8
Let it dry, and then carefully take off the tape. The tape might have left some sticky marks, but we will fix that later!
Take a small thin brush (for nail art details, or a small regular horse hair brush) and cover up all the remaining spots that you've missed, like around the speaker and near the logo.
-
 Step 9
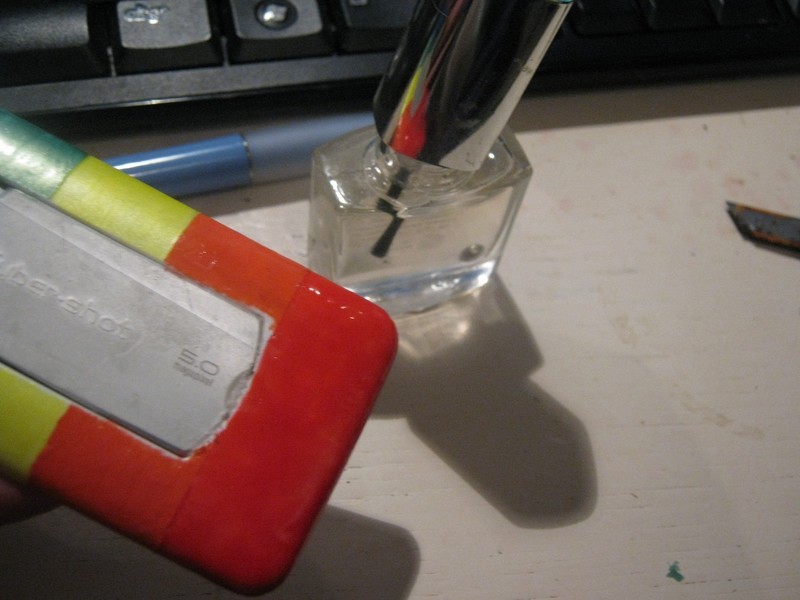
Finish it with a clear coat to make the polish stay longer, a nice glossy look, and to cover the sticky marks the tape might have left behind.
Let it dry, peal off the remaining tape and voilà! You have a nice cool looking phone!