About
Give life to an old piece of clothing!
We have a lot of clothes that are sitting around not being worn, so we’ve been on a bit of a cleaning bender and have tossed or donated a lot of them. In lieu of tossing some things out I’ve decided to give them new life. So I decided to start with my favorite cardigan.
Tags
-
 Mz.Green Eyed Beauty favorited Cardi Revamp Pt.1
13 Apr 11:01
Mz.Green Eyed Beauty favorited Cardi Revamp Pt.1
13 Apr 11:01
-
 Emma H. favorited Cardi Revamp Pt.1
15 Apr 13:51
Emma H. favorited Cardi Revamp Pt.1
15 Apr 13:51
-
 TheYearlingBlog published her project Cardi Revamp Pt.1
27 Mar 23:22
TheYearlingBlog published her project Cardi Revamp Pt.1
27 Mar 23:22
You Will Need
-
 Step 1
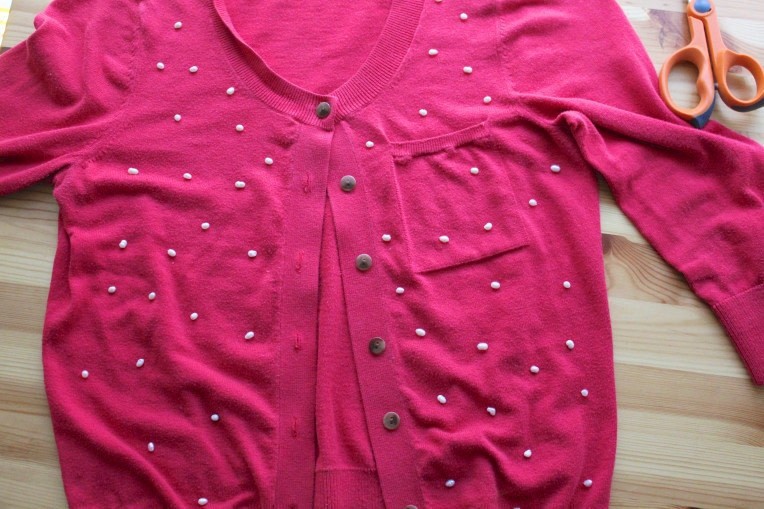
I’ve had this cardigan for ages, and it’s much loved but I wasn’t quite ready to part with it. I also don’t know what’s wrong with the lighting here but the color of the cardigan is totally off.
-
 Step 2
The hardest part was actually deciding on what kind of dispersal pattern I wanted to go with for the pearls.
-
 Step 3
Once I decided all I had to do was glue them down. You can use a needle and threat for this, but I didn’t have a thin enough needle or matching thread. Be very careful not to disturb your pattern when you’re gluing or you will have to start all over again. I recommend just moving the pearls slightly out of the way and applying the glue directly beneath them, then pressing them in.
-
 Step 4
After I left the pearls to dry, I recommend a few hours, I turned it over and added my patch to the back.
-
 Step 5
Once everything’s in place and has had time to dry and set you’re done and you can wear your cardigan out on the town. This is the actual color of the cardigan.
-
 Step 6
And you’ve got a cheeky little kiss on the back so you always look like you’re kissing them goodbye. ;)