


About
Canning Jar Pincushion Tutorial
Have you seen these new Ball® Wide Mouth Contemporary Styled Glass Preserving Jars?
I love this little Half Pint size, especially if you turn it into a pincushion. I realize this is not a new idea and there are lots of instructions available for converting a jar lid into a pincushion, but I think maybe I should give you my version!
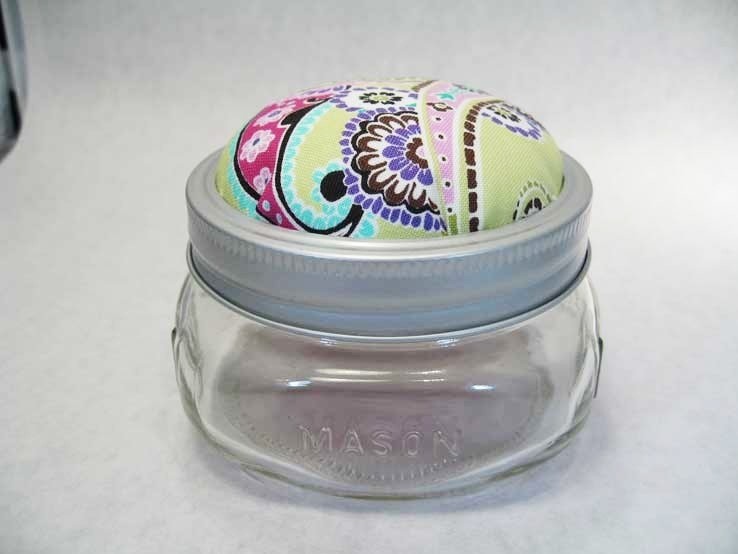
Here’s the finished product:
-
 Key West Witch favorited Canning Jar Pincushion
27 Jun 13:57
Key West Witch favorited Canning Jar Pincushion
27 Jun 13:57
-
 Katrina P. favorited Canning Jar Pincushion
15 Feb 20:48
Katrina P. favorited Canning Jar Pincushion
15 Feb 20:48
-
 acquacri favorited Canning Jar Pincushion
27 Oct 05:36
acquacri favorited Canning Jar Pincushion
27 Oct 05:36
-
 Cristina M. favorited Canning Jar Pincushion
10 Oct 19:26
Cristina M. favorited Canning Jar Pincushion
10 Oct 19:26
-
 stephanie.vincent.39589 added Canning Jar Pincushion to Patterns
05 Feb 22:49
stephanie.vincent.39589 added Canning Jar Pincushion to Patterns
05 Feb 22:49
-
 zoegirl221 added Canning Jar Pincushion to pincushion
15 Sep 21:35
zoegirl221 added Canning Jar Pincushion to pincushion
15 Sep 21:35
-
 anne.grenade.1 favorited Canning Jar Pincushion
06 May 03:50
anne.grenade.1 favorited Canning Jar Pincushion
06 May 03:50
-
 Charli favorited Canning Jar Pincushion
16 Aug 21:24
Charli favorited Canning Jar Pincushion
16 Aug 21:24
-
 Youghurt Jaja favorited Canning Jar Pincushion
07 Aug 21:36
Youghurt Jaja favorited Canning Jar Pincushion
07 Aug 21:36
-
 kim B. favorited Canning Jar Pincushion
04 Aug 23:45
kim B. favorited Canning Jar Pincushion
04 Aug 23:45
-
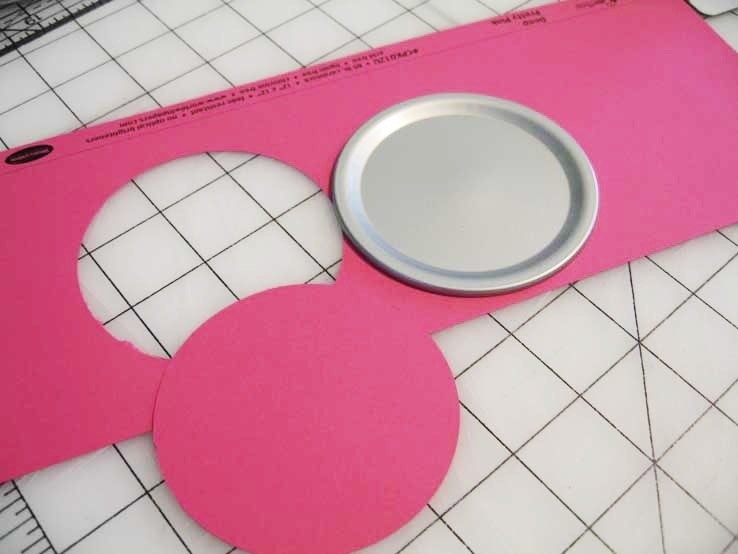
 Step 1
Using the lid of the jar, cut out a circle of the same size from the card stock
-
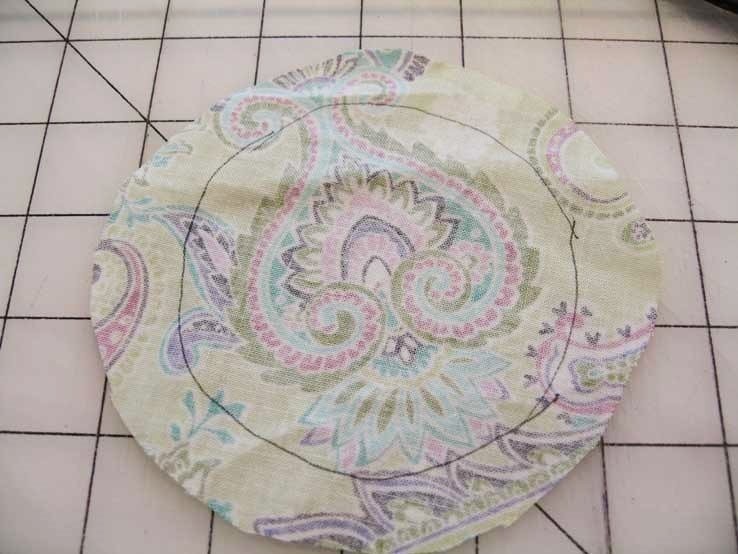
 Step 2
Using the lid of the jar, trace around it on the wrong side of your fabric.
-
 Step 3
Increase that circle’s radius about 1” and cut out the larger circle.
-
 Step 4
Layer the fabric, cotton balls,
-
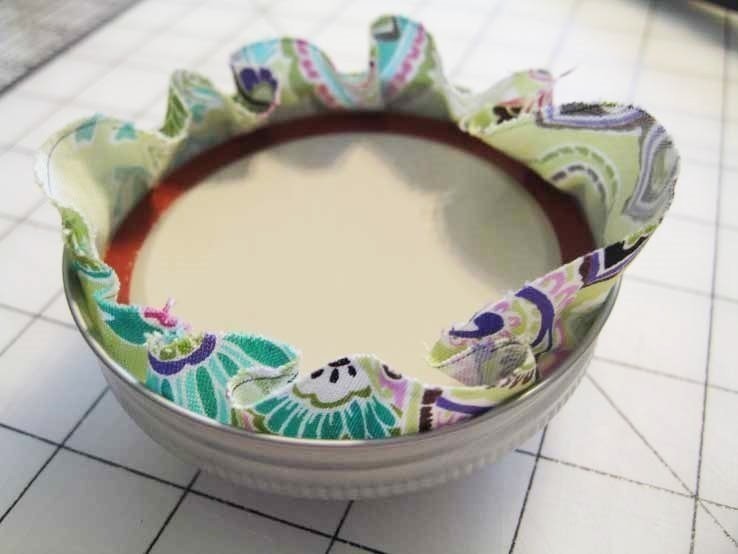
 Step 5
and lid then place the “sandwich” inside the band.
-
 Step 6
Press the lid down so that the cotton balls and fabric form the pincushion on the opposite side of the band. Check to see if you need to move the fabric to avoid creases.
-
 Step 7
Make any necessary adjustments and then fold in the fabric and hot glue it to the underside of the lid.
-
 Step 8
Trim away any excess fabric and hot glue the cardstock over the fabric edges.
-
 Step 9
Line the band with a small bead of glue and insert the pincushion into it, pressing firmly. Add the lid to the jar and YOU HAVE A NEW PINCUSHION!
Other ideas (please add yours in the comments): Monogram the top and use it as a “treasure jar”. Add ribbon, paint, and other embellishments to the band to give it even more personality.


No matter how much i tried... I still had a few creases in the sides (though thats probably just my incompetence with fabric xD)
And when I glued the cushion the band, I didn't push firmly enough so now the lid wont screw into the jar... (I'll have to find a way to undo what I've done.)
And the last tidbit? Don't over-stuff the cushion! If you do, you can't stick your pins in very far. (I used cotton balls, it seems that I packed in so many, it became too dense for my pins to pierce.)
So make sure you pay attention when you work on this! Don't make the same mistakes I did XD. I'll be trying again soon, armed with more knowledge.
Thanks for the How-To!
but its so easy!