About
Whitework Embroidery
This is a simple but effective method for stitching edges. The buttonhole scallop can also be used to edge open work. It is a versatile stitch as you can layer a few rows or add picots. Use a tapestry or blunt-ended needle for this technique.
-
 Crafterella featured Buttonhole Scallop
18 Jan 23:00
Crafterella featured Buttonhole Scallop
18 Jan 23:00
-
 Deb E. favorited Buttonhole Scallop
18 Jan 04:30
Deb E. favorited Buttonhole Scallop
18 Jan 04:30
-
 Search Press published her project Buttonhole Scallop
08 Jan 09:00
Search Press published her project Buttonhole Scallop
08 Jan 09:00
-
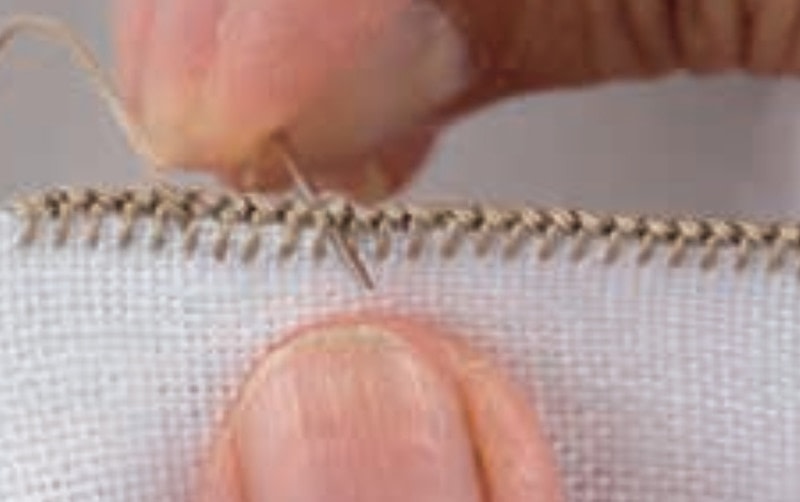
 Step 1
First Row
Using a base of Hedebo buttonhole stitch, insert the needle from the wrong side into the stitched fold, and bring it out on the right side at the edge of the fabric fold.
-
 Step 2
Moving five stitches along, insert the needle into the stitching from the back to front.
-
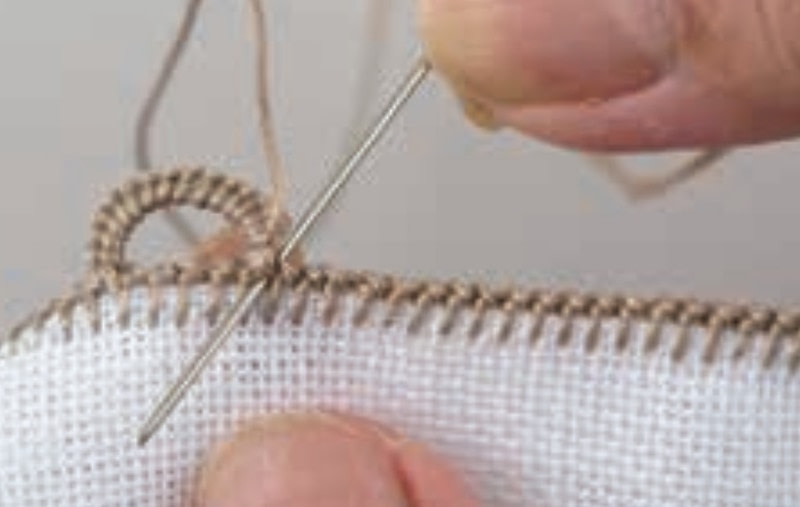
 Step 3
Pull the thread length to make an arc, then bring the needle out from the wrong side where you came out the first time.
-
 Step 4
Repeat steps 2 and 3 to build up an arc with four stitches, all of the same length. Make the arc a little smaller than the size of scallop you want to make.
-
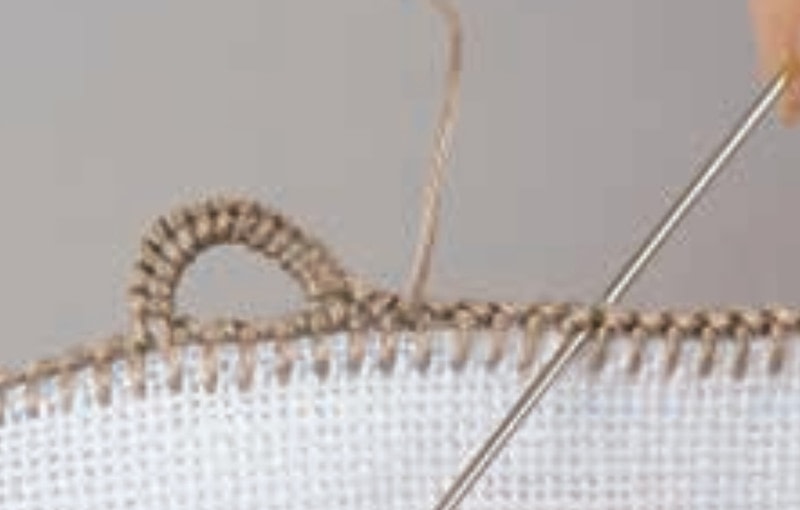
 Step 5
Next, you’ll work Hedebo buttonhole stitch around the arc. Insert the needle through the arc from back to front.
-
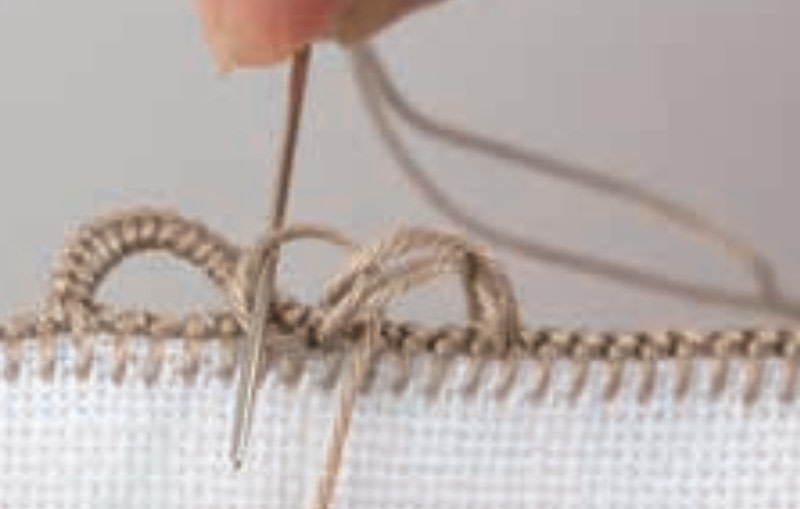
 Step 6
Pull the needle through, leaving a small loop. Insert the needle through the loop from back to front.
-
 Step 7
Pull the thread toward the left and tighten. One Hedebo buttonhole stitch is complete.
-
 Step 8
Continue to work Hedebo buttonhole stitch around the arc.
-
 Step 9
Fill the arc with stitches. When you reach the end, insert the needle at the base of the arc from back to front.
-
 Step 10
Work one more Hedebo buttonhole stitch.
-
 Step 11
One buttonhole scallop is complete. To start the next scallop, insert the needle into the next stitch of the base from back to front.
-
 Step 12
Moving five stitches along, insert the needle into the stitching from back to front.
-
 Step 13
Create an arc of four threads and adjust it to make the same size as the inside of the first scallop. This will ensure that the finished buttonhole scallops are equal in size.
-
 Step 14
Repeat steps 5–7 to work Hedebo buttonhole stitch.
-
 Step 15
Continue working Hedebo buttonhole stitch around the arc, or stop halfway and continue with step 16 to add an additional row.