Broderie Anglaise Eyelet
Extract from Whitework Embroidery • By Ayako Otsuka • Published by Search Press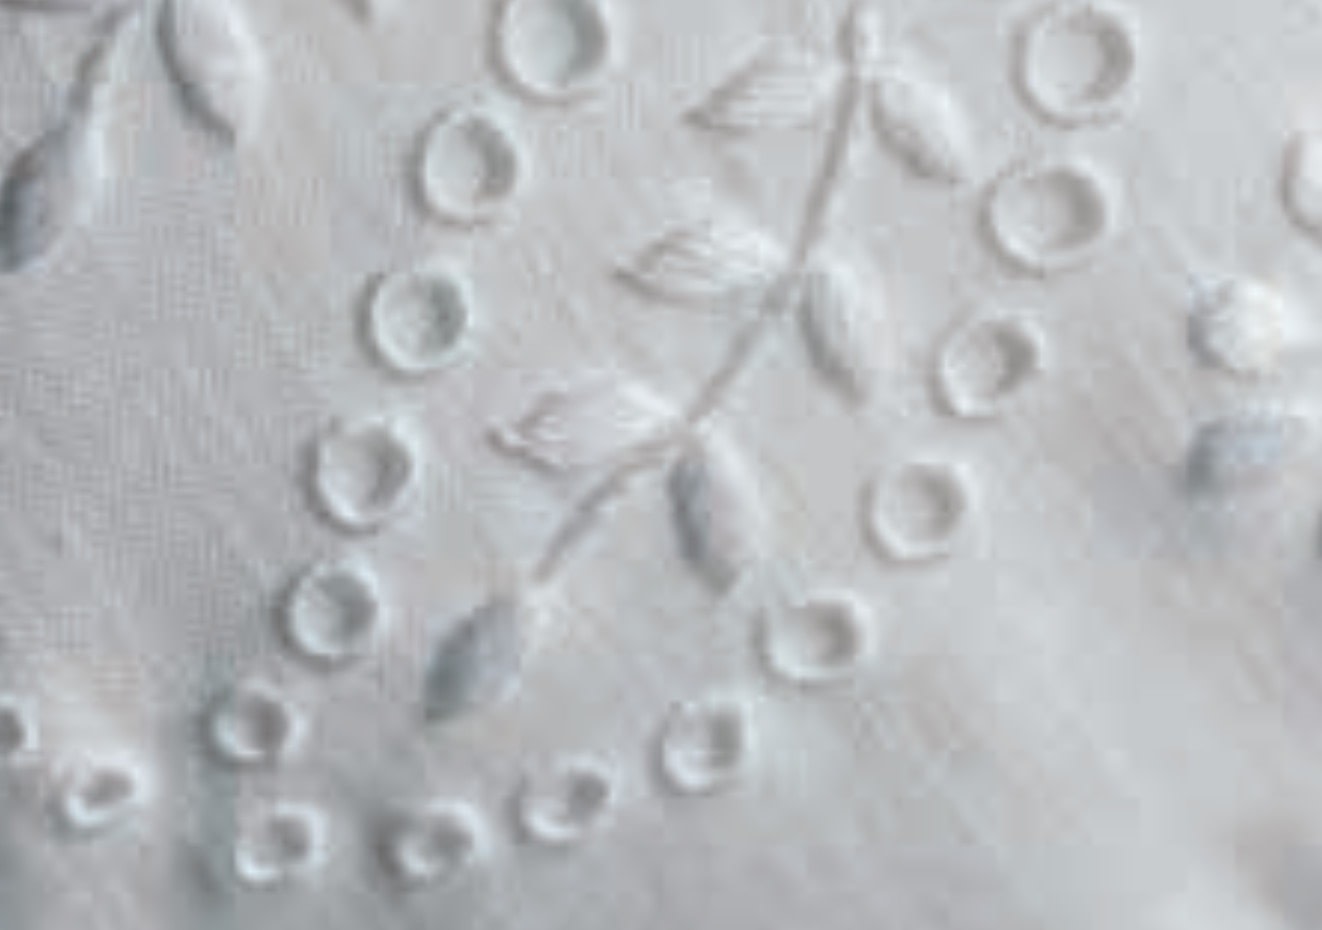


About
Whitework Embroidery
Broderie Anglaise is a kind of whitework which reached England around the beginning of the 19th century. The technique features eyelets, which are holes where the edges are bound with stitching. It is often used for children's clothing, blouses, and underwear. Use a sharp-pointed needle.
t. Eyelet
Use this technique to make eyelets in a variety of sizes.
-
 C.J. M. added Broderie Anglaise Eyelet to Embroidery
20 Aug 18:00
C.J. M. added Broderie Anglaise Eyelet to Embroidery
20 Aug 18:00
-
C.J. M. favorited Broderie Anglaise Eyelet
20 Aug 18:00
-
 Brittney S. favorited Broderie Anglaise Eyelet
04 Mar 03:52
Brittney S. favorited Broderie Anglaise Eyelet
04 Mar 03:52
-
 Search Press published her project Broderie Anglaise Eyelet
08 Jan 09:00
Search Press published her project Broderie Anglaise Eyelet
08 Jan 09:00
-
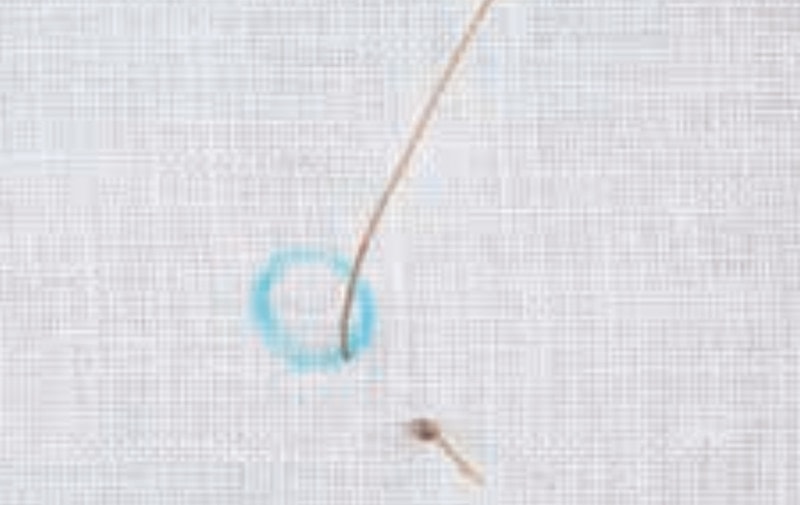
 Step 1
Draw a circle of the required size. Make a knot at the thread end, insert the needle a short distance away from the circle, and bring it out at the edge of the circle.
-
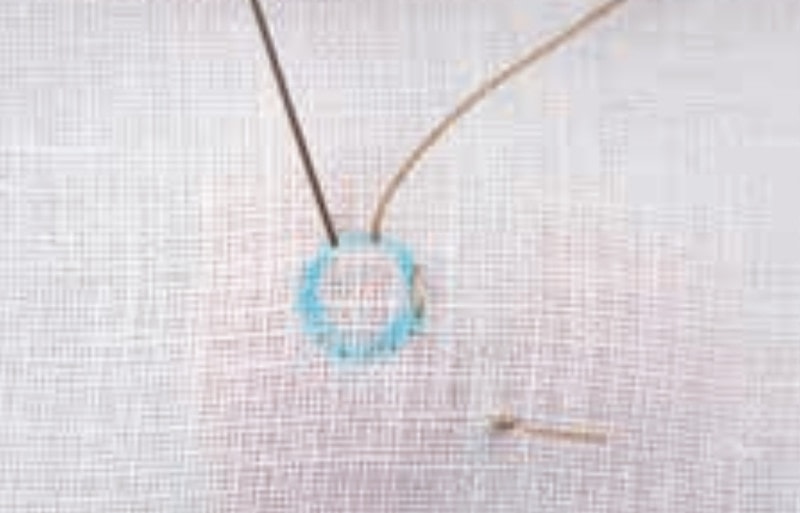
 Step 2
Sew running stitch along the circle.
-
 Step 3
One circuit is completed.
-
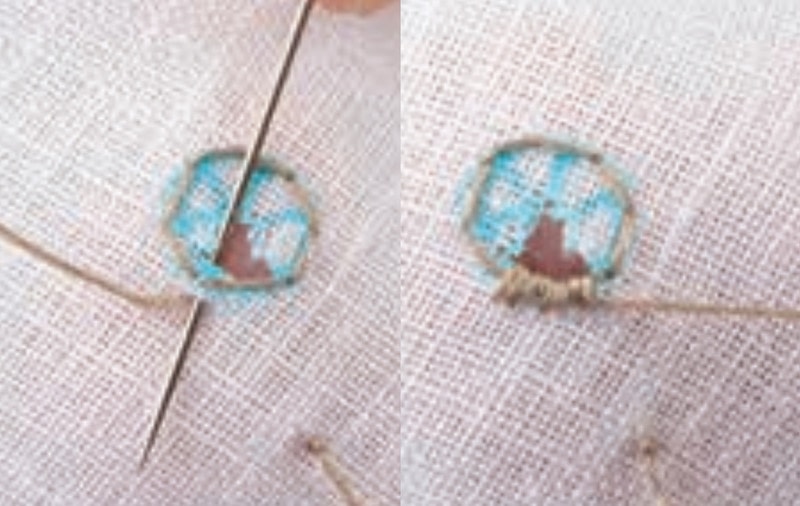
 Step 4
Stitch between the stitches of the first circuit to create double running stitch.
-
 Step 5
When the two circuits are complete, the thread returns to the starting point.
-
 Step 6
Bring the needle out a little way outside of the running stitch. This distance represents the width of the eyelet stitching.
-
 Step 7
Draw lines inside the circle to divide it into six segments. One of the lines should end near where the thread comes out.
-
 Step 8
Next, you’ll use sharp, fine-pointed scissors to cut along the lines. To start, insert the scissors at the center and cut along the line where the thread comes out. Be careful not to cut the thread! Use the same process to cut the adjacent line.
-
 Step 9
Fold the flap to the wrong side. Insert the needle in the center.
-
 Step 10
Bring the needle out right next to the previous stitch. Continue overcast stitching around the circle, positioning the stitches as close together as possible and making them equal in length.
-
 Step 11
Cut the next segment, fold the flap to the wrong side, and sew in the same manner.
-
 Step 12
One round is complete.
-
 Step 13
On the wrong side of the fabric, run the needle under the back of the stitches for about 1/2 in (1.2 cm) to finish the thread.
-
 Step 14
Trim the excess thread.
-
 Step 15
Cut the knot made in step 1 to complete the eyelet