
About
hip and helpful to look cute and keep those flyaways at bay
I made an easy stretch headband with a few simple materials I had in my craft bin!
-
 Barjaa B. added Braided Headband to DIYS
27 Jun 19:02
Barjaa B. added Braided Headband to DIYS
27 Jun 19:02
-
Lee B. favorited Braided Headband
18 Aug 02:11
-
Jackie G. added Braided Headband to Head Bands
29 Jul 20:37
-
Nicole F. favorited Braided Headband
28 Feb 01:24
-
 Witchy favorited Braided Headband
23 Nov 01:25
Witchy favorited Braided Headband
23 Nov 01:25
-
 Sarah B. added Braided Headband to Jewellery
13 Nov 00:15
Sarah B. added Braided Headband to Jewellery
13 Nov 00:15
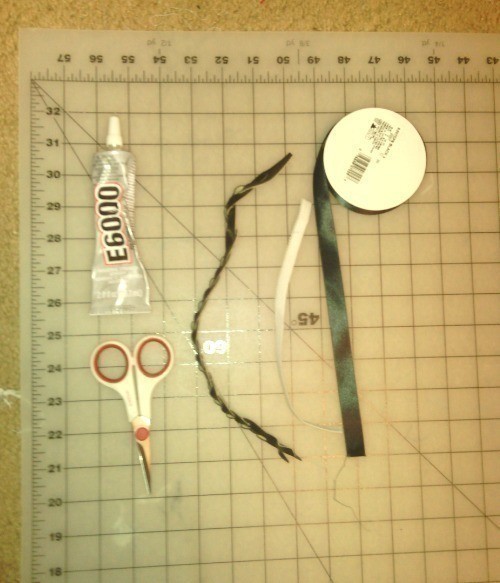
You Will Need
-
 Step 1
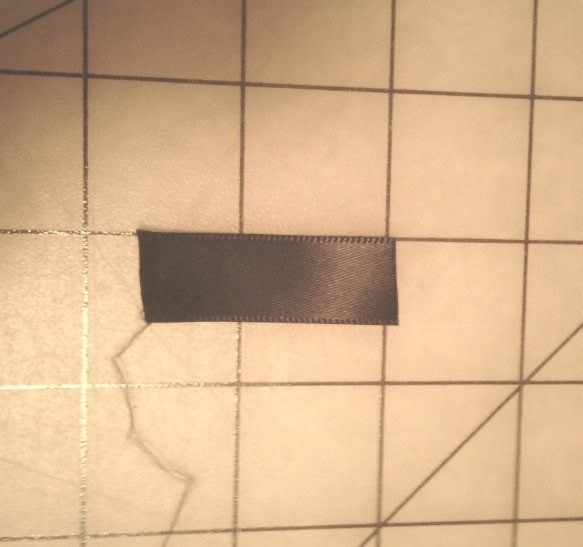
Pick a small piece of trim or fabric. It can be simple or embellished! Im using 3 strips of faux leather braided together. Because they are so thick, I cant sew this project but you can if your materials are not too bulky.
-
 Step 2
Once your trim is ready, cut a long piece of elastic to go around the back of your head. My piece was about 9 inches. You want it to be long enough to reach around from the top of your ear, around the back to the other ear. Im using E6000 which is a great glue for multiple different types of materials. It may take awhile to dry so either hold the pieces down firmly or find a heavy object to prop on top of it for a bit.
-
 Step 3
While that dries, cut 2 pieces of ribbon about an inch and a half long. Mine is 5/8" wide. You can use almost any material you want, it looks best when this part is the same color as the main trim area.
-
 Step 4
Once the elastic is sturdy, place a dot of glue on the back of the trim and put the ribbon half way over the trim. Make sure that when wrapped around, the ribbon covers the edge of the elastic for a nice clean finish.
-
 Step 5
Wrap the ribbon completely around to the other side. Place another dot of glue on top of the first end of ribbon that we placed on the trim, and attach the other end so it covers the seam. Wait again for glue to dry completely.
You're done!