About
Make a Bouquet of Flowers for Mom
Today we are going to make a cute little bouquet of flowers and even a little vase for them. Perfect for Mom!
Lets’ get started.
Tags
-
 Sarah-Jayne S. favorited Bouquet Of Flowers
20 May 23:06
Sarah-Jayne S. favorited Bouquet Of Flowers
20 May 23:06
-
 Jo S. favorited Bouquet Of Flowers
28 Apr 20:56
Jo S. favorited Bouquet Of Flowers
28 Apr 20:56
You Will Need
-
 Step 1
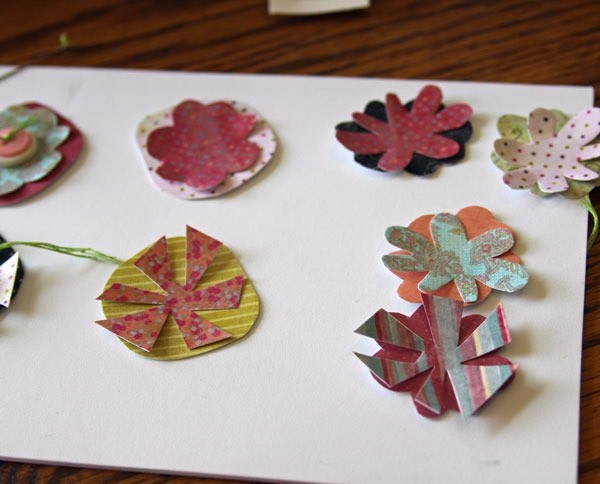
Ok, so the first step is to design your flowers in your photo editing program. With these Build a Blossom Templates this is super easy—just clip you papers to the flowers using a clipping mask. I filled up a whole 8.5×11 piece of paper with flowers. Then print them out on your Matte Photo Paper or cardstock.
Here are mine all printed out: -
 Step 2
Let the ink dry for a little bit them cover all the flowers with a layer of ModPodge, just apply it with a paintbrush.
-
 Step 3
Now you have to wait for the flowers to dry, while you wait you can get the buttons ready for the center of the flowers. I am one of those people who just hate to see an empty button hole. I just think the buttons look way cuter with some thread going through them, even if they aren’t really sewed to anything. So, I just took some embroidery floss and a needle, stacked 2 (sometimes 3) buttons in a stack, with the bigger buttons on the bottom and sewed them all together. Just start from the top and take the needle through the holes, go back up the other hole to the top again and tie a knot to hold them together. Easy Peasy!
Like this: -
 Step 4
Now that your flowers are dry go ahead and cut them out.
-
 Step 5
Now glue your button centers onto your flowers, like this:
-
 Step 6
Now, of course we will need some stems for these flowers, I am using popsicle sticks. Our “leaves” will be our green ribbons. Just tie the ribbons onto the stems. Like this:
-
 Step 7
And of course glue your flowers onto your stems. Glue them at the very top so you will have enough “stem” to go into the vase.
-
 Step 8
Speaking of a vase, lets make one. This is super simple, just open up the “Hourglass Template Set” in your Photo Editing Program. Clip some matching paper to the template and print. Follow the directions that come with your template on how to score and fold. The only thing is that we will be leaving the top of our Hourglass box open. So just trim the top fold pieces a tiny bit and fold in and glue! Now you have a vase.
Once I got mine all together I inked all my edges and painted a layer of ModPodge over the whole vase to protect it. Here it is (notice the “folded in top”):
-
 Step 9
Now you’re thinking “How are we going to get these paper flowers to stand up in the vase all nice a straight?” Well, you just need something to stick them in, which will also weigh the vase down. Anything you have on hand will do, some sand, some dry beans, rice. I happened to have a bag of chicken feed right on the hutch next to me… yes, I know, it’s strange, but it was there and it works! Just dump your stuff into your vase and arrange the flowers in your vase. I had a few extras so I tied a ribbon around my vase and glued on of the flowers to it: