Block Printed Furoshiki Wrap
Extract from Print, Paint & Ink • By Andie Powers • Published by Taunton

About
Print, Paint & Ink
Furoshiki refers to a Japanese cloth used to wrap and carry gifts, groceries, or anything that might require an extra hand or two. This DIY version is a great way to personalize your parcel, and it makes a reusable and eco-friendly alternative to wrapping paper and plastic or paper bags.
Difficulty Level: ++
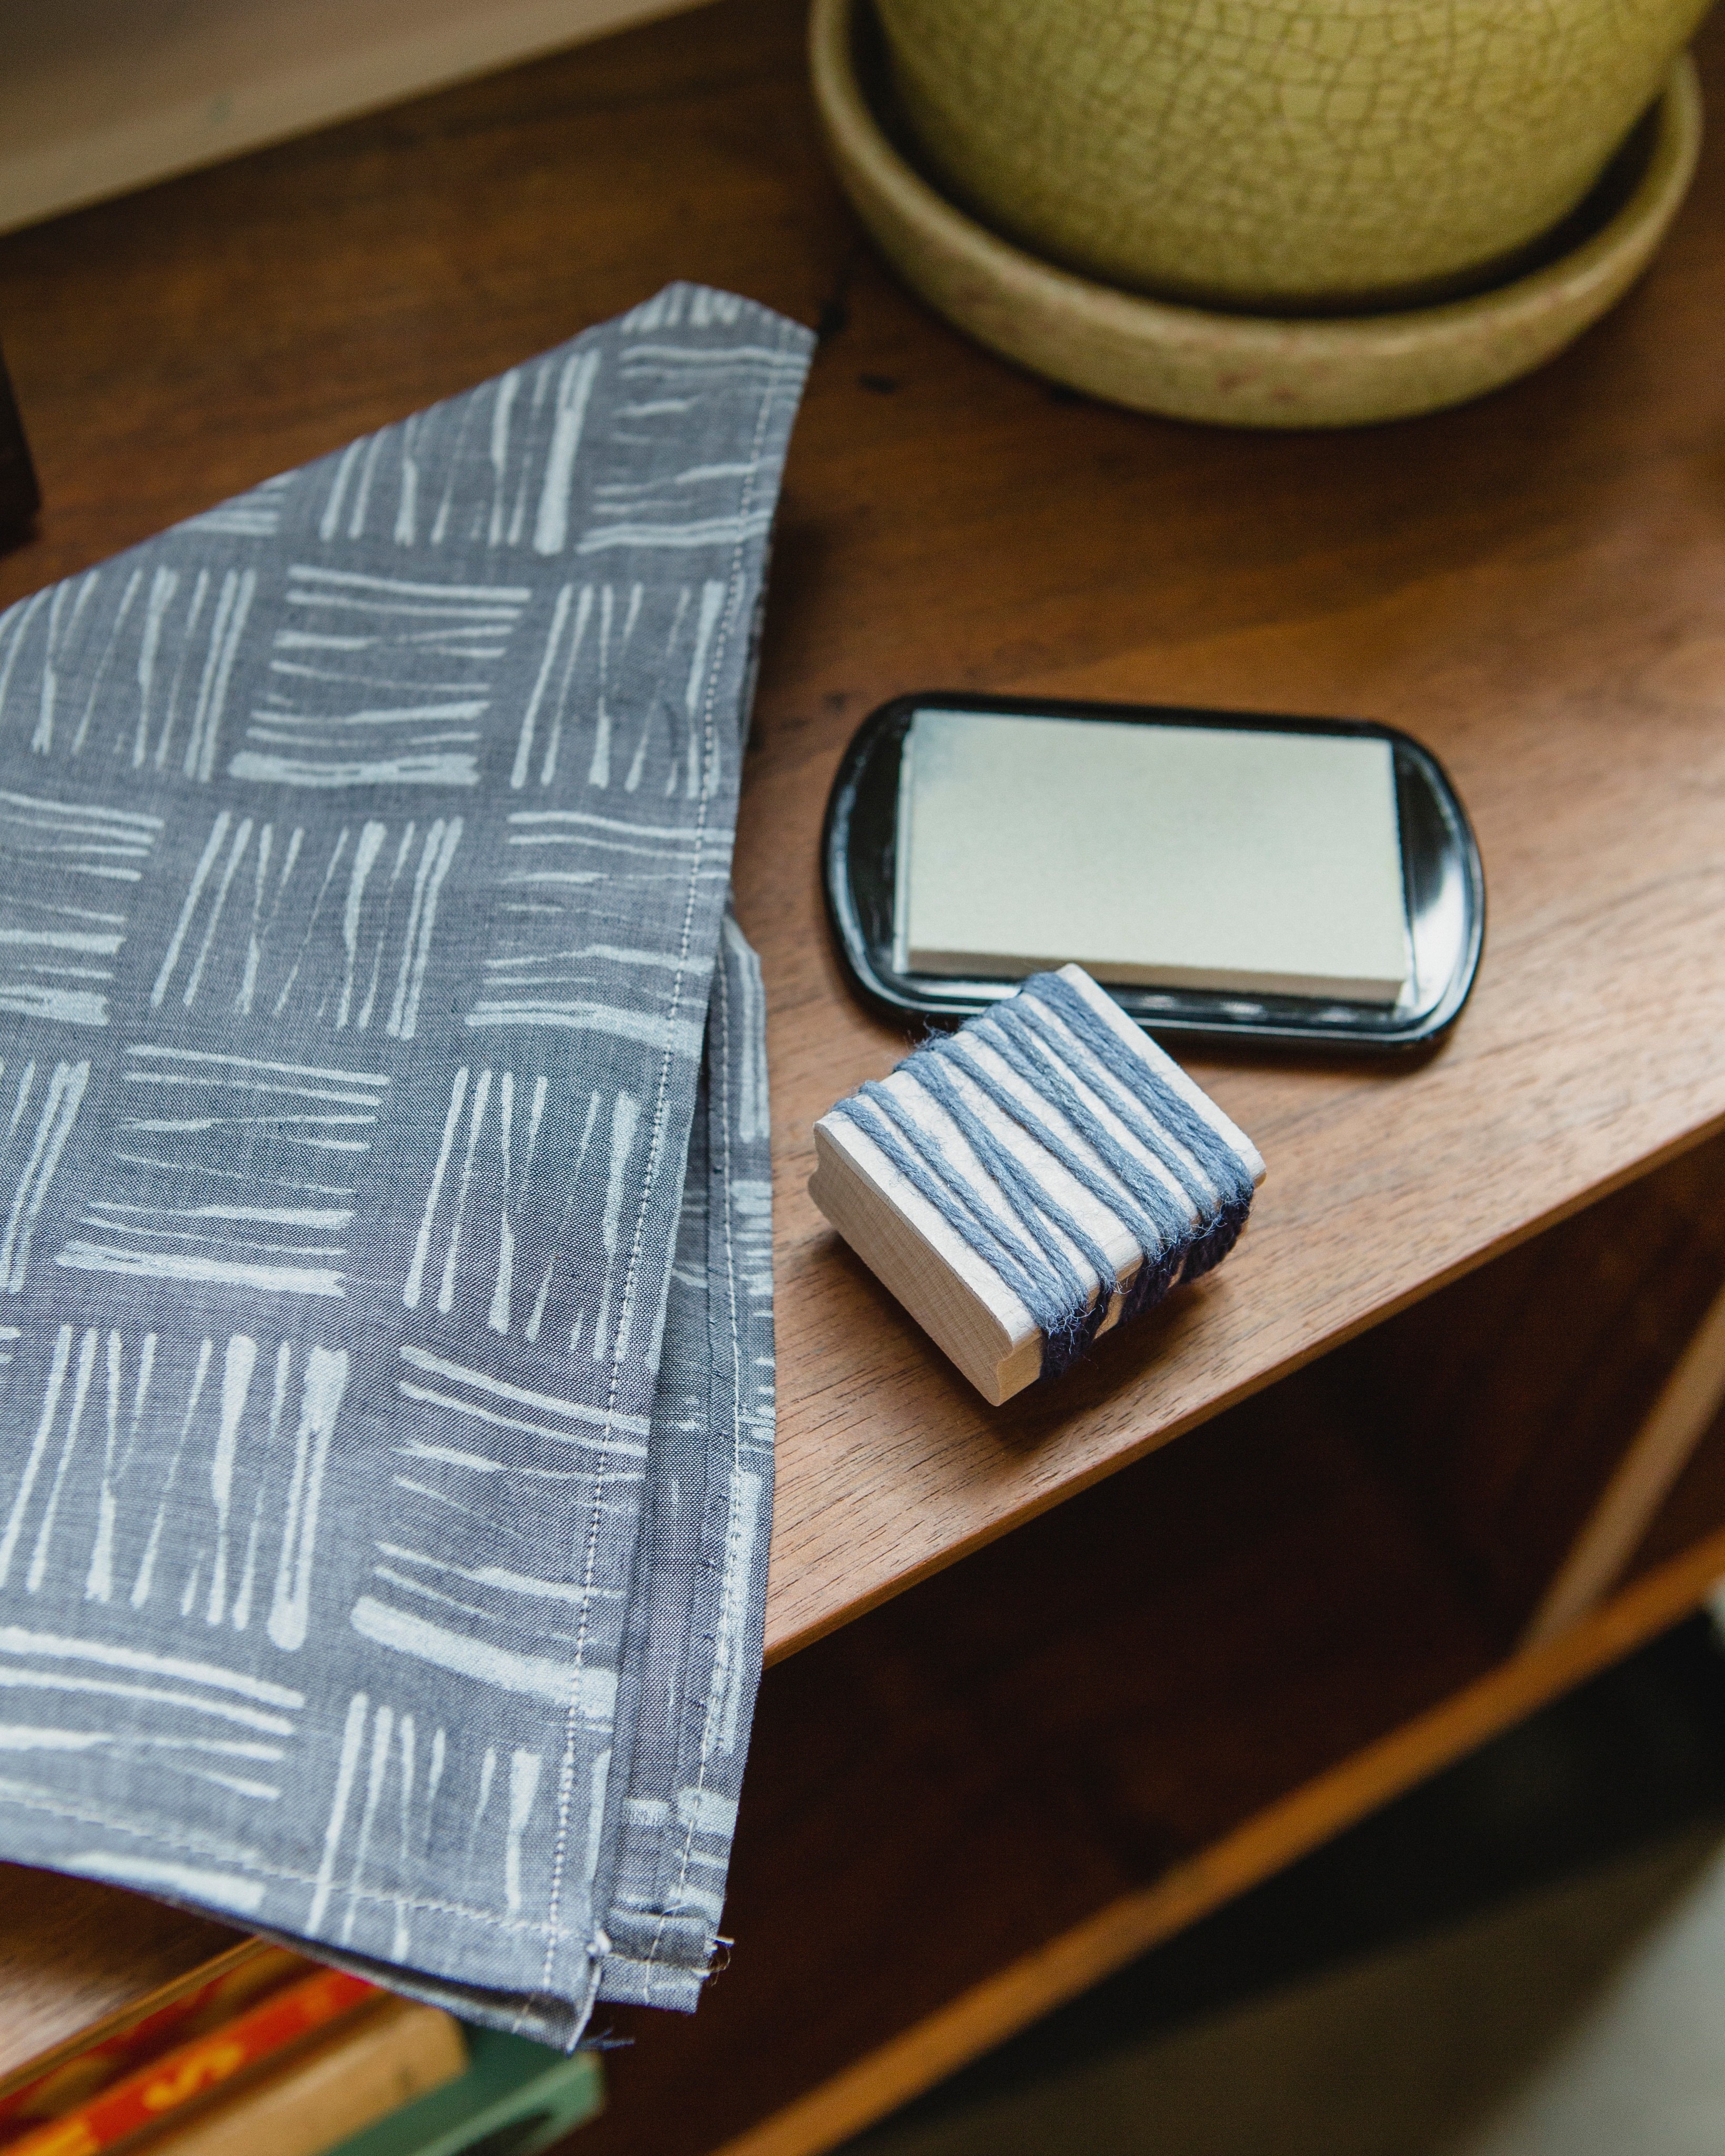
What We Used
Robert Kaufman Chambray Union Light Indigo fabric
1 1/2-in. square wood block
ColorBox crafter’s ink in Snow
-
 Zacharie M. favorited Block Printed Furoshiki Wrap
01 May 17:52
Zacharie M. favorited Block Printed Furoshiki Wrap
01 May 17:52
-
 Carla B. favorited Block Printed Furoshiki Wrap
14 Mar 21:53
Carla B. favorited Block Printed Furoshiki Wrap
14 Mar 21:53
-
 Miss J. favorited Block Printed Furoshiki Wrap
25 Feb 16:30
Miss J. favorited Block Printed Furoshiki Wrap
25 Feb 16:30
-
 Emma H. favorited Block Printed Furoshiki Wrap
07 Oct 21:17
Emma H. favorited Block Printed Furoshiki Wrap
07 Oct 21:17
-
 Taunton Books published her project Block Printed Furoshiki Wrap
05 Oct 09:00
Taunton Books published her project Block Printed Furoshiki Wrap
05 Oct 09:00
You Will Need
-
Step 1
Make the block stamp
Tape one end of the yarn to the back of the block of wood. Wrap the yarn tightly around the block in any direction you like, and tape the finishing end on the back as well.
Note: We chose to wrap the yarn in one direction, but you can overlap or crisscross it to create any pattern. -
Step 2
Test the block on paper before you stamp onto the material. You can also test the stamp on some of the fabric, if you have extra, to make sure you are happy with the design.
-
 Step 3
Stamp the fabric
Adhere the fabric to a piece of cardboard by taping the perimeter in about ¼ in. on all sides. Since the fabric is on the thin side, the ink will bleed through to the back, and the cardboard will absorb the extra ink while also keeping the work surface flat.
-
Step 4
Load the stamp with ink by dabbing it on the ink pad. Starting in one corner of the fabric and working in rows, stamp the design. You can alternate the direction of the stamp, as we did, or even overlap layers. Calculate the layout of the design before you begin, or stamp randomly as you go.
-
Step 5
Let the ink dry completely. Remove the tape holding the fabric to the cardboard. Iron the back side of the fabric on a low setting to set the ink.
-
Step 6
Finish the fabric
Iron a 1/4-in. hem around all four sides of the fabric. Turn the ironed hem over itself another 1/4 in. to tuck the raw edges under. Pin it in place, and sew around the entire perimeter of the fabric using a straight stitch. Ironing the seams before pinning the hem in place will give you a crisp edge to sew over.
-
 Step 7
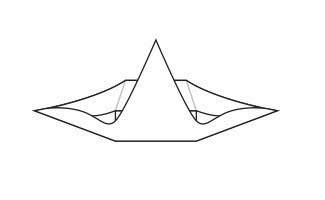
Wrap the parcel
Start with the box (our box measured 6 in. by 6 in. by 3 in.) in the center of the fabric, turning the box at a 45-degree angle. Bring the first corner up and over the box. Tuck the flap either under the box or under itself.
-
 Step 8
Bring the opposite corner over the tucked fabric, and let the corner hang off of the top side of the box.
-
 Step 9
Bring the other two opposing corners over the top.
-
 Step 10
Tie them in a square knot.