
About
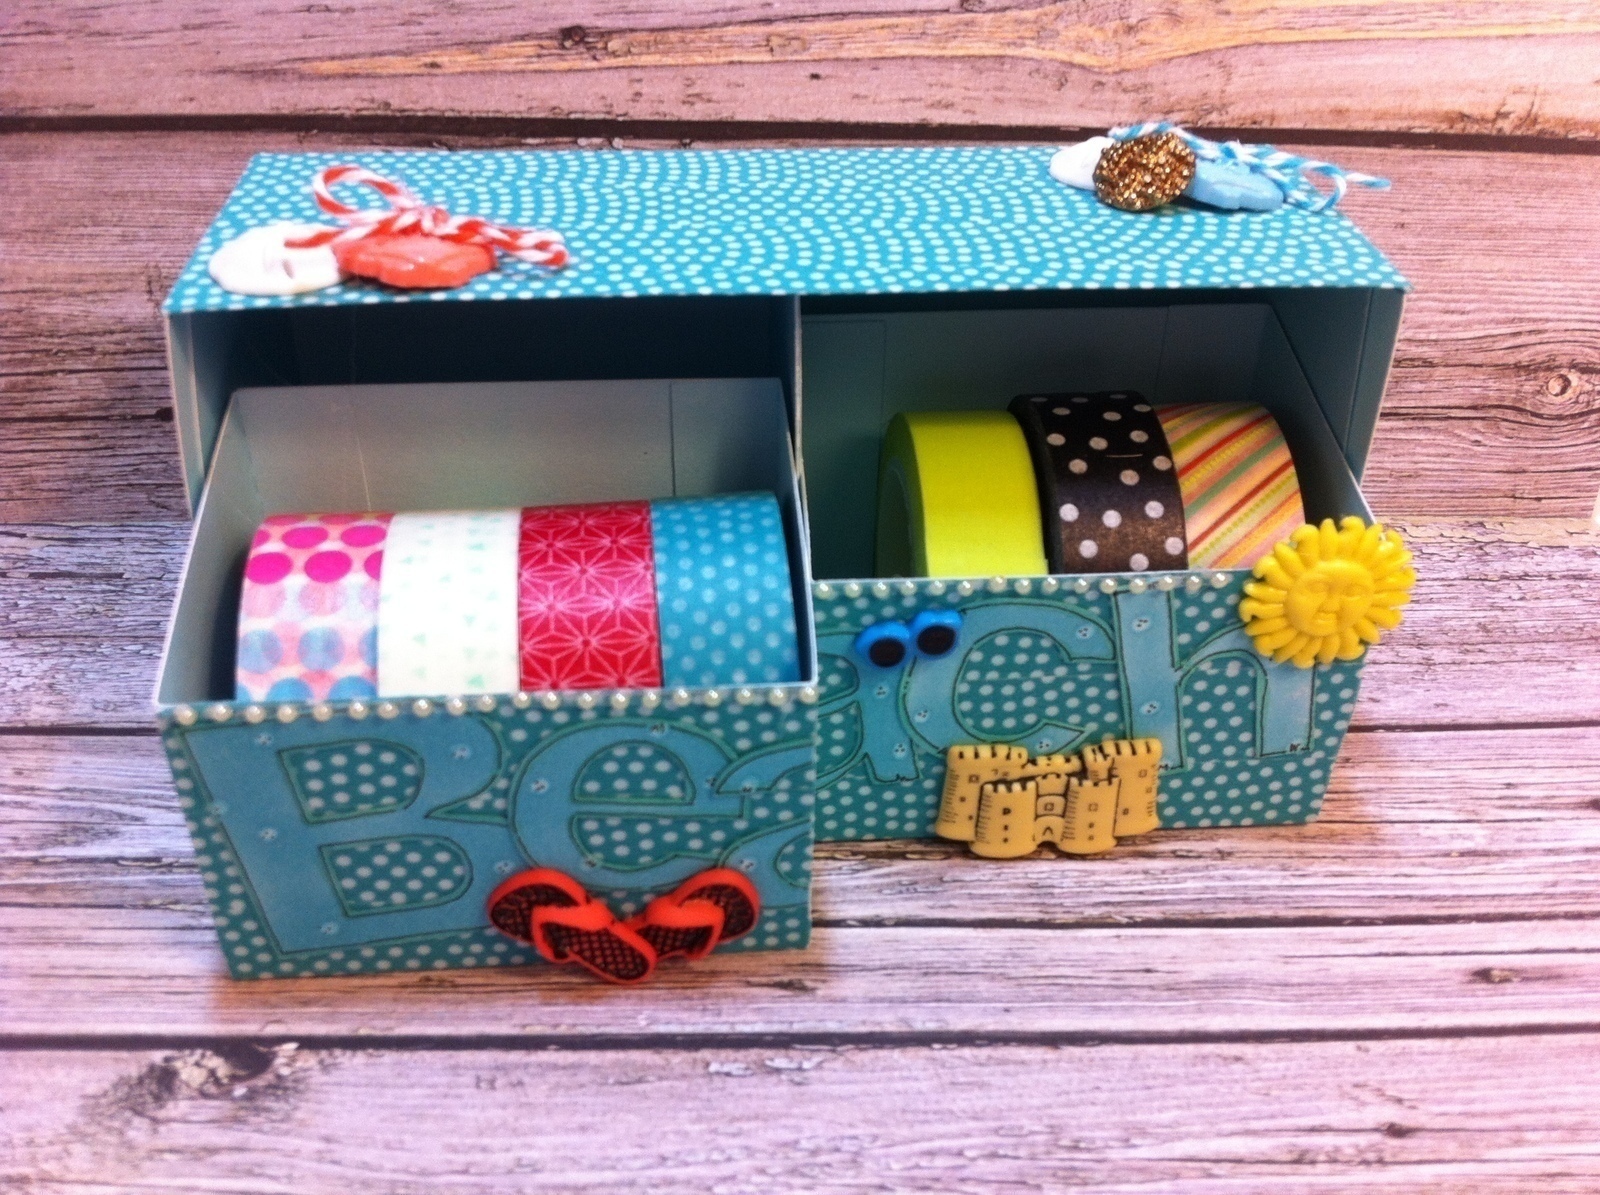
Create functional storage for your craft supplies.
Create a fun box to hold your washi tapes. Template for washi tape box available from Jamie Lane Designs in the Silhouette Online Store (http://www.silhouetteonlinestore.com/?page=view-shape&id=44965).
-
 Karina R. favorited Beachy Keen Washi Tape Storage Box
28 Jun 08:50
Karina R. favorited Beachy Keen Washi Tape Storage Box
28 Jun 08:50
-
Jen S. favorited Beachy Keen Washi Tape Storage Box
02 Mar 21:41
-
 MissQ favorited Beachy Keen Washi Tape Storage Box
18 Feb 07:41
MissQ favorited Beachy Keen Washi Tape Storage Box
18 Feb 07:41
-
 April favorited Beachy Keen Washi Tape Storage Box
27 Jul 04:09
April favorited Beachy Keen Washi Tape Storage Box
27 Jul 04:09
-
 mpanda favorited Beachy Keen Washi Tape Storage Box
07 Jul 02:21
mpanda favorited Beachy Keen Washi Tape Storage Box
07 Jul 02:21
-
 Step 1
Die cut box pieces and assemble.
Die cut letters and color with BG45 Copic Markers. Add "water stains" with a Copic Blender pen. Doodle around the edges with a Copic Multiliner and add highlights with a BG34 Copic Marker.
-
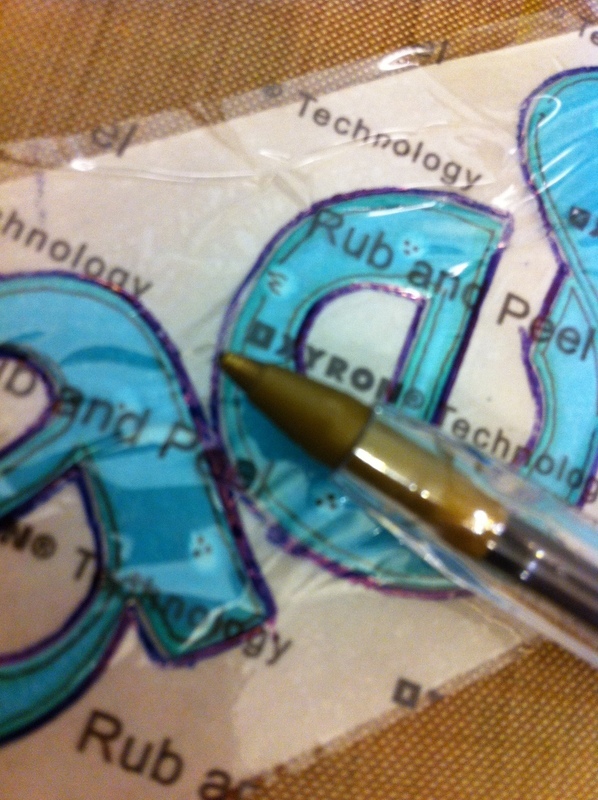
 Step 2
I use a Xyron Sticker Maker to adhere my letters. Tip - use a ball point pen to go around the letters, and burnish the backs well to get sticky letters without excess adhesive.
-
 Step 3
Decorate with buttons!
Remove shanks from buttons with a Button Shank Remover (courtesy Buttons Galore & More). -
 Step 4
I used Washi Tape to line the fronts of the drawers, and the top of the box.
-
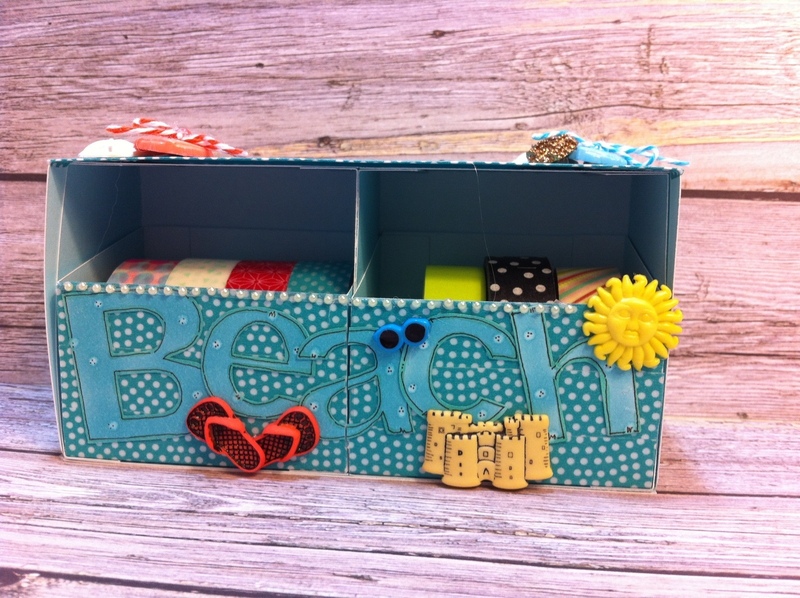
 Step 5
Adhere letter stickers. Add buttons with hot glue. Embellish with bling and twine.
Enjoy your new storage box! Fill with your favorite Washi Tapes!