About
Apple Blossom Quilt
Apples are in season in Iowa this time of year so to celebrate the season I created this quilt. A simple reverse applique technique paves the way for a unique design every time.
Tags
-
 TheSewingMaven published her project Apple Blossom Quilt
04 Oct 08:23
TheSewingMaven published her project Apple Blossom Quilt
04 Oct 08:23
You Will Need
-
 Step 1
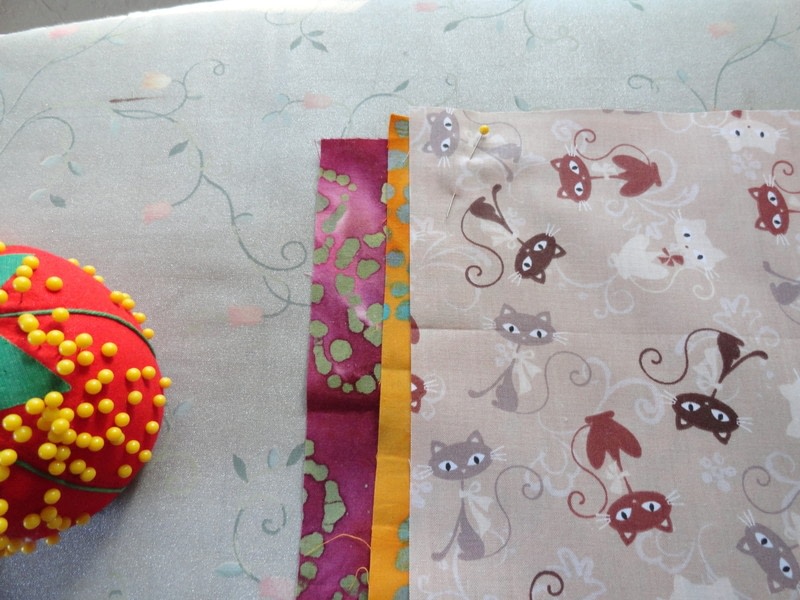
Choose five fat quarters for your project. Set aside one of them to use as the backing fabric.
-
 Step 2
Press and stack the fat quarters, being sure to layer the fabrics how you would like them to appear in your art quilt. You will be sewing a design and then trimming away layers to reveal the pattern. The top two layers show through the most, while bottom layers show through less.
-
 Step 3
Pin the fabrics together around the edges and sew around the edges with a wide zig zag stitch.
-
 Step 4
Draw the design on the back of the fabric stack. Be sure to leave at least an inch between the lines, if you leave less space there may not be enough room to trim around the edges. Simple designs work best for this technique.
-
 Step 5
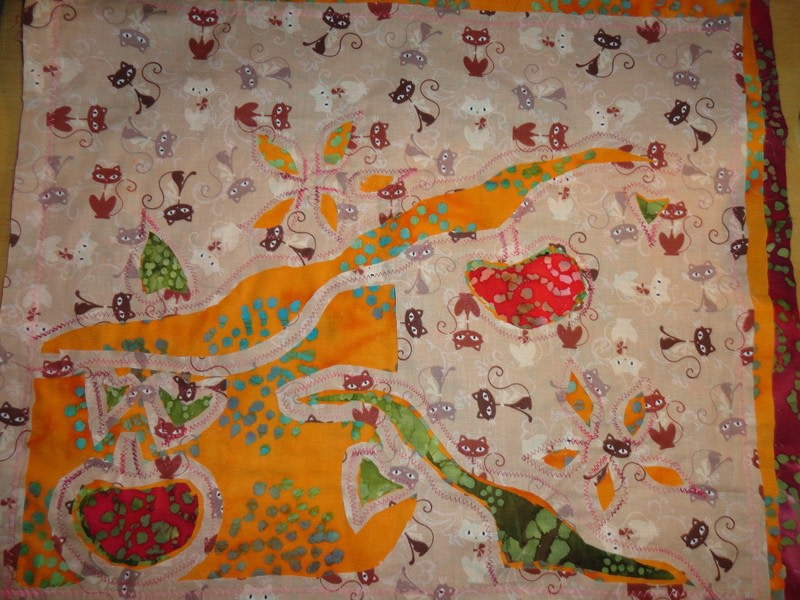
Next sew along the marker lines with a zig zag or other decorative stitch, using a thread that stands out on the top of the quilt. You'll need to be able to see the lines in order to trim away the design. Begin trimming around the edges and reveal the design.
-
 Step 6
The more you trim away, the further the design is developed. If you reach a point where you love the look, then the quilt top is done. Finish the art quilt with a layer of batting and backing, with ribbon or fabric loops at the top to display the quilt on a wall.