


About
This is a fantastic way to make your own 3D Animal, not only Hoot ... but because Hoots are amazing, there can't be enough Hoots around us :3
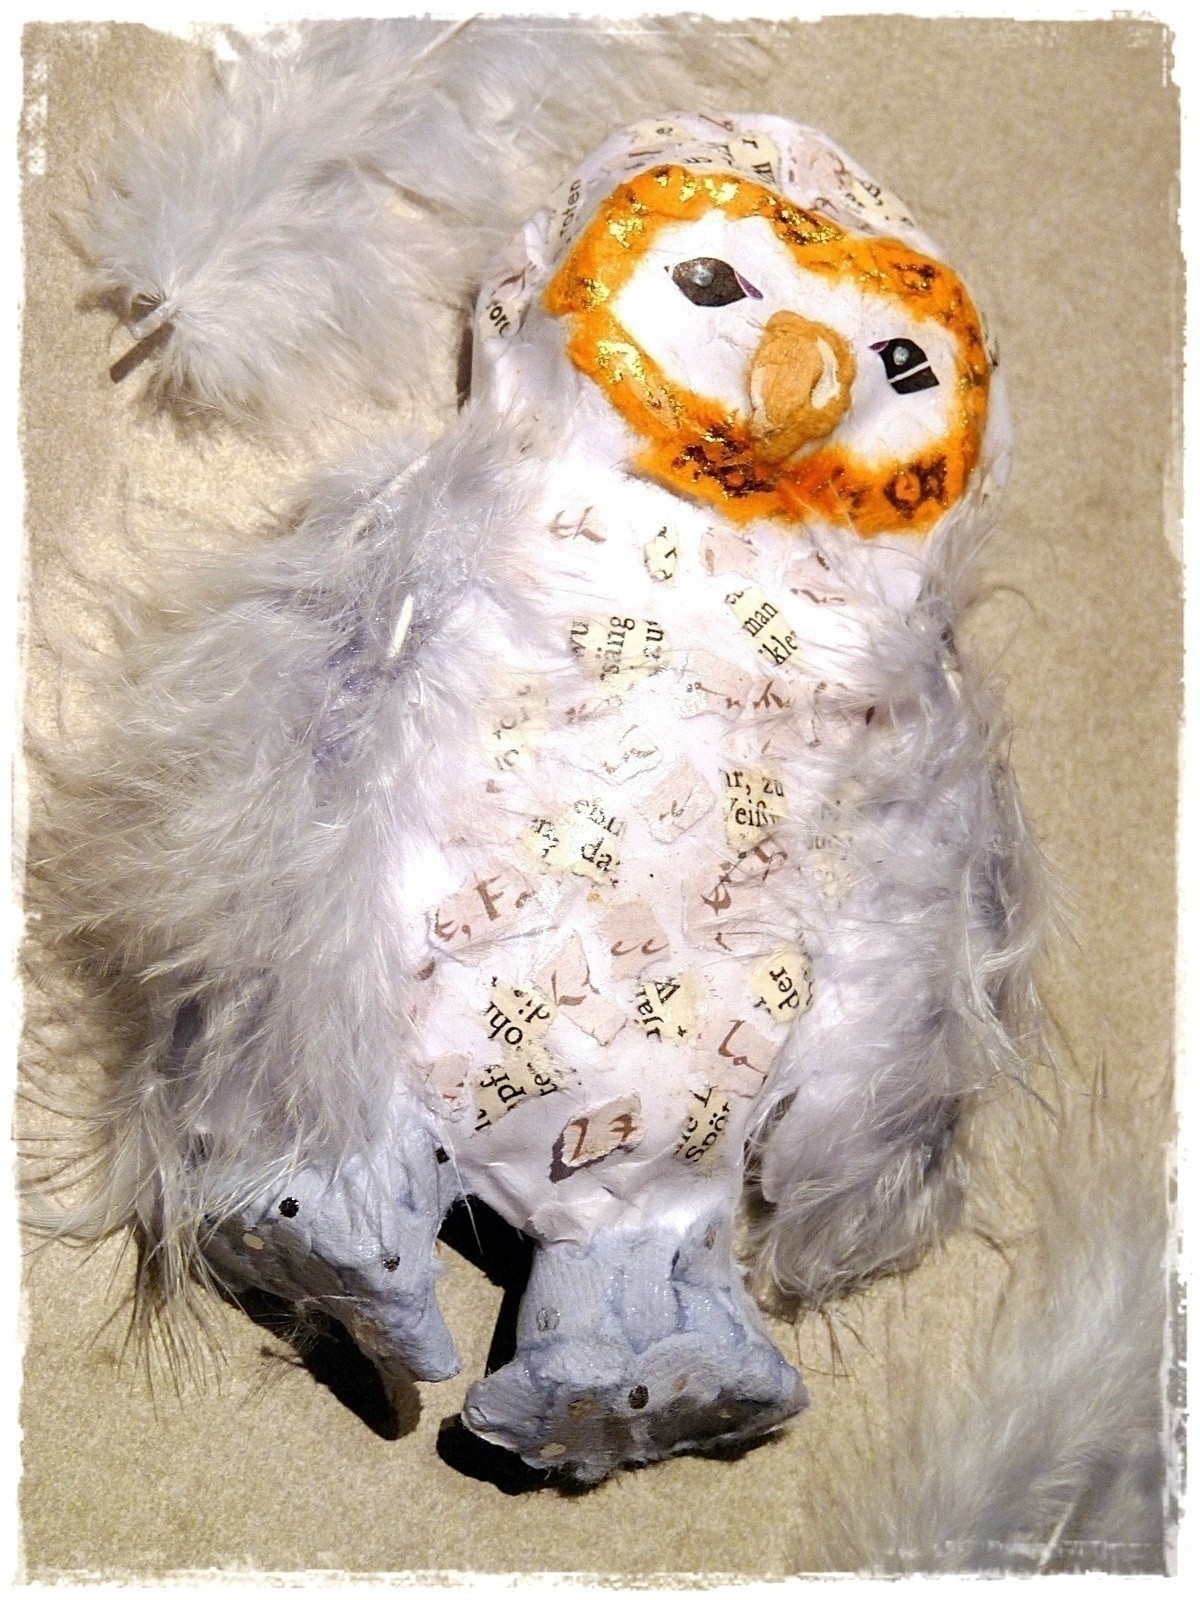
I really love hoots and also love to make them in many, many ways ... in this case I wanted to try to make a 3D Model and I am happy how it turned out ... I really love you enjoy it, too :3
Tags
-
 Artistically entered his project 3 D Paper Hoot to Cricut Contest
02 Feb 17:27
Artistically entered his project 3 D Paper Hoot to Cricut Contest
02 Feb 17:27
-
 Alissa B. favorited 3 D Paper Hoot
29 Jan 02:00
Alissa B. favorited 3 D Paper Hoot
29 Jan 02:00
-
 Judy commented on 3 D Paper Hoot
27 Jan 17:31
Judy commented on 3 D Paper Hoot
27 Jan 17:31
-
Judy favorited 3 D Paper Hoot
27 Jan 17:30
-
 Step 1
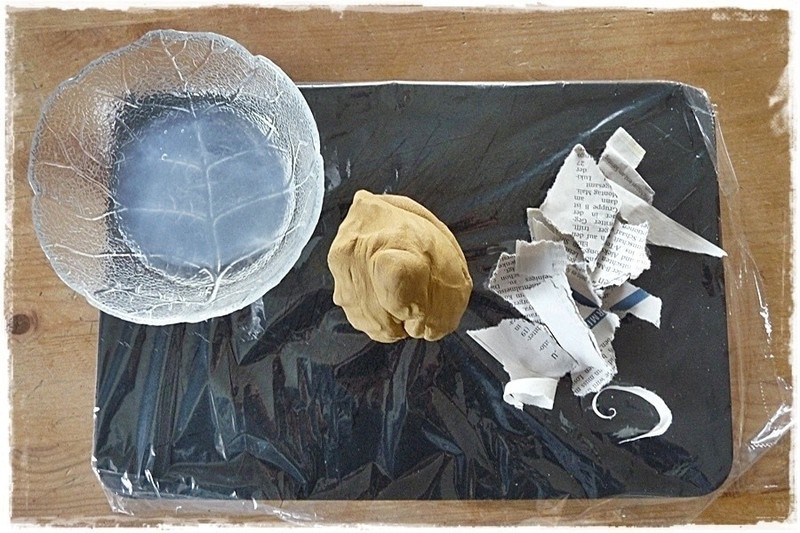
First you need some paste, clay and lots of newspaper pieces. It is obligatory if you use plastic wrap to safe your working place, but you will need it later.
-
 Step 2
In the first step you use the clay to form the model of the animal or something you want. It is always good to use some water to smooth the clay a bit.
-
 Step 3
When you enjoy what you have made you need to put the plastic wrap on the model. In this way the newspaper pieces will not be sticked to the clay and you are able to use it later again.
-
 Step 4
Now it is time for the part I love ... putting lots of paste and newspaper pieces on the model.
-
 Step 5
You will need about 2-4 layers until you are finished ... and please remember ... more always gonna be better ...
-
 Step 6
The last layer will be white paper with lots of paste, because using white paper, you are able to choose if you want to color or glue the hoot at the end. Also the paper is stronger than the newspaper.
-
 Step 7
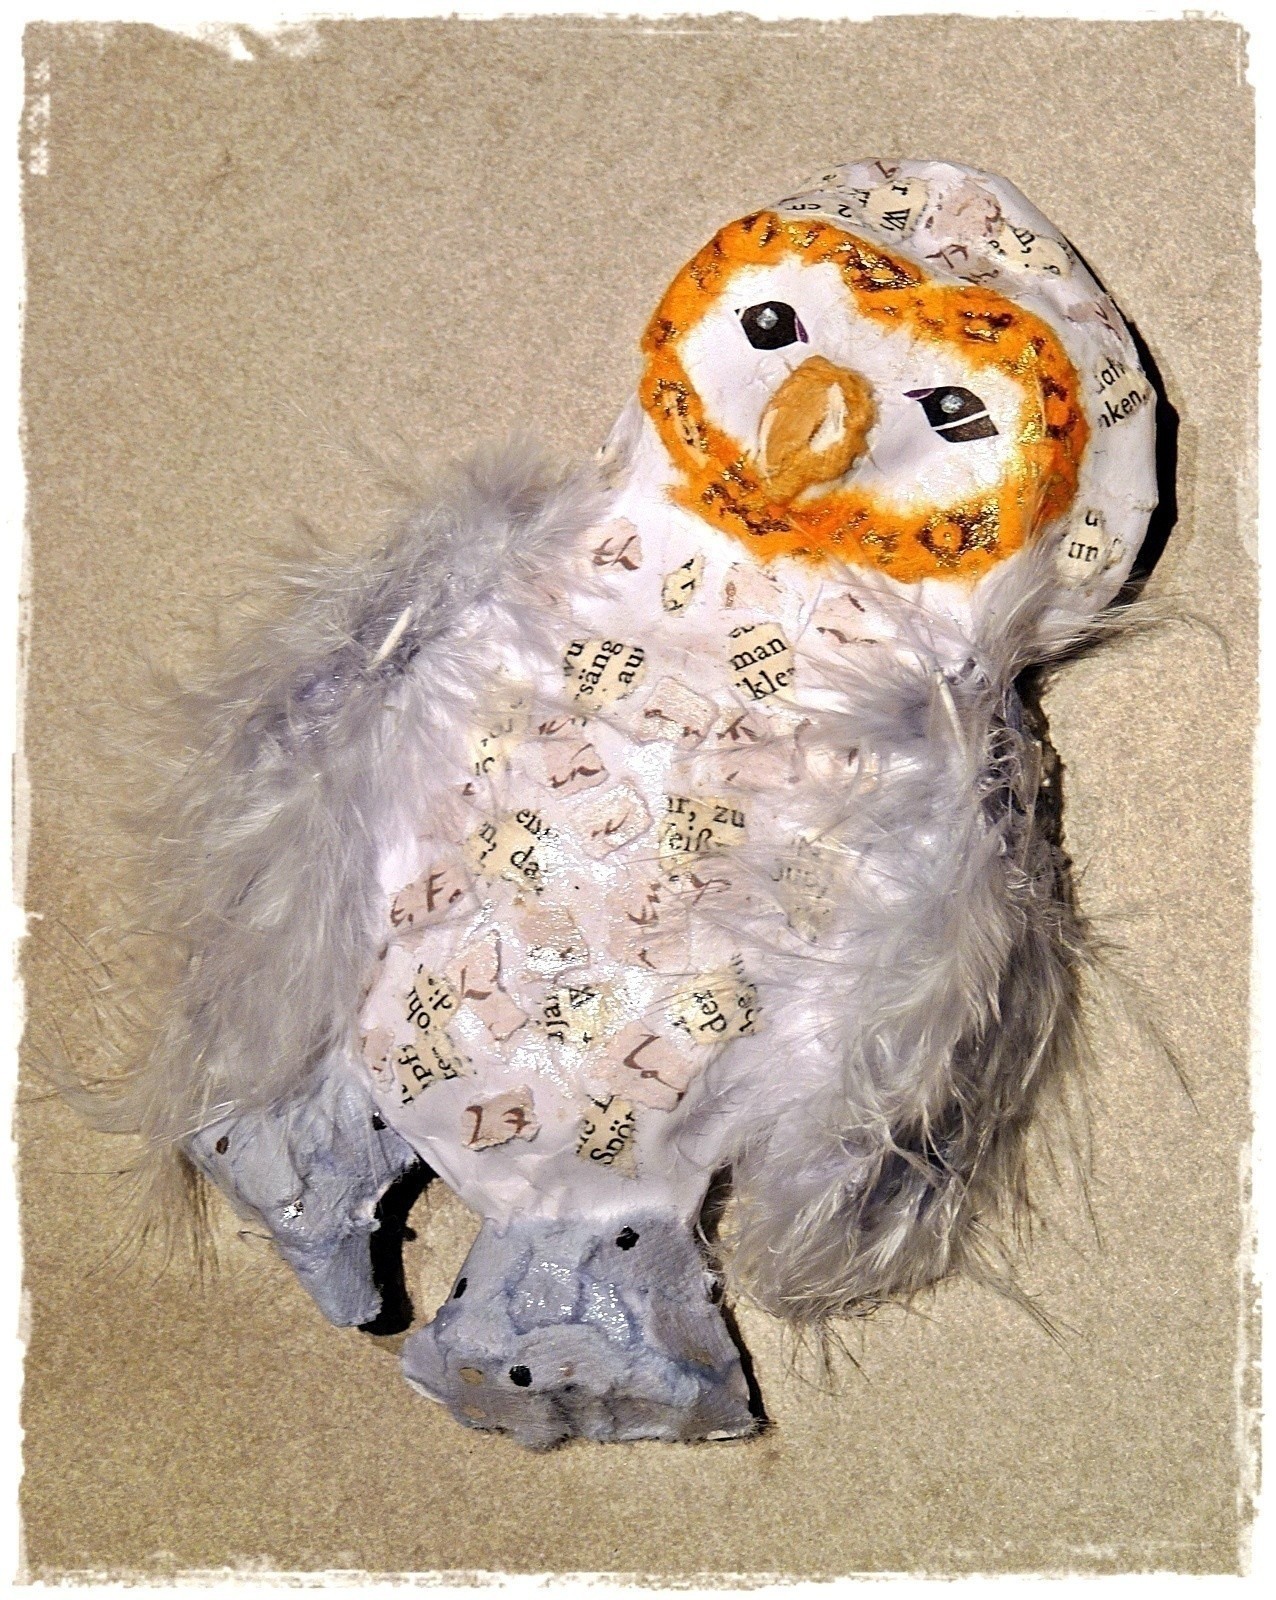
So here is your finished hoot ... and now the part comes I don't really enjoy ... waiting until everything is dry.
-
 Step 8
Here you can see the back of the future hoot :3
-
 Step 9
When the hoot is dry you can remove the clay from the paper and now you have got the clay and the paper model.
-
 Step 10
Here you can see the back of the paper model. Now you need to cut the edges only, so the back also will look good.
-
 Step 11
You also need to cut the wings ...
-
 Step 12
... and the feet :3
-
 Step 13
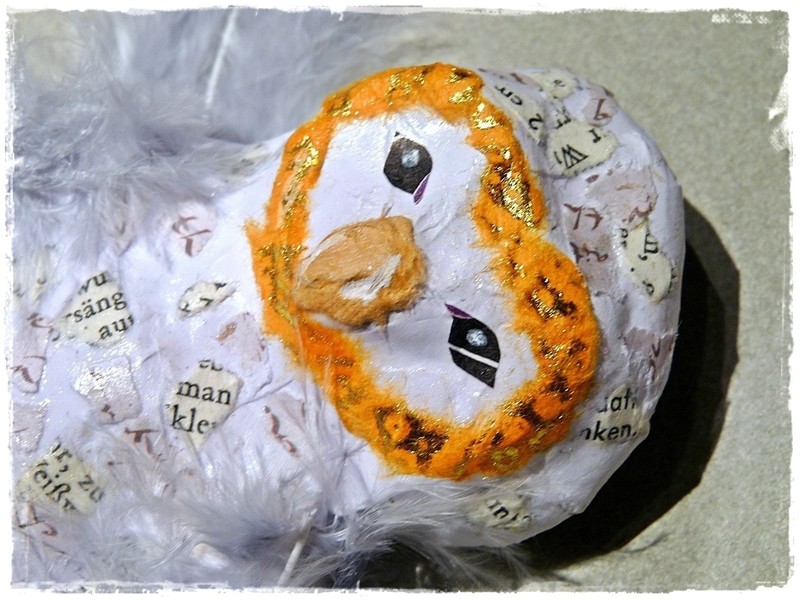
The rest is up to you. You can use Acrylic Colors to paint the hoot, use more colored papers to finish it ... feathers ... everything gonna be possible :3


Comments

