


About
Fold, Fold, BAM! Its pretty
I have wanted to try this for a while now and I just found some ribbon so here.... :)
Tags
-
 Ashley Jean favorited 3 D Rose
22 Mar 05:01
Ashley Jean favorited 3 D Rose
22 Mar 05:01
-
 Marie B. favorited 3 D Rose
05 Jun 21:14
Marie B. favorited 3 D Rose
05 Jun 21:14
-
 Eva C. favorited 3 D Rose
17 Aug 08:28
Eva C. favorited 3 D Rose
17 Aug 08:28
-
 tyler s. favorited 3 D Rose
04 Feb 03:10
tyler s. favorited 3 D Rose
04 Feb 03:10
-
 Ruth C. added 3 D Rose to Personal
20 Dec 00:30
Ruth C. added 3 D Rose to Personal
20 Dec 00:30
-
 joanne.greathead added 3 D Rose to flowers
15 Sep 00:16
joanne.greathead added 3 D Rose to flowers
15 Sep 00:16
-
 Phoenix M. favorited 3 D Rose
16 Aug 03:59
Phoenix M. favorited 3 D Rose
16 Aug 03:59
-
 alexa v. favorited 3 D Rose
31 Jul 03:56
alexa v. favorited 3 D Rose
31 Jul 03:56
-
 varnessa s. added 3 D Rose to Creative Ideas
01 May 03:40
varnessa s. added 3 D Rose to Creative Ideas
01 May 03:40
-
Shelby V. favorited 3 D Rose
10 Jan 09:50
You Will Need
-
 Step 1
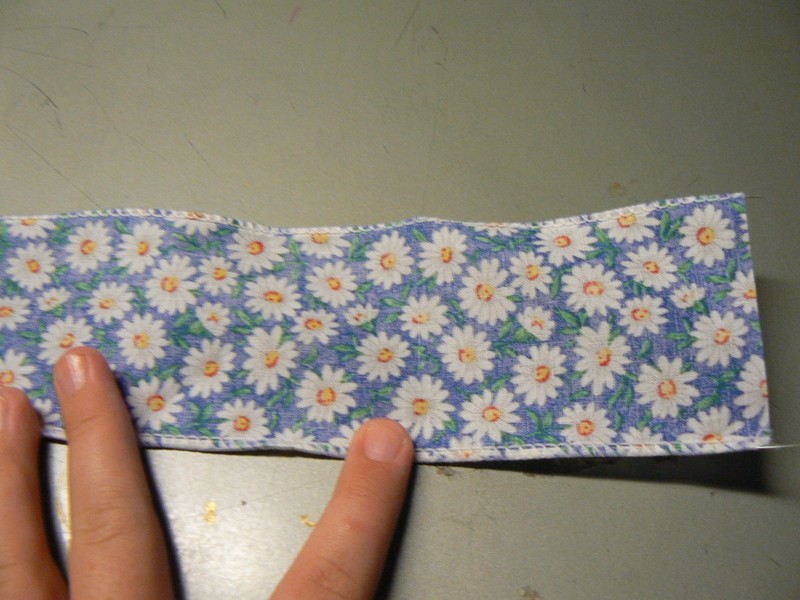
First get a good wide ribbon. You can either us it with wire or without. I used wire cause it bends easier. If you use it without wire it's more real looking but hard to fold. Cut a good long piece.
-
 Step 2
Lay your ribbon out flat so your starting at the right side of it.
-
 Step 3
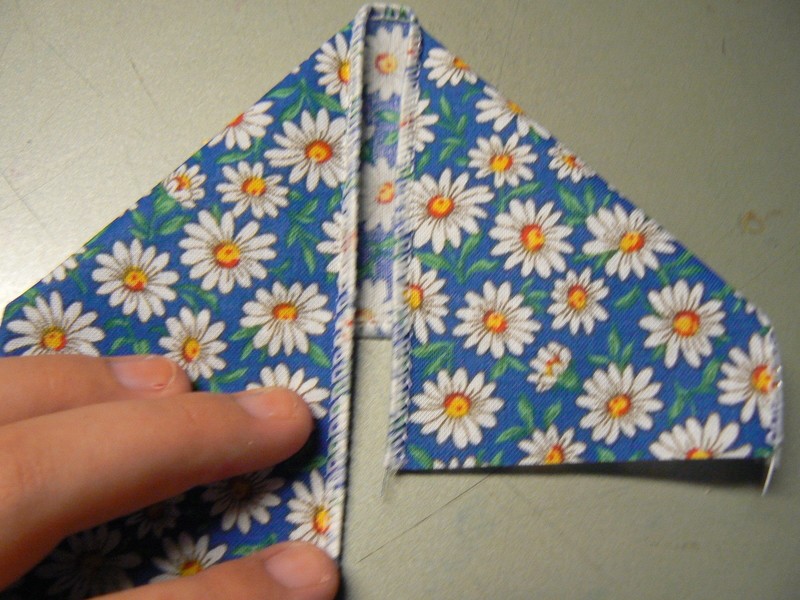
Fold the top right corner down passed the bottom.
-
 Step 4
Fold the left side down parallel to the right side leaving space at the top.
-
 Step 5
Fold the left side across so you start to form a square.
-
 Step 6
Fold the bottom right up. Repeat steps 3 through 6 until you almost run out of ribbon.
-
 Step 7
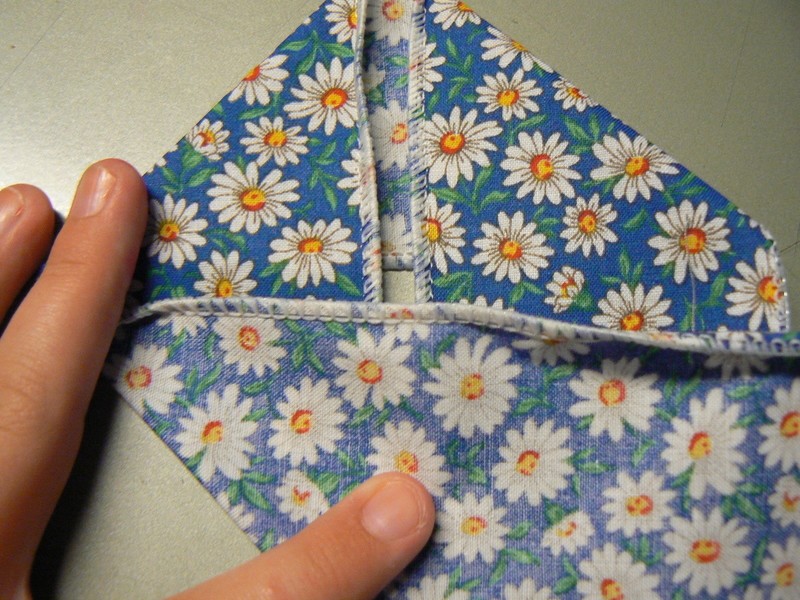
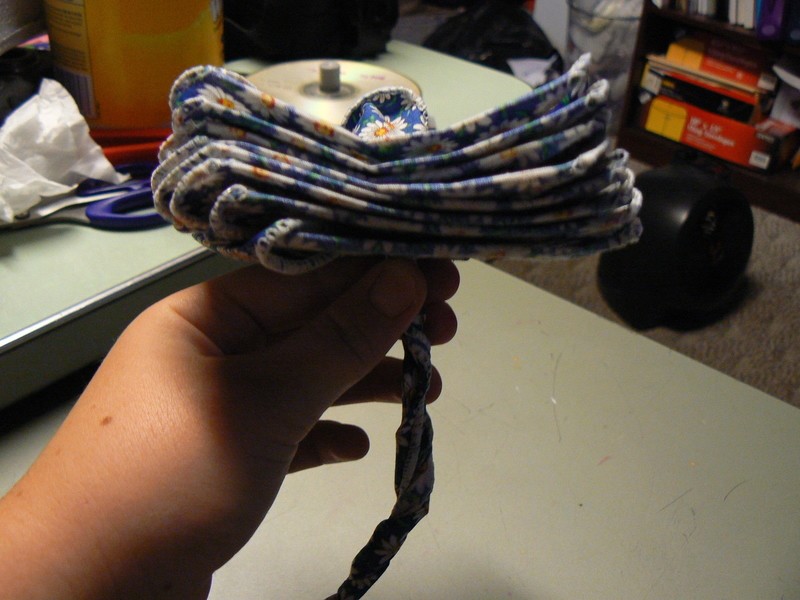
You should end up with about this much.
-
 Step 8
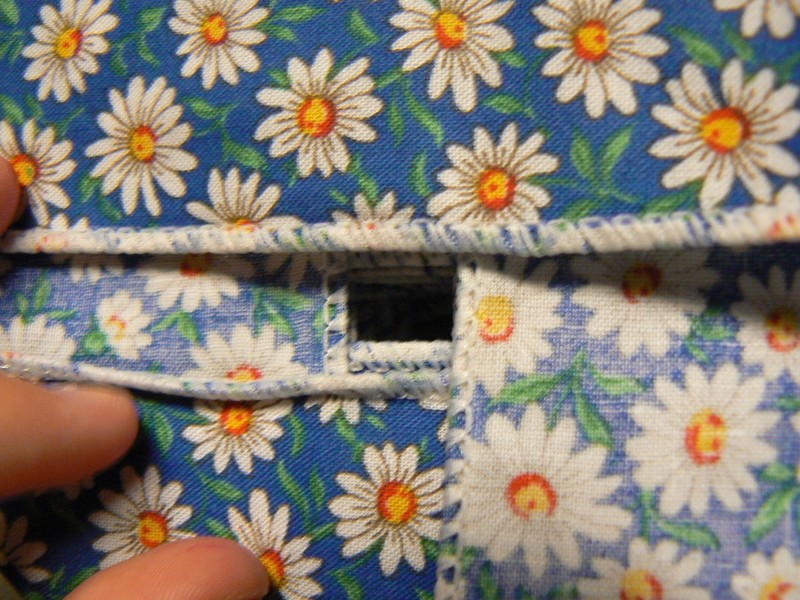
Make sure you have a hole if you don't see one stick your finger through the bottom until you poke through.
-
 Step 9
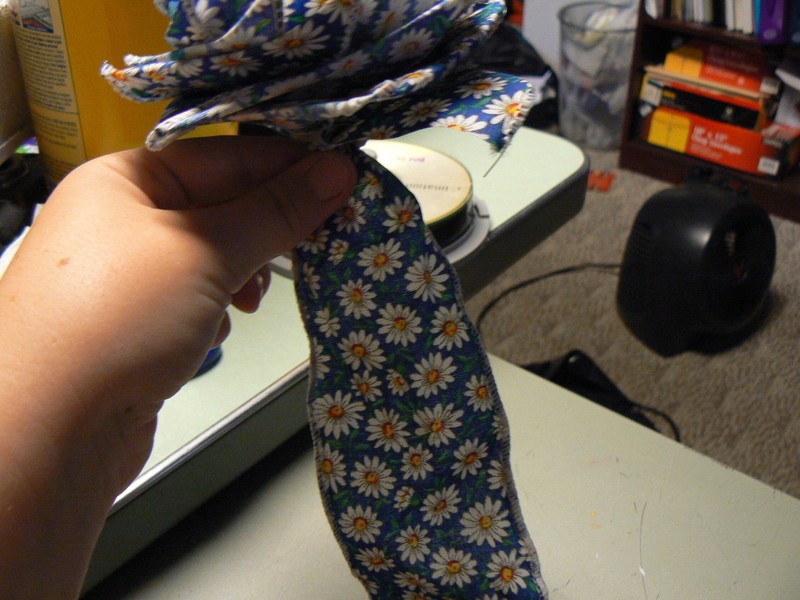
Take the little bit of ribbon left and start to twist it.
-
 Step 10
Stick the tail through and pull.
-
 Step 11
Here's a side view.
-
 Step 12
Holding the tail, grab the middle and twist.
-
 Step 13
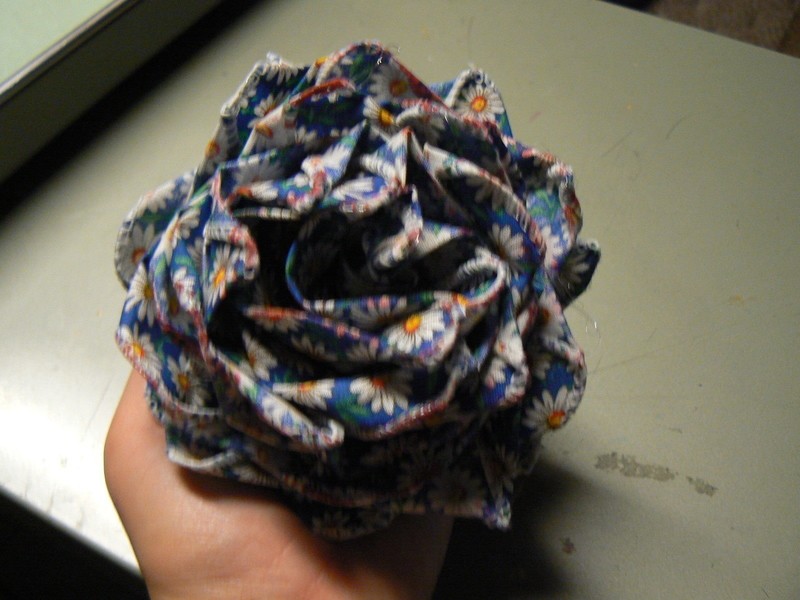
It's fluffed!
-
 Step 14
Unroll the tail.
-
 Step 15
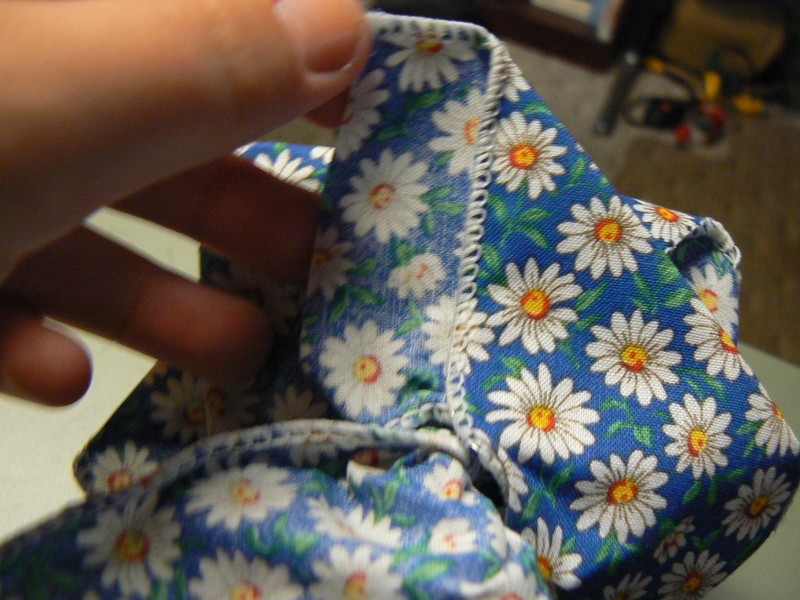
On the bottom, Find the beginning of the flower and the petal behind it.
-
 Step 16
Fold the beginning petal behind the petal behind it.
-
 Step 17
SEW!!!!!
-
 Step 18
Shove the tail into a pocket of a petal and sew it closed.
-
 Step 19
Hot glue a barrette for a cute hair piece.
-
 Step 20
Done!!!! Now make a whole garden of flowers. PEACE


Versions


Posted by
Brooks Z.


Posted by
Joanna


Posted by
Tianna W.


I am always asked to show people how to do these roses,and I find it much easier in person.
You did a fantastic job.
Right on!
>^..^<
georgia from ohio
CO + K User