


About
make your ironing board more efficient and prettier
So let's say that you have this old ironing board that works, but it's old, and a bit grimy and has a lining that's....well, it's about time for it to go. Well, I decided that mine was reaching that point. So while doing this, I also decided that before recovering it, why not make it more efficient? I read from here: http://lifehackery.com/2008/04/22/30-uncommon-uses-for-aluminum-foil/ That you can put aluminum foil between your board and cover, and since the foil will reflect the heat while ironing, you're essentially ironing both sides of your garment! So, I took the old thing apart and gave it a make over.
-
 Lady Grim favorited 2 In 1: Revamping Your Ironing Board
13 Apr 17:24
Lady Grim favorited 2 In 1: Revamping Your Ironing Board
13 Apr 17:24
-
 Kristen B. favorited 2 In 1: Revamping Your Ironing Board
27 Feb 06:54
Kristen B. favorited 2 In 1: Revamping Your Ironing Board
27 Feb 06:54
You Will Need
-
 Step 1
First, I got out my aluminum foil and rolled it out over the board, and cut about an inch and a half out from the edge of the board. So I would have an over sized silver ironing board shape.
Got my cotton batting and just cut the same shape as the ironing board itself.
So with the cotton batting on the board, I placed the foil over the batting and started folding the foil over both the batting and the board. When you flip you board out, it should look like this. And now you have a heat reflecting board! -
 Step 2
Now to start covering your board. This is what I had before. Grimy, huh?
-
 Step 3
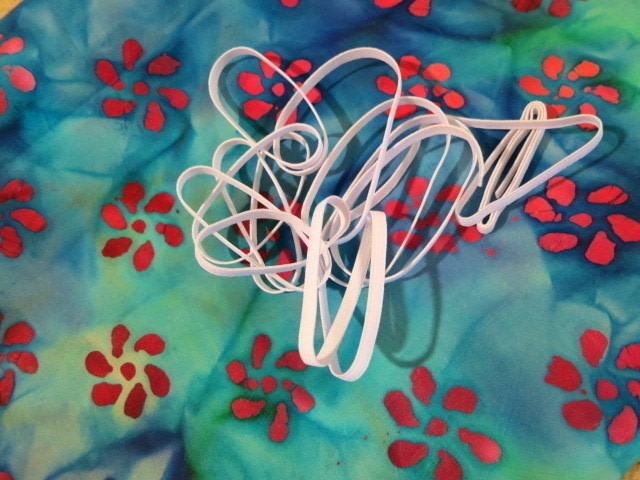
Get your fabric you want and elastic long enough to go around your board. I don't have a big one, I have one of those mini ones, so I didn't need as much.
-
 Step 4
The measurements of your fabric is sort of the same principle as the cover bowls that I made before. With the board on its back, (if you have legs, on your board, open them up) lay your board on the fabric, and I measured out about 2 1/2" from the edge of the board.
-
 Step 5
You should end up with an over sized shape of your board once you cut it out.
I then folded the edges in about 1/4", pressed and pinned that down. Take that to your machine and with just a long straight stitch, sew that folded edge down.
-
 Step 6
With this you go all the way around your fabric.
Then fold over again, this time I went in about an inch and pinned and pressed that down and stitched around that, leaving me about a 3-4" gap. That's where you put your elastic through.*When you get to the pointed part of your shape, I gathered as I stitched it down.
-
 Step 7
Once you have that pocket tubing for your elastic, start threading it through. This part took me the longest, but it's well worth it. Once I got to the other side I came in, I just pulled the elastic a bit and tied it in a knot.You should start seeing it wanting to bunch up,that's okay, because when you stretch it out over your board it'll be nice and taught. (but you don't want it too tight that you can't fit it around your board!)
If you're not sure about the tightness, you can put your cover on the board and and then pull the ends of the elastic until you have the tightness you want. Tie it there and then close your gap. -
 Step 8
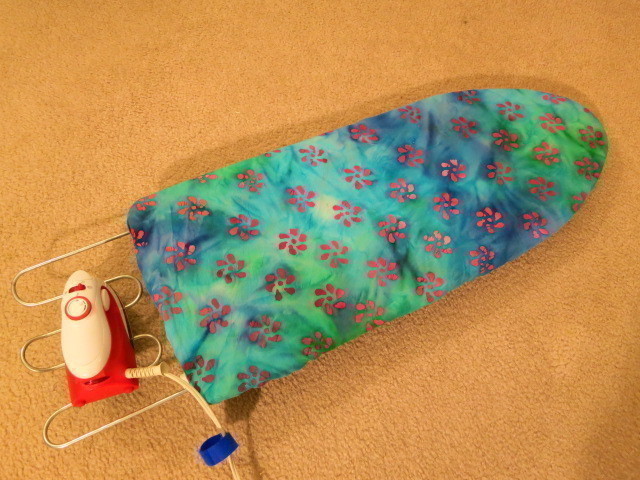
Once, you've closed your gap, fit it over your ironing board, and voila! You now have a pretty, revamped and more efficient ironing board!