
Features


 By
Cat Morley
By
Cat Morley

Learn how-to make your own cookie cutters with a 3D printing pen in #TechniqueTuesday and then try them out with mini gingerbread houses!
-
 Step 1
Sketch or print out the designs you'd like for your cookie cutters.
-
 Step 2
Cover the design with a thin sheet of plastic and heat up your 3D printing pen. Trace the outline of your design.
-
 Step 3
Trace around the outside of the design, making your cutter a little thicket.
-
 Step 4
Now continue tracing on top of the design, making it deeper.
-
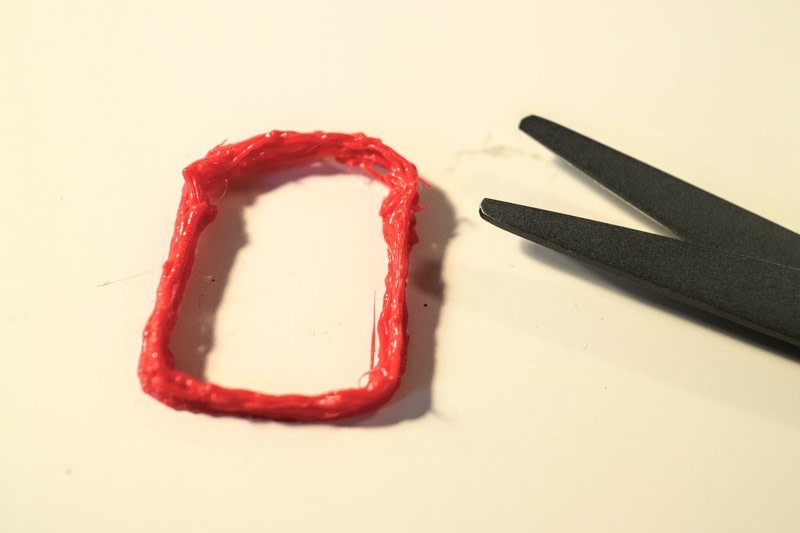
 Step 5
Once you've reached the desired depth, remove from the plastic and use a small pair of scissors to snip off any wispy bits of plastic.
-
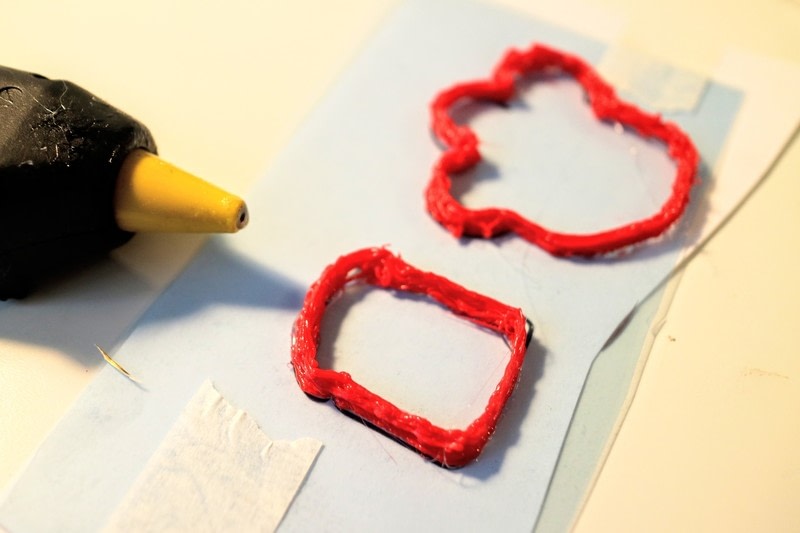
 Step 6
Use a hot glue gun to stick your cutter shape back onto the plastic sheet.
-
 Step 7
Cut around the outline of the shape with scissors.
-
 Step 8
Your cutters and now ready to use. I recommend trying them out with sugar dough or gingerbread!


Got the hang of this technique?
Put your new skill to the test with this tutorial:
Is there a certain technique you'd love to learn or one that you could teach us? Send us a message!
Share
Follow

