
Features


 By
Peg R.
By
Peg R.

Learn how-to emboss, deboss and layer in #TechniqueTuesday with Peg from Peg's Crafting Corner.
-
 Step 1
Begin by trimming your cardstock the exact size of your embossing folder.
-
 Step 2
Run it through the embossing machine so that the raised image on the one side of the folder is facing down or once you have embossed it you can flip the cardstock over. Keep in mind that your image will be reversed.
-
 Step 3
Place it back into the folder this time with the raised image on the back side facing up. Your image on the paper should be so that the debossing is facing upwards. Run it through the embossing machine a second time.
-
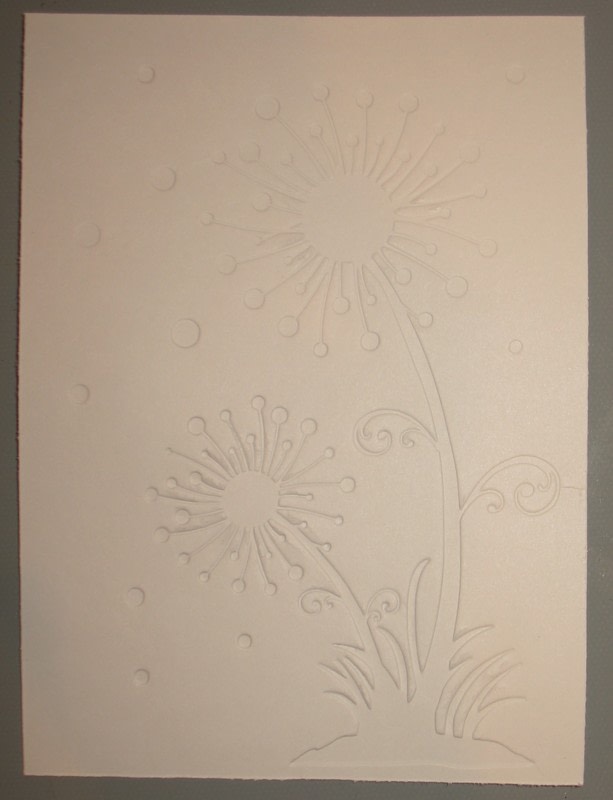
 Step 4
This is what your image should now look like. Notice the embossed and debossed areas?
-
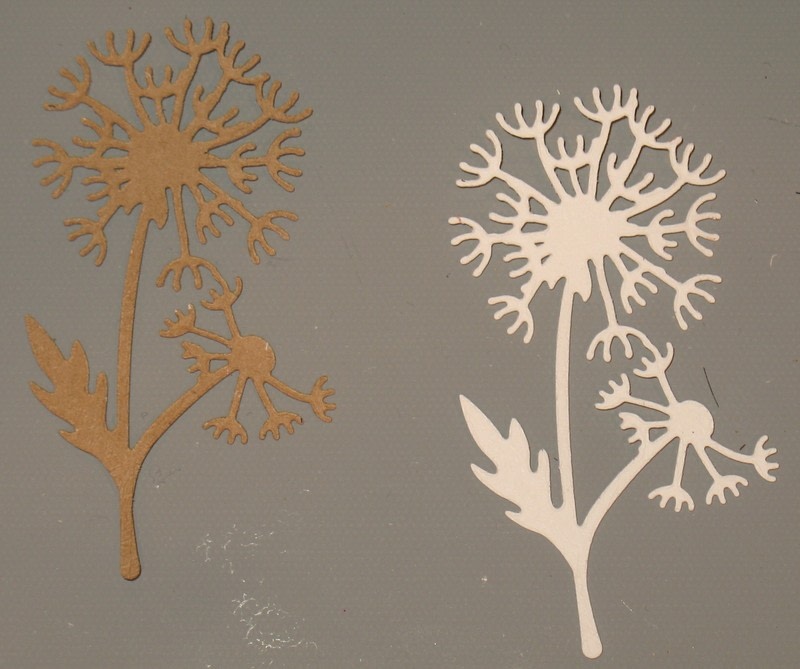
 Step 5
Cut 2 pieces from cardstock using the die.
-
 Step 6
Trim off some of one die cut and glue it on top of the other, but don't line the pieces up exactly. This will give a little shadowing effect to the piece.
-
 Step 7
Attach the die cut piece to the embossed/debossed piece.
-
Step 8
Now finish your project and enjoy it! For an idea of how to turn this piece into a card look for my tutorial entitled, " Finishing Your Emboss, Deboss & Layering Project.


Got the hang of this technique?
Put your new skill to the test with this tutorial:
Is there a certain technique you'd love to learn or one that you could teach us? Send us a message!
Share
Follow


