


About
Customize your own write-on calendar!
I had been really wanting one of those white-board type things as a calendar... they just seemed so useful! So, voila, i made one. I was inspired by girls who write on bathroom mirrors with their lipsticks and eyeliner...
-
 Sarah S. added Write On/Wipe Off Calendar to Things to spruce up a room
19 Jan 07:43
Sarah S. added Write On/Wipe Off Calendar to Things to spruce up a room
19 Jan 07:43
-
 Step 1
Find or purchase a poster frame. The size doesn't matter too much, so long as you remember you'll be fitting a whole 31 days or so on it. Mine is about 1 foot by 2 feet...I think. Also, it seems to work better and last longer if you make sure to get glass (not plastic) for the protective bit.
Open the back and get the advertisement out. Make sure to save it. -
 Step 2
Get together all your best collage paper scraps. I used labels from the recycling bin. (Ritz crackers, Frozen Fruit bars, and Stash chai tea)
If you were feelin' frisky you could probably use fabric or even dried/pressed flowers. Tin can lids would probably be pretty sweet, too. -
 Step 3
Get that advertisement you pulled out of the frame and...COLLAGE ALL OVER IT! Any images that are particularly important should be towards the edges, as the middle will be mostly covered.
-
 Step 4
(This is where the optional ruler comes in handy.)
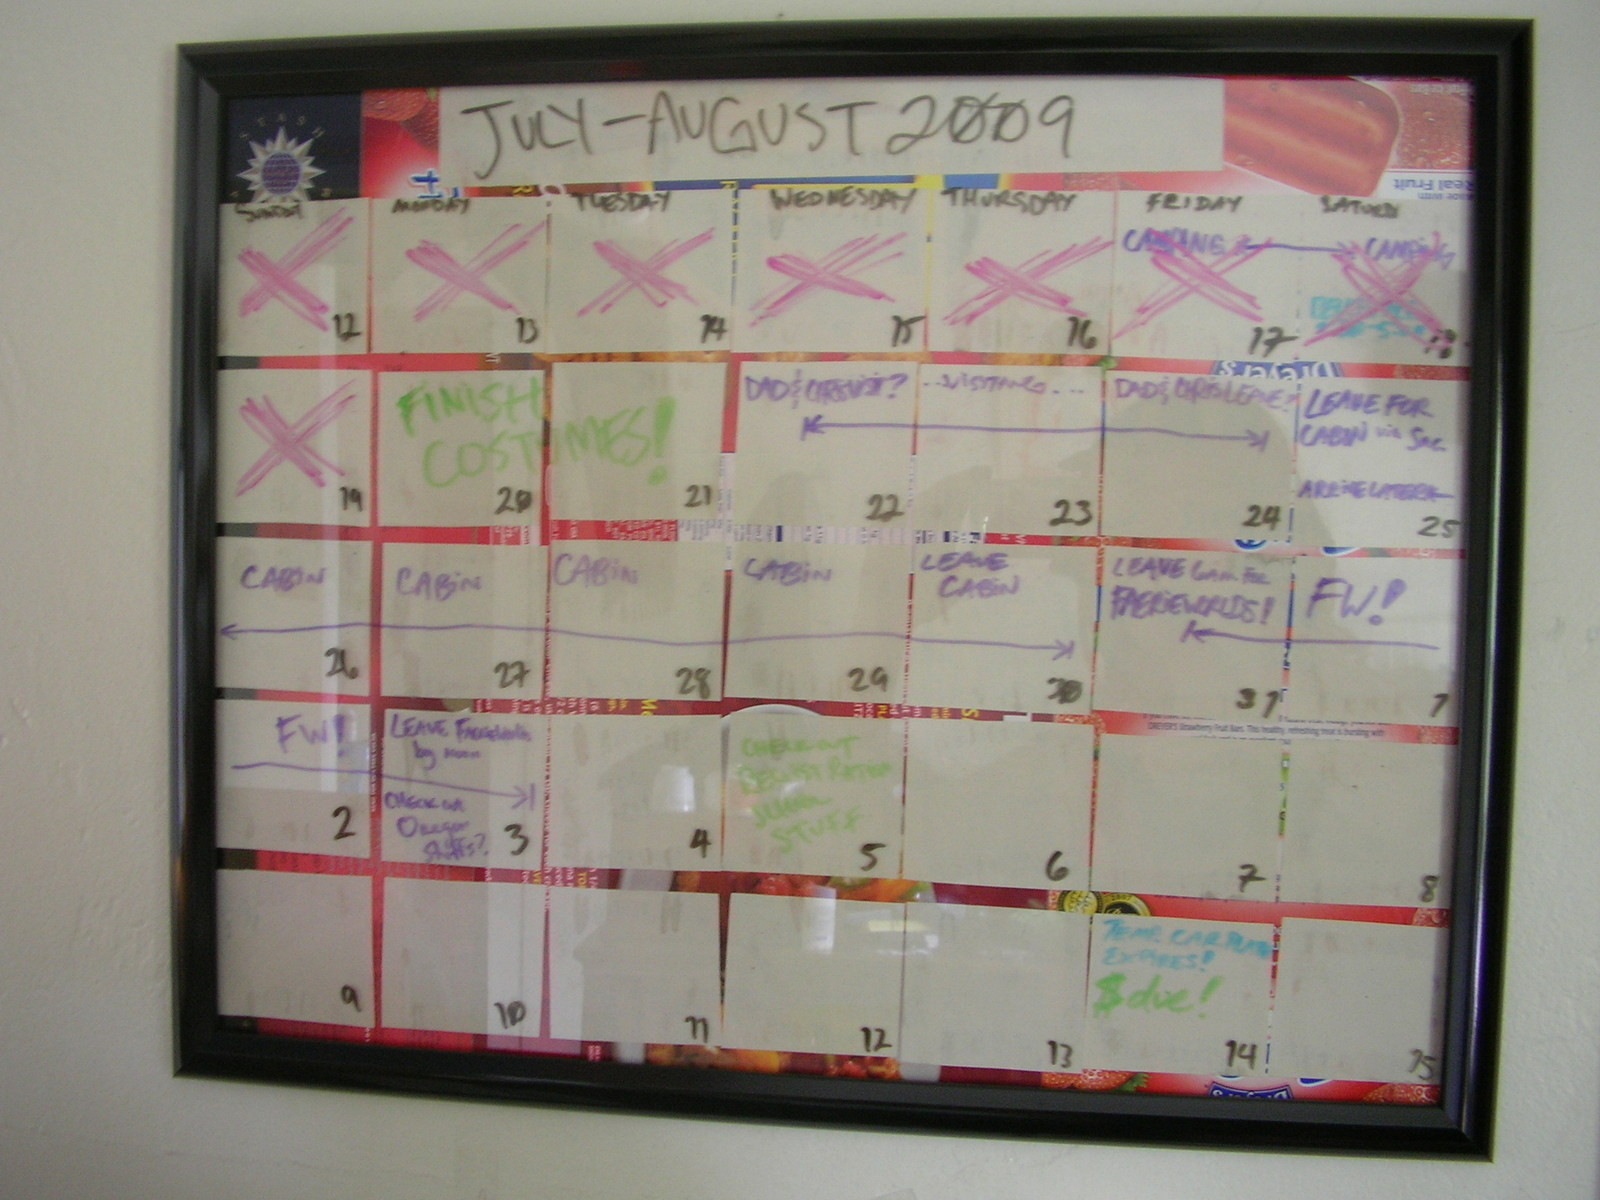
You need to be able to see the calendar you will eventually be writing, so you need a blank space. I used a bunch of separate squares of white paper. You could use just one big rectangle and draw lines and squares on that, but i found it much more exciting (and time-consuming...) to do the separate squares thing. If you are an exact sort of person, a ruler is nice. I used 35 squares (seven daysxfive weeks). Also, you will need to cut out a longer and thinner rectangle to put at the top for the month. Place them where you like and then paste them onto the collage. Wait to dry.For exact and/or mathematical peoples:
Width of glass when framed-(How far apart you want each squarex8)divided by 7 equals how wide each square needs to be.
You can do the same to determine the height of each. Pay attention, class, that'll be on the test.Variant: though i haven't tried it, you may be able to use a layer of tracing paper or two instead of normal paper so that you can still see your collage. I haven't tried it, but it just occurred to me and seems excellent.
-
 Step 5
When dry, replace the glass and affix frame. Use your markers (remember erasable!!!) to write the month and number the days and ta-da! You made a spiffy calendar!


Versions


Comments


