


About
my woven duct tape bag :)
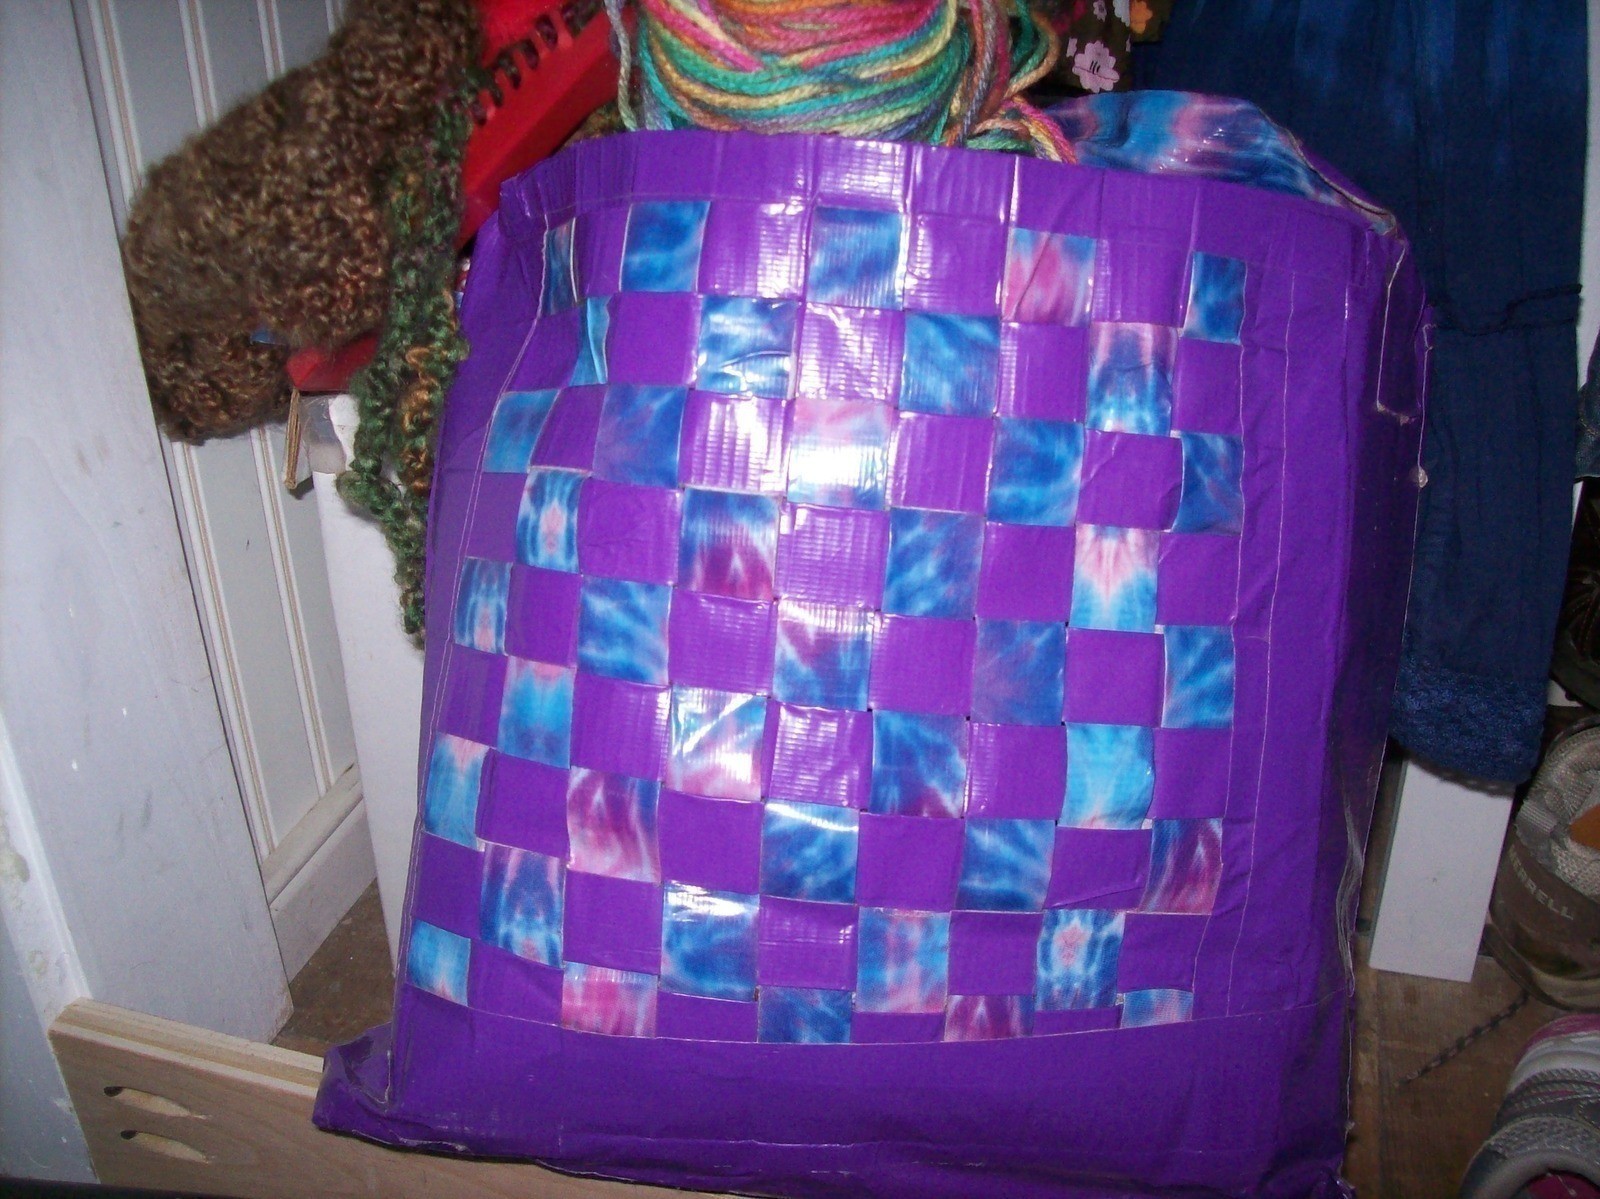
This was my very first duct tape project. Since then I've created tons of things, but I just never got around to post this. :) The pink and orange bag and the purple and tye-dye bag I made for my sisters for Christmas, they use them all the time! (sorry bout the crappy pictures in the how-to. I didn't take any so i drew them)
-
 Deb E. favorited Woven Duct Tape Bag
07 Dec 19:00
Deb E. favorited Woven Duct Tape Bag
07 Dec 19:00
-
 Miss_Fit favorited Woven Duct Tape Bag
07 Jul 03:04
Miss_Fit favorited Woven Duct Tape Bag
07 Jul 03:04
-
 KirbyBella added Woven Duct Tape Bag to Bags
03 Oct 07:46
KirbyBella added Woven Duct Tape Bag to Bags
03 Oct 07:46
-
 darlene.mickey.9 favorited Woven Duct Tape Bag
08 Jul 01:06
darlene.mickey.9 favorited Woven Duct Tape Bag
08 Jul 01:06
-
 Jenn M. favorited Woven Duct Tape Bag
11 Feb 04:37
Jenn M. favorited Woven Duct Tape Bag
11 Feb 04:37
-
 Pedro Torres P. commented on Woven Duct Tape Bag
27 Sep 22:25
Pedro Torres P. commented on Woven Duct Tape Bag
27 Sep 22:25
-
 Nana :) favorited Woven Duct Tape Bag
19 Aug 23:32
Nana :) favorited Woven Duct Tape Bag
19 Aug 23:32
-
 Kimberlie K. favorited Woven Duct Tape Bag
26 Jul 03:02
Kimberlie K. favorited Woven Duct Tape Bag
26 Jul 03:02
-
 Step 1
First cut strips of duct tape about 12 inches long and fold them hot-dog ways sticky-side to sticky-side. (you can make them shorter for a smaller bag) 20 of each color. (you can use less if you want a smaller bag) 10 will be for the front panel and the other 10 for the back panel.
-
 Step 2
Next tape down 10 of your strips to the non-stick baking sheet (or any other non-stick surface). Make them as close as you possibly can so you won't have holes in your finished bag.
-
 Step 3
Next you want to weave in the other color, as tight as you can.
<-----
It should look something like that. Hopefully not exactly like that, but you get the idea. -
 Step 4
After that put tape along he bottom to keep the weaving from coming undone. Then peel it up and do it all again for the back panel!
<-----
should look something like that. -
 Step 5
Once you have both your panels made you need to start constructing your bag! To do that you want to make a duct tape sheet that is as long as the bottom of your bag, two strips wide.
-
 Step 6
Make panels for the sides of you bag the same way you made the bottom panel, but long enough for the sides.
-
 Step 7
Now all you have to do is tape it all together! Tape anywhere else you deem necessary to finish it and make it look clean. You can cut cardboard pieces to fit in the inside of your bag if you want it to have a little bit more of a stable shape.
-
 Step 8
Make a handle for your bag out of a duct tape strip and tape it on. Or any thing else you can make a strap out of.
-
 Step 9
I put vellcrow on the inside of my bag to give it a closure. You can put strings to tie it or a zipper or you don't even need a closure!
-
 Step 10
Now show it off! I got a lot of compliments on mine!


CO + K User
I really <3 Duct tape.