


About
Easy tote upcycling
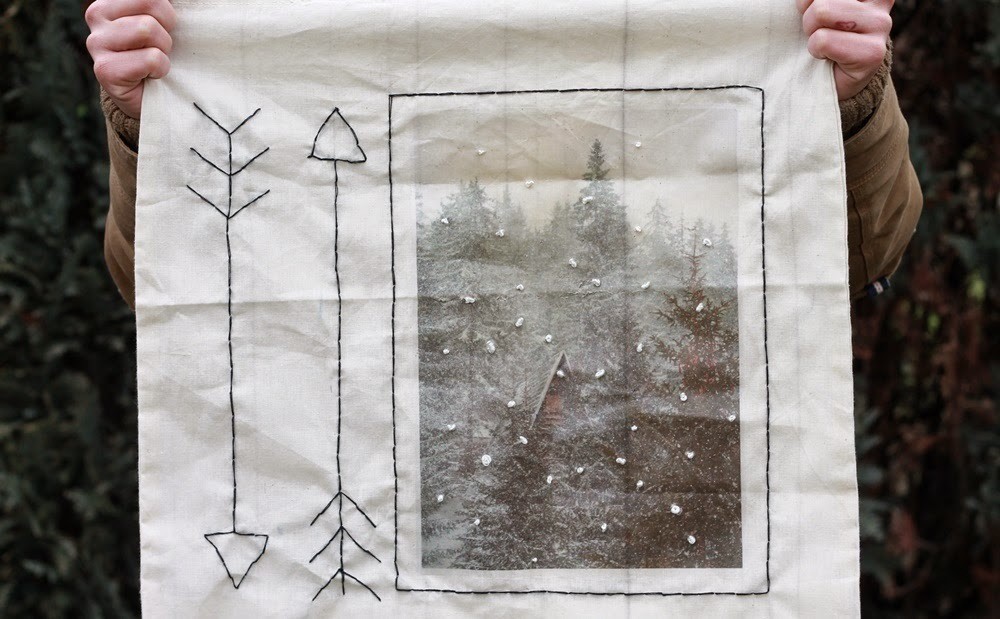
We wanted to keep the memories from our first winter vacation as family somewhere where we can see it all the time so we made this lovely winter scene tote! It's pretty easy so why not make one with some summer seaside scenes as well?
-
 Ms Dorito added Winter Scene Tote to sew craft
12 Jun 19:10
Ms Dorito added Winter Scene Tote to sew craft
12 Jun 19:10
-
 Alissa B. favorited Winter Scene Tote
12 May 22:44
Alissa B. favorited Winter Scene Tote
12 May 22:44
-
 ale_corason favorited Winter Scene Tote
03 May 07:36
ale_corason favorited Winter Scene Tote
03 May 07:36
-
 Maje Zmaje published her project Winter Scene Tote
29 Apr 06:00
Maje Zmaje published her project Winter Scene Tote
29 Apr 06:00
-
 Step 1
Choose and prepare your photo for printing by rotating it in mirror reflection. Print the photo on photo transfer paper! Following the instructions, iron the photo you printed out onto tote, so that it stands closer to one side! When done, carefully peel of the paper!
-
 Step 2
Using ruler draw the frame around the photo and two arows on the side.
-
 Step 3
Using backstich, embroider all lines you previously drew.
-
 Step 4
Finally, using french knot techique, embroider some white 'snowflakes' directly on photo! And you are done!


