


About
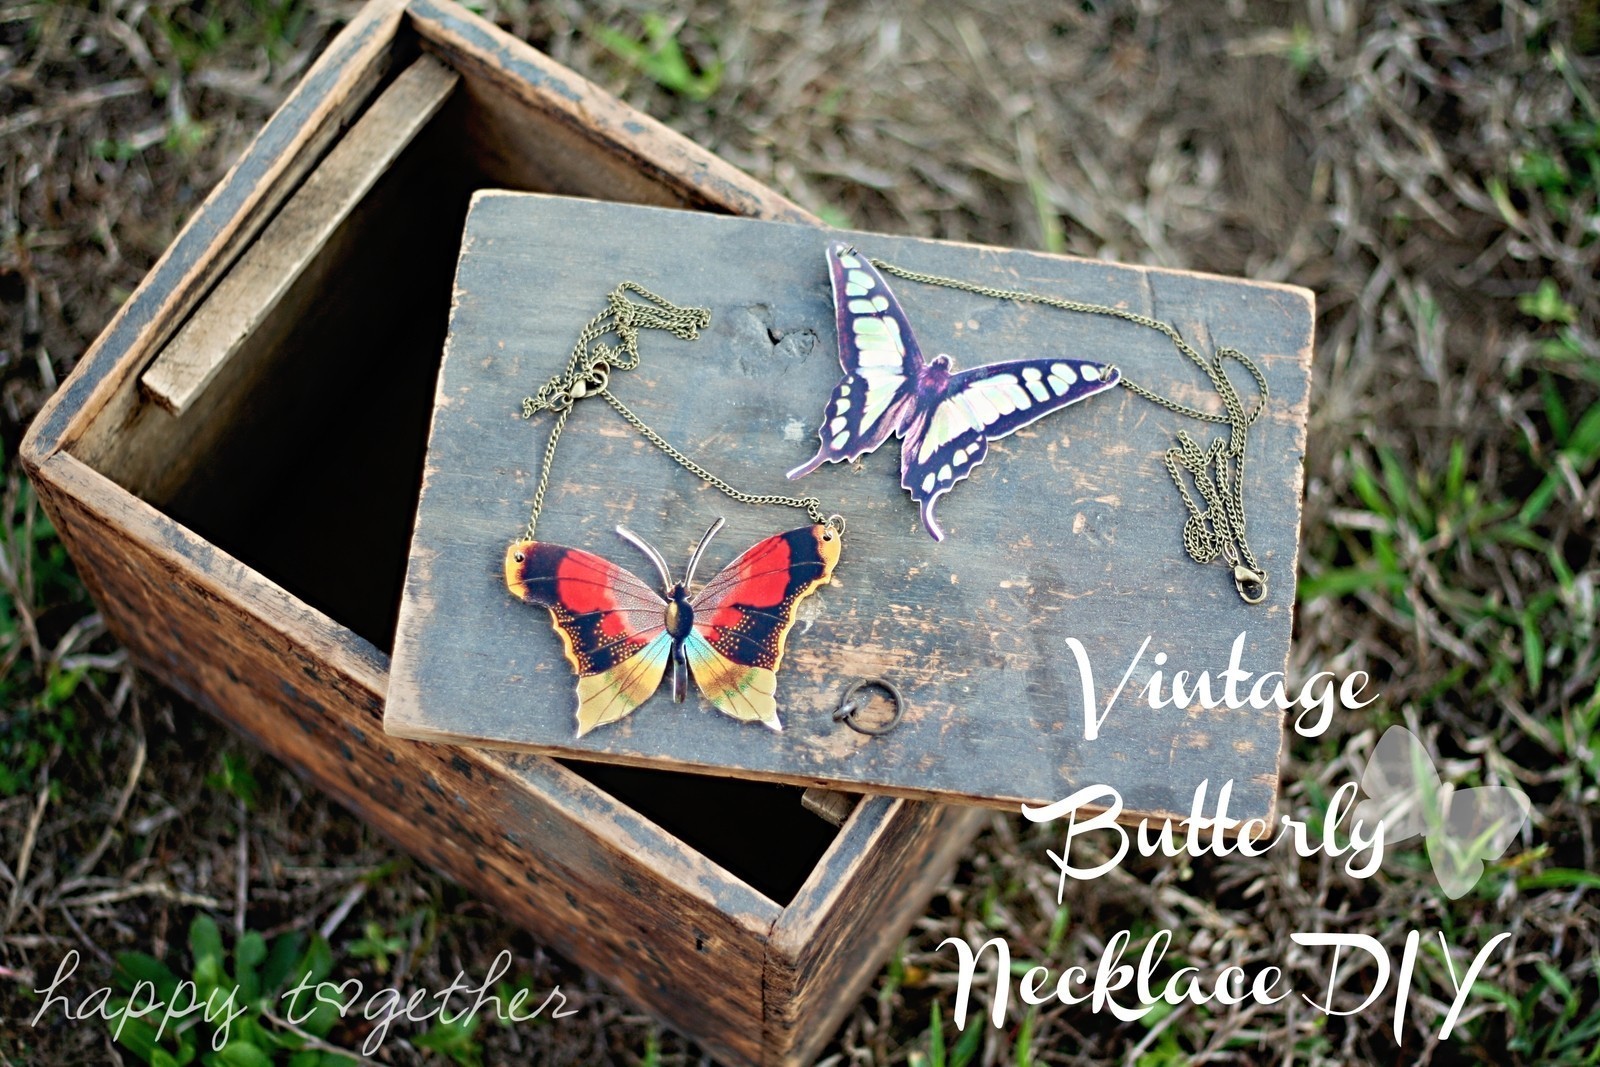
If you love vintage graphics, you will love this necklace!
This necklace is made using printable shrinky dink paper. I found it at Hobby Lobby, but it can also be purchased online. I made butterflies with it, but you could do anything! The sky is the limit :)
Tags
-
 Key West Witch added Vintage Butterfly Necklace Diy to Jewelry
30 Jun 03:11
Key West Witch added Vintage Butterfly Necklace Diy to Jewelry
30 Jun 03:11
-
 Lilly M. favorited Vintage Butterfly Necklace Diy
15 Jan 08:17
Lilly M. favorited Vintage Butterfly Necklace Diy
15 Jan 08:17
-
 Alex B. favorited Vintage Butterfly Necklace Diy
25 Dec 22:43
Alex B. favorited Vintage Butterfly Necklace Diy
25 Dec 22:43
-
 Allyne favorited Vintage Butterfly Necklace Diy
05 Oct 18:19
Allyne favorited Vintage Butterfly Necklace Diy
05 Oct 18:19
-
 zoegirl221 favorited Vintage Butterfly Necklace Diy
21 Sep 21:03
zoegirl221 favorited Vintage Butterfly Necklace Diy
21 Sep 21:03
-
 Bayou Jenn added Vintage Butterfly Necklace Diy to Jewelry
15 Jun 23:42
Bayou Jenn added Vintage Butterfly Necklace Diy to Jewelry
15 Jun 23:42
-
 Irene Wildfox added Vintage Butterfly Necklace Diy to Jewelry and Accessories
17 May 15:37
Irene Wildfox added Vintage Butterfly Necklace Diy to Jewelry and Accessories
17 May 15:37
-
 dani b. favorited Vintage Butterfly Necklace Diy
12 May 23:27
dani b. favorited Vintage Butterfly Necklace Diy
12 May 23:27
-
eFenuska favorited Vintage Butterfly Necklace Diy
04 May 18:49
-
eFenuska added Vintage Butterfly Necklace Diy to Really Must have
04 May 18:49
-
 Step 1
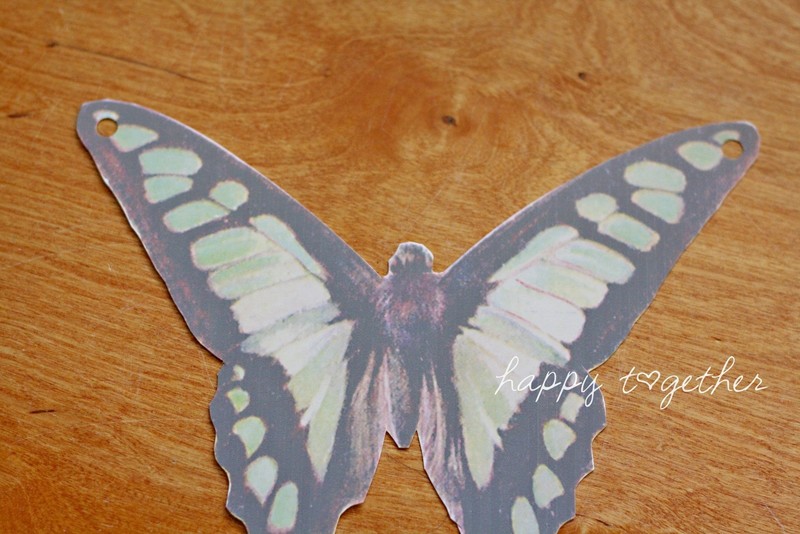
Begin by preparing your graphic to fit on a piece of printable shrinky dink paper. I created an 8"x10" document in word and then made the graphic as big as I could for printing. I highly suggest you do a print test on regular paper first. The paper also comes with instructions on how to prepare the graphic (you have to fade it down before printing), so follow those instructions as well then print.
-
 Step 2
Once it's printed, cut it out. I had to use manicure scissors for some of the tighter areas. Then take a hole puncher and make a hole in each of the wings.
I don't have a picture for this next part, but prepare to stick it in the oven according to directions. Really keep an eye on it because I had to flatten out each butterfly myself before it got too hard. The wings and antennae are prone to curling, and if it gets hard you can't flatten it back down. I tried to reheat it to get it bendy again, but it didn't work.
-
 Step 3
Once it has cooled off you need to cover the printed side with a coating. The paper instructions suggest Krylon acrylic coating as the best, but the coating in the above picture is what I found and it worked great. I guess you could use mod podge or another medium, but I didn't want to take the chance of the ink bleeding by painting that stuff on. After spraying, let it dry for a while.
-
 Step 4
Now its time to make it into a necklace.
-
 Step 5
Cut two chains for each side at your desired length. I did 13" for one and 11" for the second necklace.
-
 Step 6
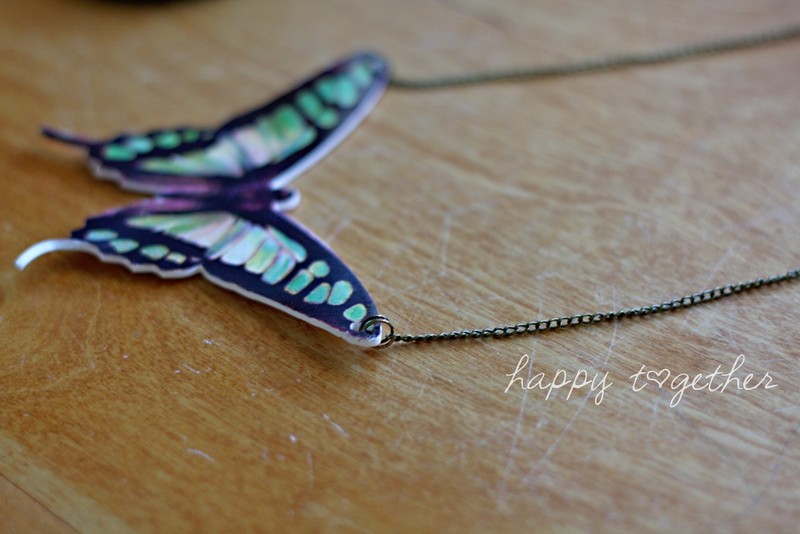
Then attach a jump ring to each butterfly wing using your needle nose pliers and then add the chain to it. I somehow wasn't paying attention and got a double jump ring and it was a bit of a pain to work with but it was more secure.
-
 Step 7
Then on the other end of the chains, attach a jump ring to both sides. Then add a clasp to one side. Now it's ready to wear or give as a gift.


Comments

