About
a hearty vegan dinner
If you like this recipe, feel free to check out my blog http://www.morethantrees.blogspot.com
Tags
-
 anita.n.g added Vegan "Beef" Ravioli to Vegan/veggie munch
28 May 21:29
anita.n.g added Vegan "Beef" Ravioli to Vegan/veggie munch
28 May 21:29
-
 Mimi A. favorited Vegan "Beef" Ravioli
12 Jan 13:28
Mimi A. favorited Vegan "Beef" Ravioli
12 Jan 13:28
-
 pon.l.you favorited Vegan "Beef" Ravioli
03 Dec 21:37
pon.l.you favorited Vegan "Beef" Ravioli
03 Dec 21:37
-
 Step 1
I love ravioli, but the only vegan flavour at the grocery store is pumpkin. Nasty. Here's a recipe that really tastes alot like it's beefy cousin, though it does take some time to prepare.
The most important ingredient is the immitation ground round. Yves makes a readily available product that tastes just like the real thing!
Yields about 50 raviolis
Ingredients
Dough
4 cups flour
1 cup warm water
1/2 cup canola oilFilling
1 pkg imitation ground beef (I like to use Yves brand myself)
2-3 cloves garlic
1/4 cup fresh chopped parsley
1 chopped onion -
 Step 2
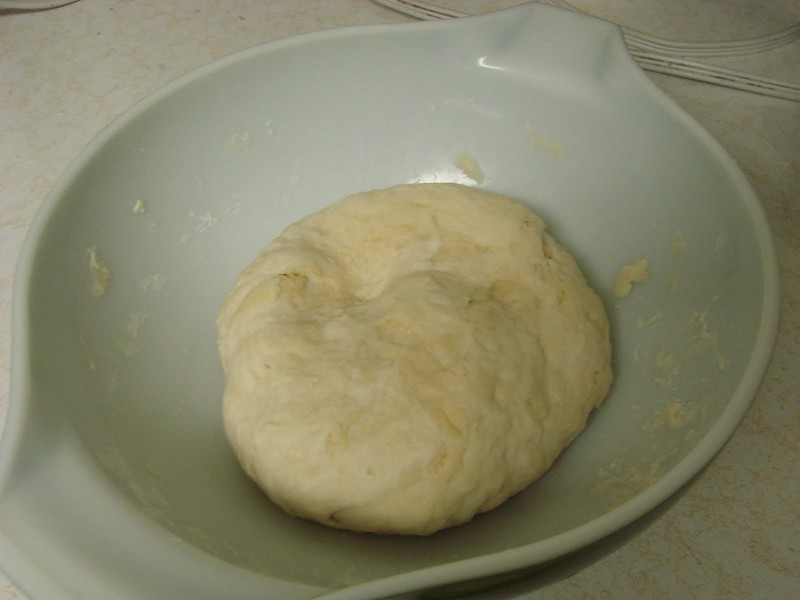
Mix the dough ingredients together. Cover and let sit for 1/2 hour. Meanwhile, pan fry the ground "beef" onion and garlic for about 15 minutes. Mix in the parsley, cook for about 3 minutes, remove from heat.
-
 Step 3
This is my ravioli press. I can no longer live without it. It's so quick and easy to use! First you roll out a thin layer of dough and place it on the metal base.
-
 Step 4
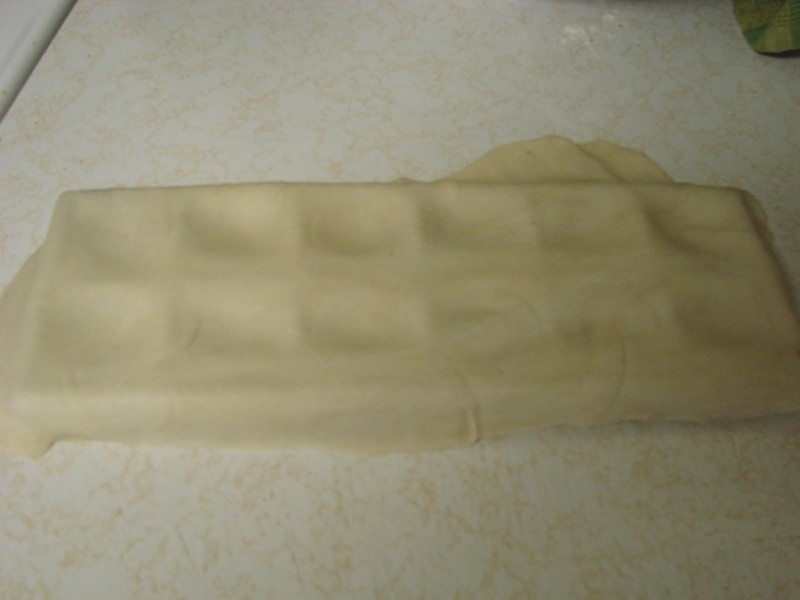
Next place the plastic mold on top and gently press down to leave little divots like this
Next, fill them pockets! Then all you do is place another layer on top and gently roll a rolling pin on top until the edges cut out the raviolis. In no time, you have 12 uniform raviolis ready to cook! I love it.
If you don't have a press, you can do it the old fashioned way. Roll out a layer of dough, evenly spread the filling on top, place another layer of dough on top. Using the back of a large knife, gently press down and cut squares to desired size. The edges should seal on their own and any that don't can be pinched shut with your fingers.
-
 Step 5
Mmmm.... look at that. Now they are ready to be frozen or thrown in boiling water until they float, about 5 minutes and serve!
-
 Step 6
Toss with your favourite sauce, but be careful, because they will not be slightly more prone to breaking open than store bought