


About
Mid-Century Atomic lamp facelift
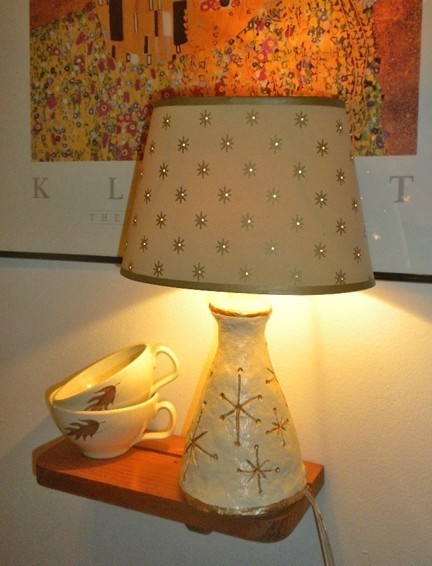
This lamp was inspired by the mid century modern atomic age. I found the lampshade in the photo first, and COULD NOT FIND a lamp to compliment it. So I found a 6" high Wooden Candlestick lamp (uses the small lightbulbs) and used it as the bones, piling on paper maché to create my own shape. I was completely experimenting, but so glad it worked!!
If you've ever worked with Celluclay, this is another version called FashMache—it dries even faster—although it gives you plenty of time for carving and shaping.
Tags
-
 Step 1
I forgot to snap a shot of this lamp base before I put on the Celluclay FastMaché...but it was a $2.00 thrift store purchase.
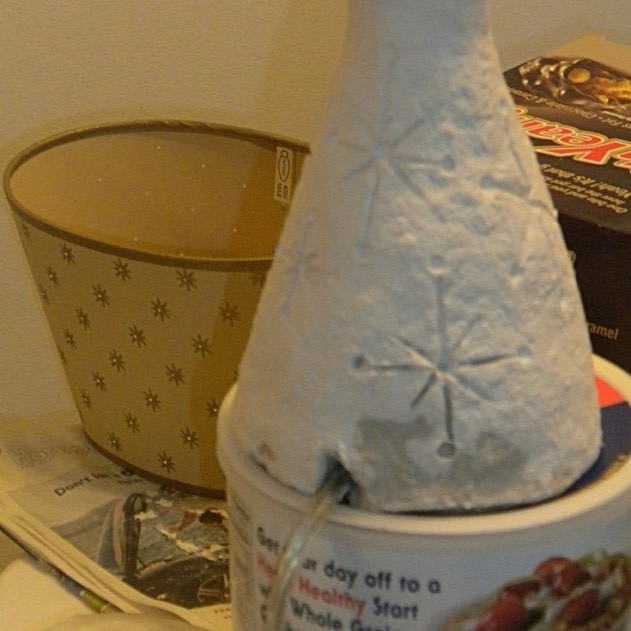
Basically, I mixed my FastMache with water, until a clay-like consistency...then, starting at the base, I just glopped on the clay into a cone shape...keep a cup of water nearby so you can smooth the clay with wet hands.
It doesn't dry so fast that you have to hurry...
You can see here where I left a hole around the electrical cord.
-
 Step 2
Once I had the shape I liked, I took a carving tool and a bamboo skewer and carved in the little starburst shapes.
If you screw up a design, just refill with the maché mix and start over, it's super forgiving.
Once you are happy with your design—let dry over-night
-
 Step 3
Finally, you'll be ready to paint the next day...I did a cream spray paint first for the background, then came in and painted the starburt designs with the tiny glass bottle of gold metallic paint, like boys use on model airplanes.
Once all of that is dry, I sprayed 2 coats of gloss acrylic sealer. Let it dry overnight before plugging in and using!


Defintely pick some up, you have to try it. here is a link so you can see what it looks like:
http://www.createforless.com/Activa+Fast+Mache+28+oz/pid115643.aspx