About
Learn how to add color and depth to stamped images with an easy two-step stamping technique. Sara Naumann shows you how.
Two-step stamping is a simple process and gives lots of creative possibilities!
You'll need two variations on a single image: A silhouette (or shadow) stamp, plus an outline. Many stamp sets are sold with this option, making it a snap to create a beautiful image for a card, gift tag or other papercraft.
Want a variation? Simply change the color of your ink, or try heat-embossing the outline on top of the stamped silhouette.
Downloads
- 114125_2F2016-05-02-083050-Two+Step+Stamping+technique+pic.jpg 403 KB [ Download ]
-
 Pearle D. favorited Two Step Stamping
03 Jul 23:09
Pearle D. favorited Two Step Stamping
03 Jul 23:09
-
 lleeahs favorited Two Step Stamping
03 Jul 22:07
lleeahs favorited Two Step Stamping
03 Jul 22:07
-
 Crafterella featured Two Step Stamping
24 Jun 23:00
Crafterella featured Two Step Stamping
24 Jun 23:00
-
 Alissa B. favorited Two Step Stamping
16 Jun 05:25
Alissa B. favorited Two Step Stamping
16 Jun 05:25
-
 Sara N. published her project Two Step Stamping
14 Jun 09:00
Sara N. published her project Two Step Stamping
14 Jun 09:00
-
 Step 1
Place the clear acrylic silhouette stamp onto the clear acrylic block. The stamp will cling to the block. Apply a light color of ink to the stamp. Here I'm using a soft pink.
-
 Step 2
Quickly stamp the image onto white cardstock. Press firmly and evenly, without rocking the block. Lift straight up.
-
 Step 3
Place the outline image onto the clear acrylic block. Ink with a contrasting ink color, then stamp on top of the stamped silhouette. Here I've used a chocolate brown.
-
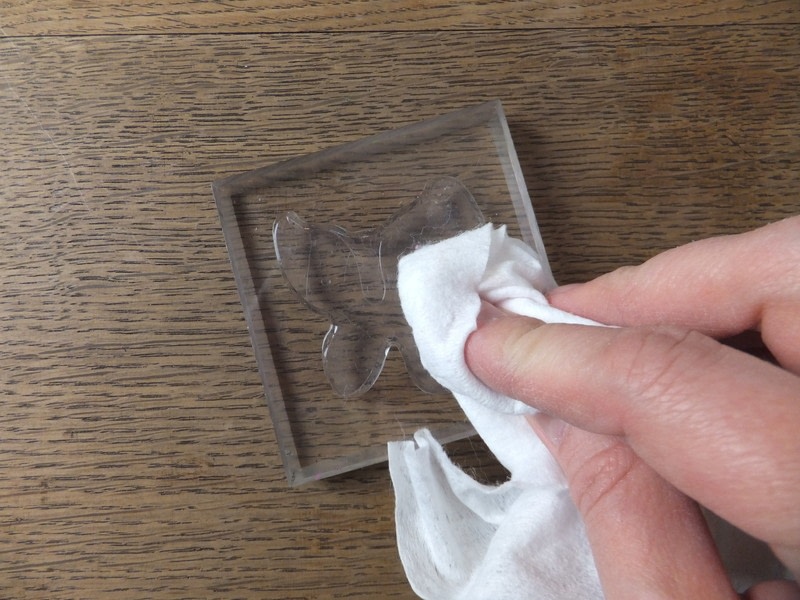
 Step 4
When you're done stamping, simply clean your stamp with a baby wipe or soap and water. Remove it from the block and place it back on the plastic liner sheet that it came on.