


About
Tote Bag - Twilight Series Book Covers
Okay, so it seems as though my life completely revolves around Twilight. And it sort of does, all my crafts do anyways though.
Tags
-
Step 1
Start with a black tote bag and divide it into 4 equal sections
-
Step 2
Print out copies of each book cover onto cardstock that will fit in each section. 1-Twilight 2-New Moon 1-Eclipse 3-Breaking Dawn
-
 Step 3
Using Spray adhesive on the back of the cut out template, stick it to one corner of the bag, and apply a thin layer of paint. I used a very pale skin-tone paint.
-
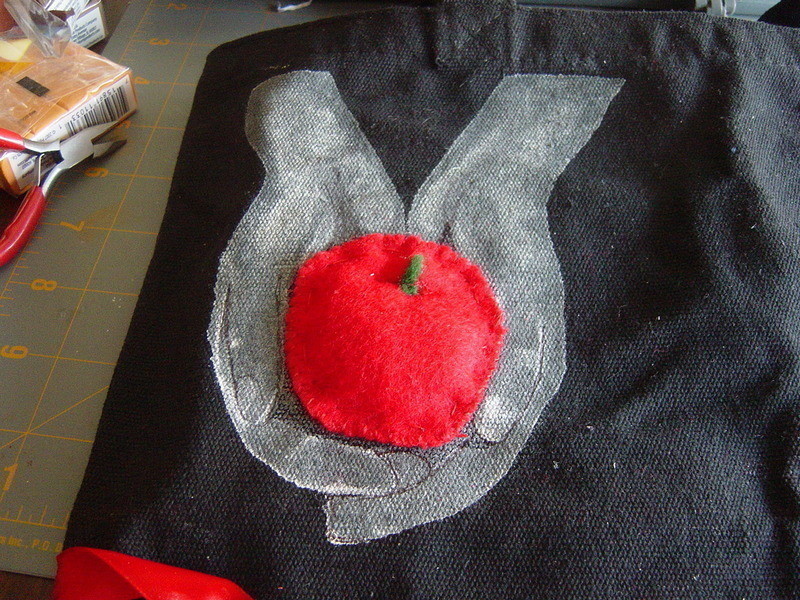
 Step 4
Next, using the apple from the cut out, create one with red felt and sew it on(after the paint is dry) I hand sewed it on by hand, but a sewing machine would make it much easier. Stick a little cotton filler (or, cut up some of the left over felt) inside of the apple before sewing it shut.
-
 Step 5
Trim a small piece of green or brown felt and sew it on for the stem.
-
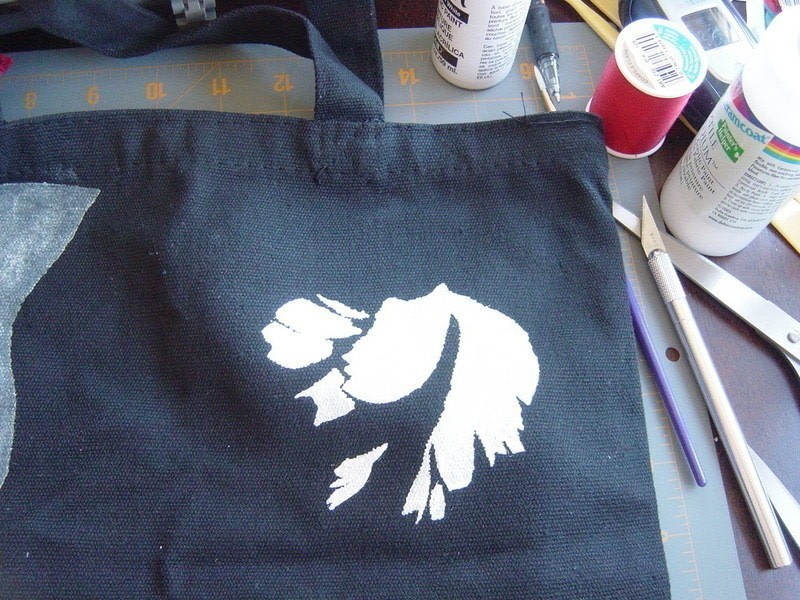
 Step 6
Using White paint stencil on the white part of the flower. Let dry
-
 Step 7
And because I am impatient I moved onto creating the chess board while I waited for the flower to dry.
-
 Step 8
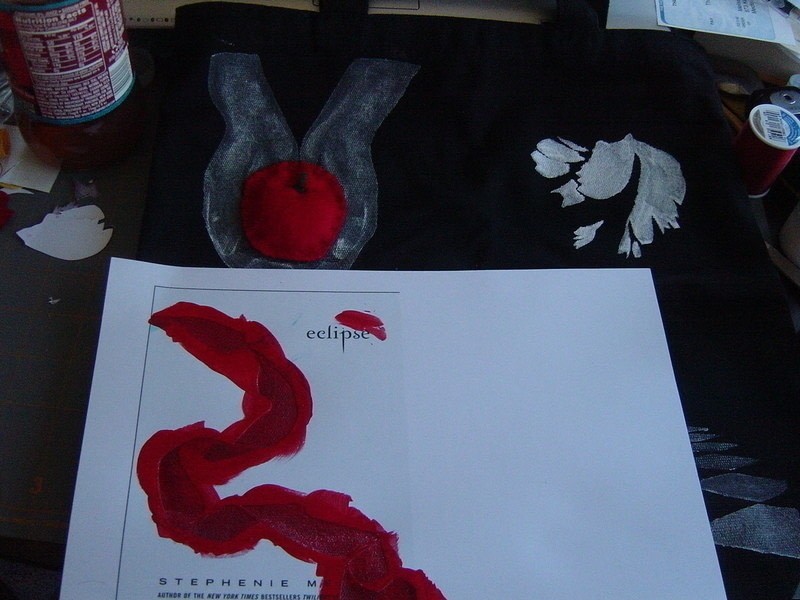
Next move onto the red. The stencil does not have to be perfect, just follow the basic lines of the ribbon.
-
 Step 9
Once the white is dry, attach the stencil over it, and paint the red.
-
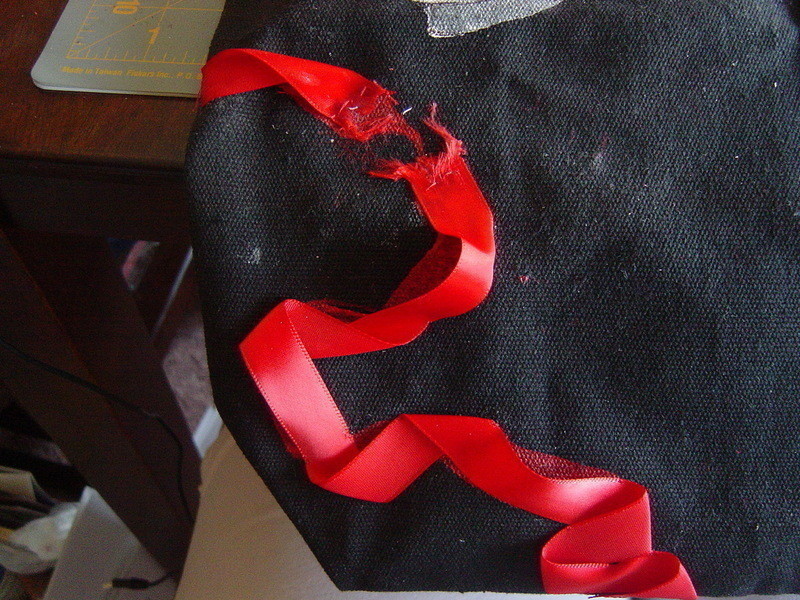
 Step 10
To sew on the ribbon, I glued the edge, and sewed it down as well. Using the book as a guide follow the folds and twists (pay no attention to the empty box of cookies)
-
 Step 11
Using the book as a guide follow the folds and twists. Tack it down at each one, but only tacking down one side will give it more dimension.
-
 Step 12
Finally, glue down the end as well as sewing it down to keep it secure.
-
 Step 13
This was the absolute hardest part, creating the chess pieces. Roll out a layer of white fimo clay and lay down the stencil of the Chess piece on top. Carefully cut it out. Repeat with the red. Bake, and let dry.
Use an adhesive intended for attaching objects to fabric to glue them on.
-
 Step 14
Using petals cut off of a red and a white flower, sew it down, over the painted flower.
-
Step 15
To finish it up I went back over it and free handed the paint, touching up lighter spots that I felt needed to be darker.


Versions

Comments


