


About
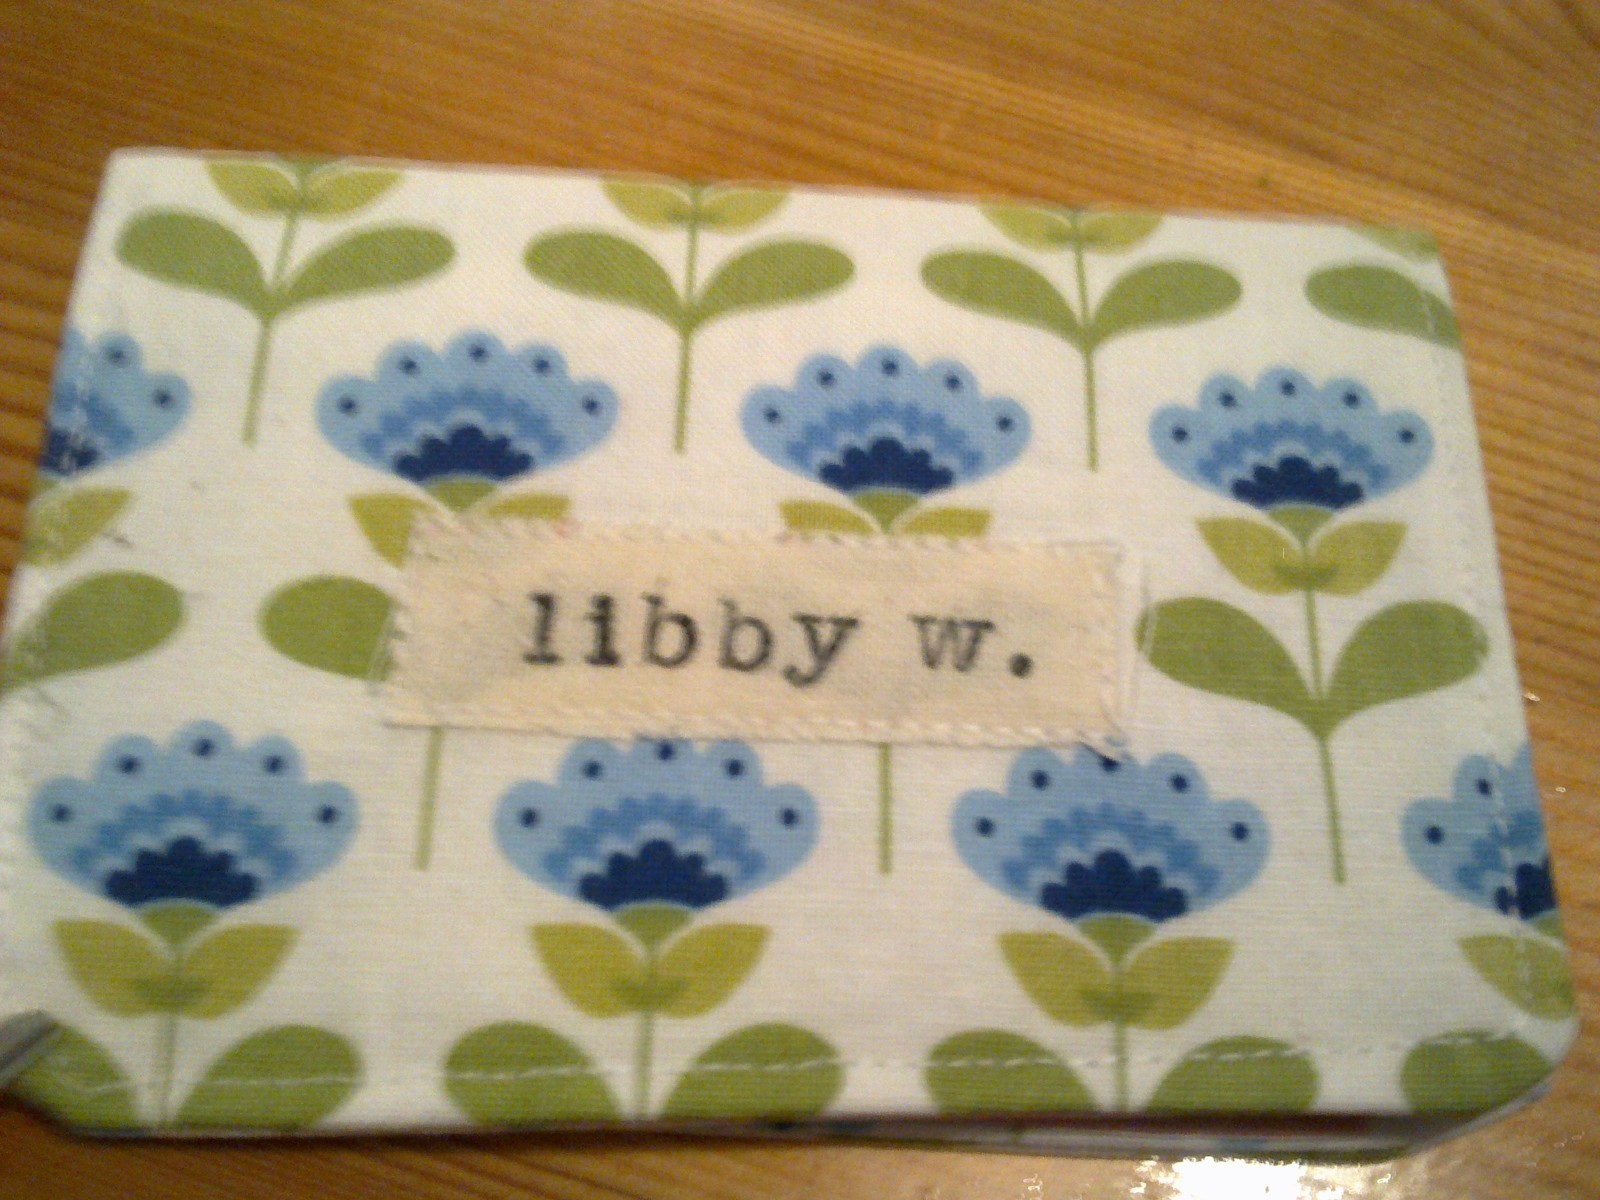
House that train ticket in style!
I recently started taking the train to work. When you buy a season rail pass in the UK you get these dorky network rail plastic wallets to keep them in. Blurgh! I decided to up grade and make my own stylish train pass wallet.
Tags
-
 02jhseaby added Travel Pass to Try
08 Jun 20:06
02jhseaby added Travel Pass to Try
08 Jun 20:06
-
02jhseaby favorited Travel Pass
08 Jun 20:06
-
 anthrmthrfckr favorited Travel Pass
29 Oct 08:40
anthrmthrfckr favorited Travel Pass
29 Oct 08:40
-
 Maartje favorited Travel Pass
07 Oct 14:09
Maartje favorited Travel Pass
07 Oct 14:09
-
 Emmyann07 favorited Travel Pass
08 Jul 22:04
Emmyann07 favorited Travel Pass
08 Jul 22:04
-
 Lisette-Eveline G. favorited Travel Pass
08 Jul 18:14
Lisette-Eveline G. favorited Travel Pass
08 Jul 18:14
-
 painted maru favorited Travel Pass
08 Jul 06:21
painted maru favorited Travel Pass
08 Jul 06:21
-
 Maaike G. favorited Travel Pass
07 Jul 18:25
Maaike G. favorited Travel Pass
07 Jul 18:25
-
 sweetstuffbymisty favorited Travel Pass
07 Jul 05:22
sweetstuffbymisty favorited Travel Pass
07 Jul 05:22
-
 Step 1
Take your current train pass and draw round it onto the back of the fabric. If you don't have a pass to use as a template, just measure out on the fabric the size you want it to be.
-
 Step 2
Add your seam allowance (I used 1cm).
-
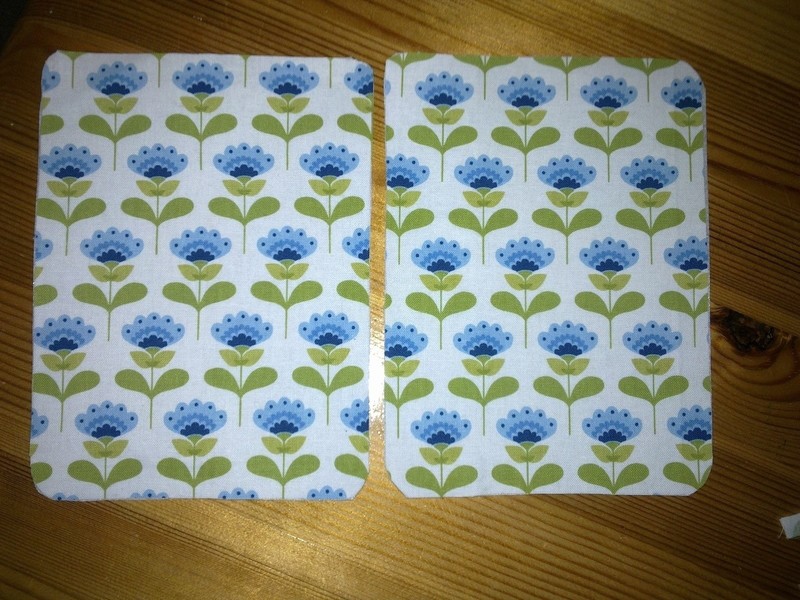
 Step 3
Cut out your fabric and use it to draw round. Cut out, so you have 2 pieces of fabric the same size.
-
 Step 4
Iron the interfacing onto the back of your fabric pieces.
-
 Step 5
Cut out your pieces, from the interfacing.
-
 Step 6
If want to add decoration to the outside of your pass, sew/glue it on now.
-
 Step 7
Cut out the plastic windows from your old wallet or if you are just using regular clear plastic, cut to size.
-
 Step 8
Sew your windows to the inside piece of fabric. Make sure you leave the top part open so you can slide your cards in.
-
Step 9
Put your 2 pieces inside sides together. Stitch around the outside edge, leaving a gap for turning (you might want to leave quite a large gap, so you don't have to bend and dent your plastic too much). Trim off any excess fabric.
-
Step 10
Turn your pass the right way out. Hidden stitch your gap closed.
-
 Step 11
Top stitch round the edge of your pass to give it a move finished look. Fold your pass over and iron on the outside to crease it and keep it in place. DON'T do a me and try and iron the inside too, you'll melt your plastic windows and spoil your hard work.
-
 Step 12
Sit back and admire your handiwork. Safe in the knowledge that you'll have the most stylish train pass around!


Comments


